Getting Started
Charging the Device
WARNING
This device contains a lithium-ion battery. See the
Important
Safety and Product Information
guide in the product box for
product warnings and other important information.
NOTICE
To prevent corrosion, thoroughly clean and dry the contacts and
the surrounding area before charging or connecting to a
computer. Refer to the cleaning instructions (
).
1
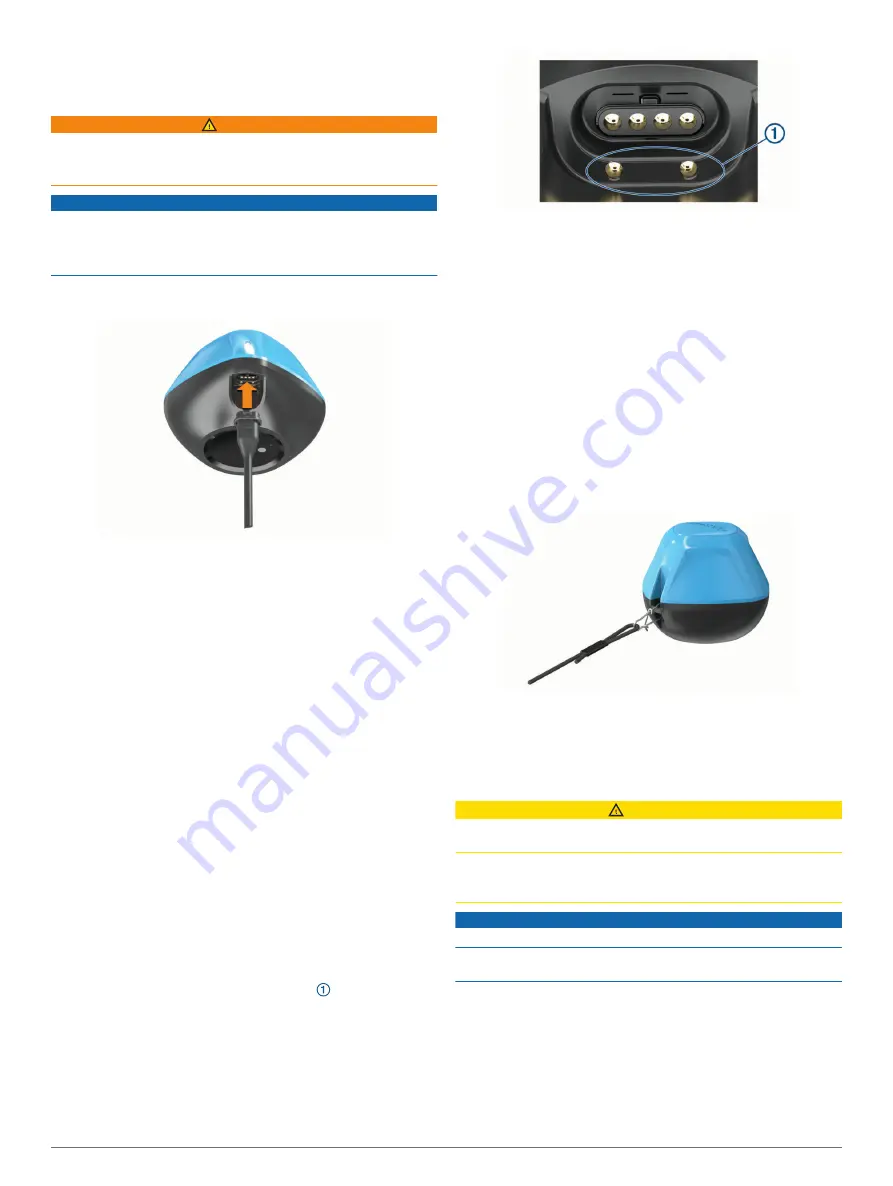
Plug the small end of the USB cable into the charging port on
your device.
2
Plug the large end of the USB cable into a USB charging
port.
The status LED flashes red when the device is charging.
3
Charge the device completely.
The status LED and the device turn off when the device is
fully charged.
Automatic On and Off
The device turns on automatically when you put it in the water or
when you connect it to USB power.
The device stays on as long as it is in the water, which can be
helpful for finding lost devices (GPS models only) (
STRIKER Cast Device Using the Chart
). The device
also stays on as long as the app is connected.
The device turns off automatically after 2 minutes of being
disconnected from the STRIKER Cast app and out of the water.
Connecting a Mobile Device
You must connect the STRIKER Cast device to the STRIKER
Cast app on your mobile device to see sonar data.
TIP:
The status LED flashes red or green and red when the
device is ready to connect to the STRIKER Cast app.
1
From the app store on your mobile device, install and open
the STRIKER Cast app.
2
Sign in to your Garmin
®
account.
TIP:
If you do not have an account, select Create One.
3
Put the device in water, with the two pins in contact with
the water, to turn on the STRIKER Cast device and prepare it
to connect.
TIP:
You can also connect the device to USB power and then
immediately disconnect it to turn on the device and prepare it
to connect. The status LED flashes green and red when the
device is ready to connect to the STRIKER Cast app.
TIP:
As a third option to pair, you can connect the device to
USB power. The status LED flashes red when the device is
ready to connect to the app when connected to power.
4
Select
Connect your STRIKER Cast
>
Start
.
5
Select your device from the list.
The serial number is printed on the bottom of the device.
After you connect successfully, a message appears, and you
can see sonar data when the device is in the water.
Attaching a Fishing Line or Tether
You can use the included nylon tether or attach the device to a
fishing line on a fishing rod.
• Attach the included nylon tether to the device.
• Attach a 20-lb. test or higher fishing line to the device using a
#3 barrel swivel with a snap, on a medium-action or heavier
fishing rod.
Fishing with the STRIKER Cast Device
CAUTION
To avoid injury, always be cautious of your surroundings when
casting the device.
Towing the device behind a vessel moving at speeds faster than
8km/h (5 mph) or in choppy water conditions could result in poor
sonar performance and injury.
NOTICE
Garmin is not responsible for lost devices.
To prevent corrosion, do not store the device in water, and
thoroughly dry the device after use.
You can fish with the device in various ways.
• Cast and leave the device on a dedicated fishing rod so that
you can continually change the device location.
NOTE:
Repeatedly casting the device as you fish provides a
clearer picture of what is below the surface. This is the
recommended mode of use.
• Cast and tie off the device using the included tether.
• Tether the device behind a small vessel, such as a kayak.
Getting Started
1


