

2
Pull up on the side of the battery pack closest to the power
button.
Installing AA Batteries
NiMH, or lithium AA batteries. This is useful when you are on
the trail and cannot charge the battery pack. Use NiMH or
lithium batteries for best results.
NOTE:
Standard alkaline batteries are not recommended when
using the camera feature.
1
Turn the D-ring counter-clockwise, and pull up to remove the
cover.
2
Insert three AA batteries, observing polarity.
3
Replace the battery cover, and turn the D-ring clockwise.
Turning On the Device
Select .
Setting Up the Device
The first time you turn on the device, you must set up basic
device settings. You can also set up accounts.
1
Turn on the device.
2
Follow the on-screen instructions.
Using the Touchscreen
• Drag or swipe your finger across the screen to pan or scroll
the screen.
• Pinch two fingers together to zoom out.
• Spread two fingers to zoom in.
• Make each touchscreen selection a separate action.
• Select
to return to the previous page.
• Select
to return to the home screen.
• Select to view additional options for the page you are
viewing.
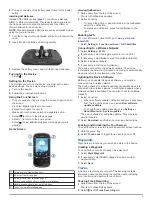
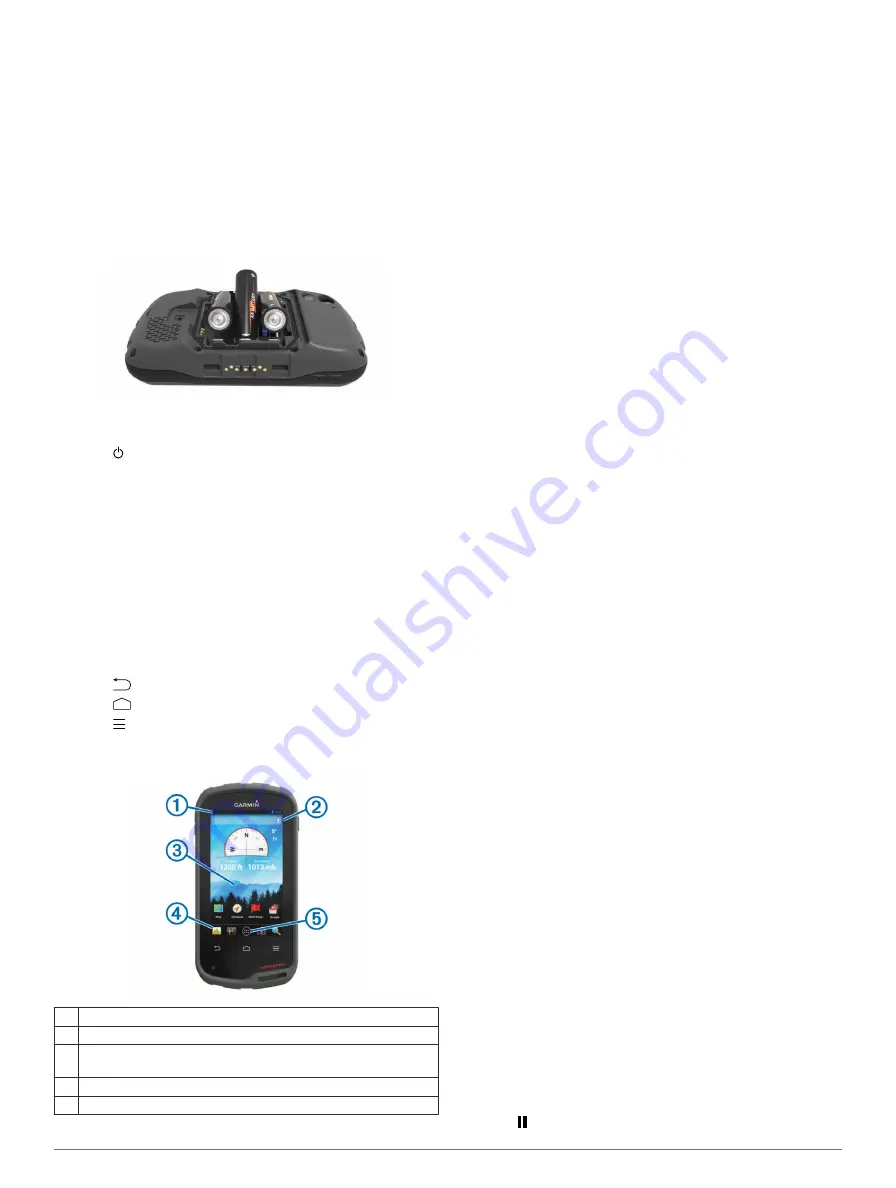
Home Screen
À
Swipe down to view notifications.
Á
Enter text to start a search.
Â
Swipe left and right to switch pages.
Hold to customize shortcuts, widgets, or wallpaper.
Ã
Hold to drag shortcuts in or out of the dock.
Ä
Touch to view all installed apps.
Viewing Notifications
1
Swipe down from the top of the screen.
The list of notifications appears.
2
Select an option:
• To launch the action or app mentioned in the notification,
select the notification.
• To dismiss a notification, swipe the notification to the
right.
Enabling GPS
For more information about GPS, go to
.
Select
Settings
>
Location services
>
GPS satellites
.
Connecting to a Wireless Network
1
Select
Settings
>
Wi-Fi
.
2
If necessary, select the toggle switch to turn on Wi-Fi.
3
If necessary, select
Scan
to scan for available networks.
4
Select a wireless network.
5
If necessary, enter the encryption key.
The device connects to the wireless network. The device
remembers the network information and connects automatically
when you return to this location in the future.
Updating the Device Software
Before you can update the device software, you must be
connected to a wireless network.
The device checks for software updates periodically when it is
connected to a wireless network. A notification appears when a
software update is available. You can also check for updates
manually.
1
Select an option:
• When a software update notification appears, swipe down
from the top of the screen, and select
New software
update available
.
• To check for an update manually, select
Settings
>
About Monterra
>
System updates
.
The device checks for available updates. This may take
several minutes.
2
Select
Download
, and follow the on-screen instructions.
Locking and Unlocking the Touchscreen
You can lock the screen to prevent inadvertent screen touches.
1
Hold the power key.
2
Select
Touch Lock
to toggle the screen lock on or off.
Waypoints
Waypoints are locations you record and store in the device.
Creating a Waypoint
You can save your current location as a waypoint.
1
Select
Mark Waypoint
.
2
If necessary, select
Edit
to change the name or other
waypoint data.
3
Select
Save
.
Tracks
A track is a recording of your path. The track log contains
information about points along the recorded path, including
time, location, and elevation for each point.
Pausing Track Recording
1
Swipe down from the top of the screen.
The list of notifications appears.
2
Select next to
Track Recording On
.
3


