Quick Start
10
When you have fi nished renaming the waypoint you will need to save it in the unit’s memory.
To save the waypoint:
1. Using the
ARROW KEYPAD
, highlight the ‘OK’ Button and press the
ENTER
key.
These are the same steps that you will use to enter names, change numbers and select options in all
of the data fi elds in the GPSMAP 176.
Here are a few tips:
1. If you press and hold the
ARROW KEYPAD
while scrolling through the alpha-numeric list it will
move through the list quickly.
2. You can scroll through the alpha-numeric list in either direction.
3. Don’t press the
ENTER
key until you have fi nished entering the data. Remember, use the
ARROW
KEYPAD
to move to the next placeholder.
You should now have enough knowledge to look through the main pages, and enter data into your
GPSMAP 176. Now let’s learn how to navigate!
Navigating with your GPSMAP 176
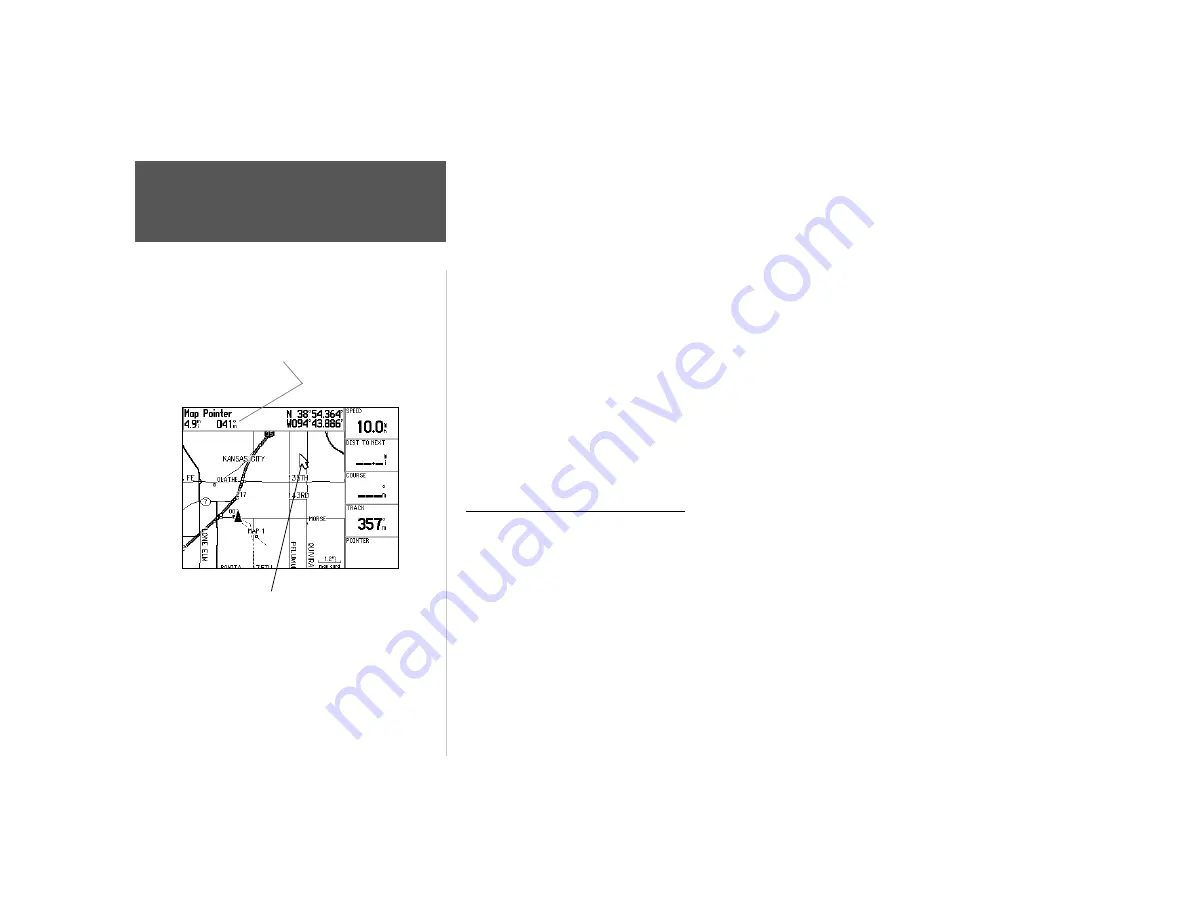
The main use of a GPS is to be able to navigate to a known position. Let’s create another waypoint
on the Map Page using a different method, the Map Pointer.
Press the
PAGE
key until the Map Page is displayed. Press the
IN
key several times until the Zoom
Scale in the lower left corner of the Map Page reads “300 ft”. The current GPS location is indicated by
the triangle in the center of the map.
Bearing and distance from Map Pointer to
current GPS location.
Map Pointer
Creating a Waypoint/
Navigation
Summary of Contents for GPSMAP 176C
Page 1: ...quick start guide chartplotting receiver GPSMAP 176C 176...
Page 15: ......


