


13–13–600 Page 16
to the nearest obstruction on the control box side of the
package.
Perform all wiring in accordance with the National Elec-
trical Code (NFPA–70) and any applicable local electri-
cal codes. Wiring must be performed only by qualified
electricians.
The electrical design for supplying power to the pack-
age intends that the two main motors are considered a
group installation. FIGURE 2–10, page 15, lists mini-
mum ampacity of wiring to the package. The table also
lists maximum sizes for dual–element fuses or inverse
time breakers which may be used for short–circuit and
ground fault protection.
The controls circuits and ventilation fans (if so
equipped) are provided with fusing to provide short–cir-
cuit and ground fault protection.
For aircooled units, refer to manual 13–9/10–647 for
instructions regarding connection to a remote cooling
module. The package wiring diagram shows details of
the controls interconnections.
Units are also available optionally without package–
mounted starters. For these packages, a motor starter
must be provided for each motor, and a four–wire con-
trols interconnection must be made between the com-
pressor package and each starter. Refer to manual
13–9/10–647 for detailed instructions and starter re-
quirements, and to the package wiring diagram for spe-
cific interconnection information.
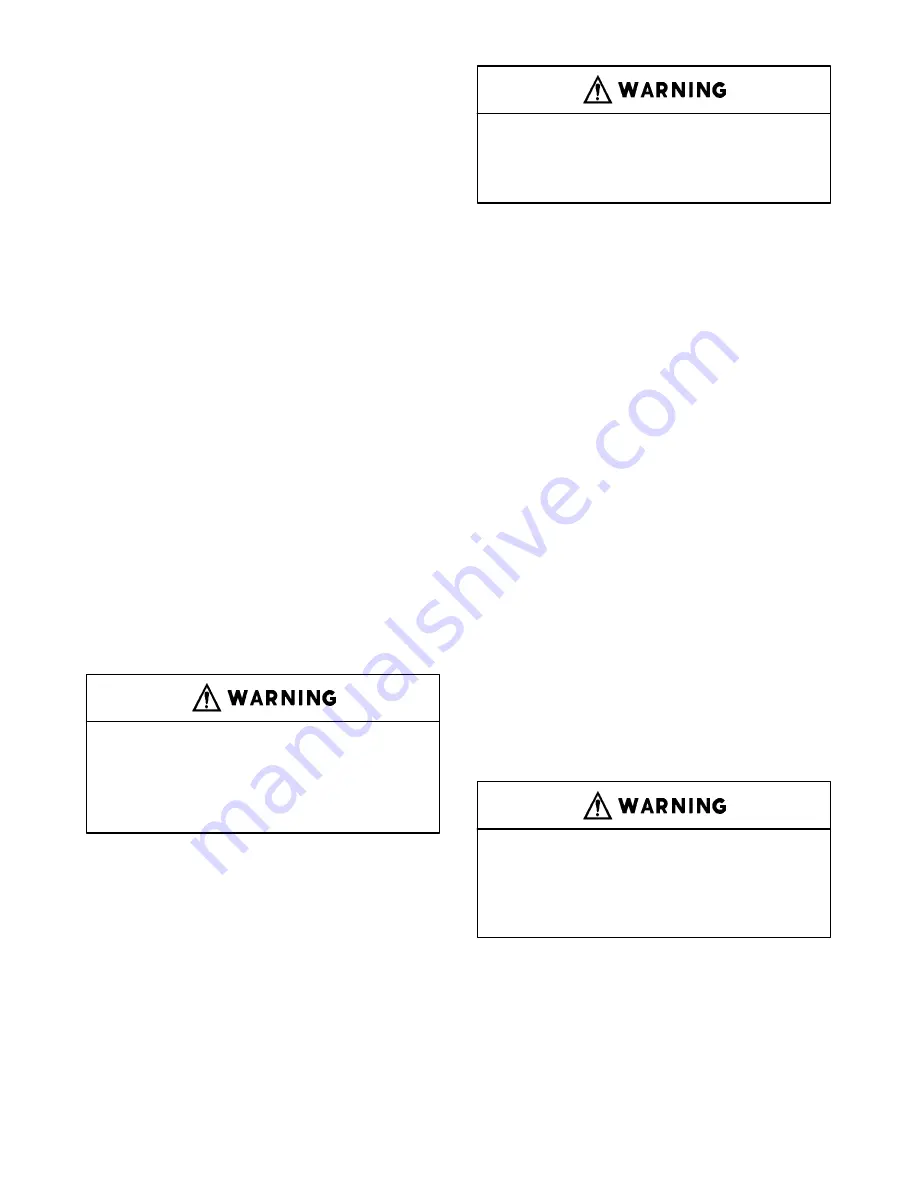
Electrical shock can cause injury or
death. Open main disconnect switch,
tag and lockout before working on
starter/control box.
GROUNDING – Equipment must be grounded in ac-
cordance with Section 250–95 of the National Electrical
Code.
Failure to properly ground the com-
pressor package could result in con-
troller malfunction.
MOTOR LUBRICATION – Long time satisfactory op-
eration of an electric motor depends in large measure
on proper lubrication of the bearings. The following
charts show recommended grease qualities and re-
greasing intervals for motors supplied with ball bear-
ings. For additional information refer to the motor
manufacturer’s instructions. The following procedure
should be used in regreasing:
1.
Stop the unit.
2.
Disconnect, tag and lockout the unit from the pow-
er supply.
3.
Remove the relief plug and free hole of hardened
grease.
4.
Wipe lubrication fitting clean and add grease with
a hand–operated grease gun.
The amount and type of grease added is very im-
portant. Only enough grease should be added to
replace the grease used by the bearing. Too much
grease can be as harmful as insufficient grease.
The grease cavity should be filled 1/3 to 1/2 full.
5.
Leave the relief plug temporarily off. Reconnect
the unit and run for about 20 minutes to expel the
excess grease.
6.
Stop the unit. Replace the relief plug.
7.
Restart the unit.
Rotating machinery can cause injury
or death. Open main disconnect, tag
and lockout power supply to the starter
before working on the electric motor.
Summary of Contents for ELECTRA-SAVER ETY99A
Page 14: ...13 13 600 Page 6 DECALS 206EAQ077 212EAQ077 218EAQ077 211EAQ077 207EAQ077...
Page 15: ...13 13 600 Page 7 DECALS 216EAQ077 217EAQ077 222EAQ077 221EAQ077 208EAQ077...
Page 29: ...13 13 600 Page 21 FIGURE 4 1 SCHEMATIC TUBING DIAGRAM 302ETY797 A Ref Drawing...
Page 34: ...13 13 600 Page 26 FIGURE 4 8 CONTROL SCHEMATIC COMPRESSOR AT FULL LOAD 304ETY797 A Ref Drawing...
Page 37: ...13 13 600 Page 29 FIGURE 4 11 WIRING DIAGRAM 302ETY546 Ref Drawing...
Page 39: ...13 13 600 Page 31 FIGURE 5 1 FLOW DIAGRAM 303ETY797 A Ref Drawing...
Page 58: ...Specifications subject to change without notice Copyright 1998 Gardner Denver Machinery Inc...