User's Manual - 35
Audio and Video
This section explains how to cofigure audio and video performances of the Network Camera. It
is composed of the following two columns: Video Settings and Audio Settings�
Video Settings
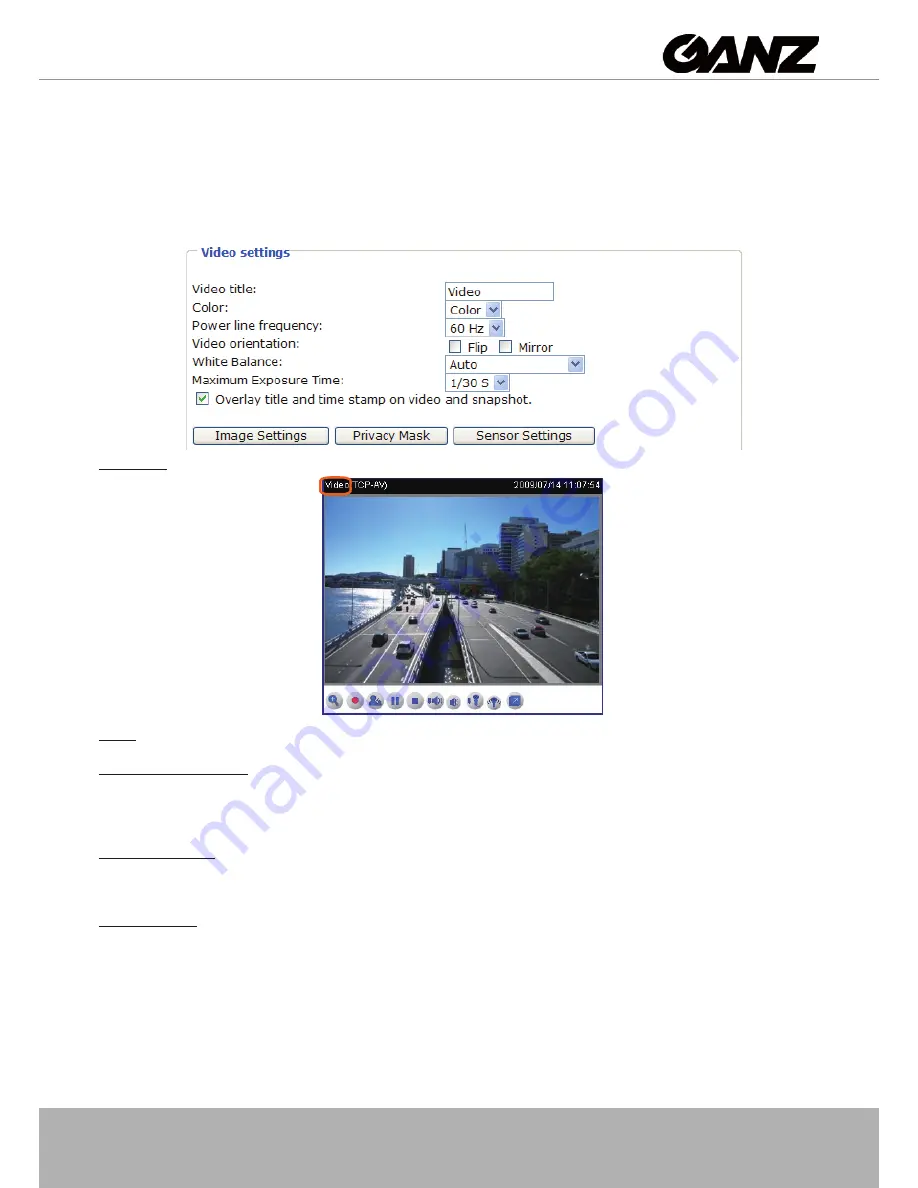
Video title: Enter a name that will be displayed on the title bar of the live video�
Color: Select to display color or black/white video streams�
Power line frequency: Set the power line frequency in consistent with local utility settings to eliminate
uncomfortable image flickering associated with fluorescent lights. Note that after the power line frequency
is changed, it is required to disconnect and reconnect the power cord of the Network Camera in order for
the new setting to take effect�
Video orientation
: Flip--vertically reflect the display of the live video; Mirror--horizontally reflect the display
of the live video� Select both options if the Network Camera is installed upside-down (ex� on the ceiling)
to correct the image orientation�
White balance
: Adjust the value for best color temperature.
■ Auto
The Network Camera automatically adjusts the color temperature of light in response to different light
sources� The white balance setting defaults to Auto and works well in most situations�
■ Keep current value
Follow the steps below to manually set the white balance to compensate for the ambient lighting
conditions�
1� Set the White balance to
Auto
�
2. Place a sheet of white paper in front of the lens; then allow the Network Camera to adjust the color
temperature automatically�


