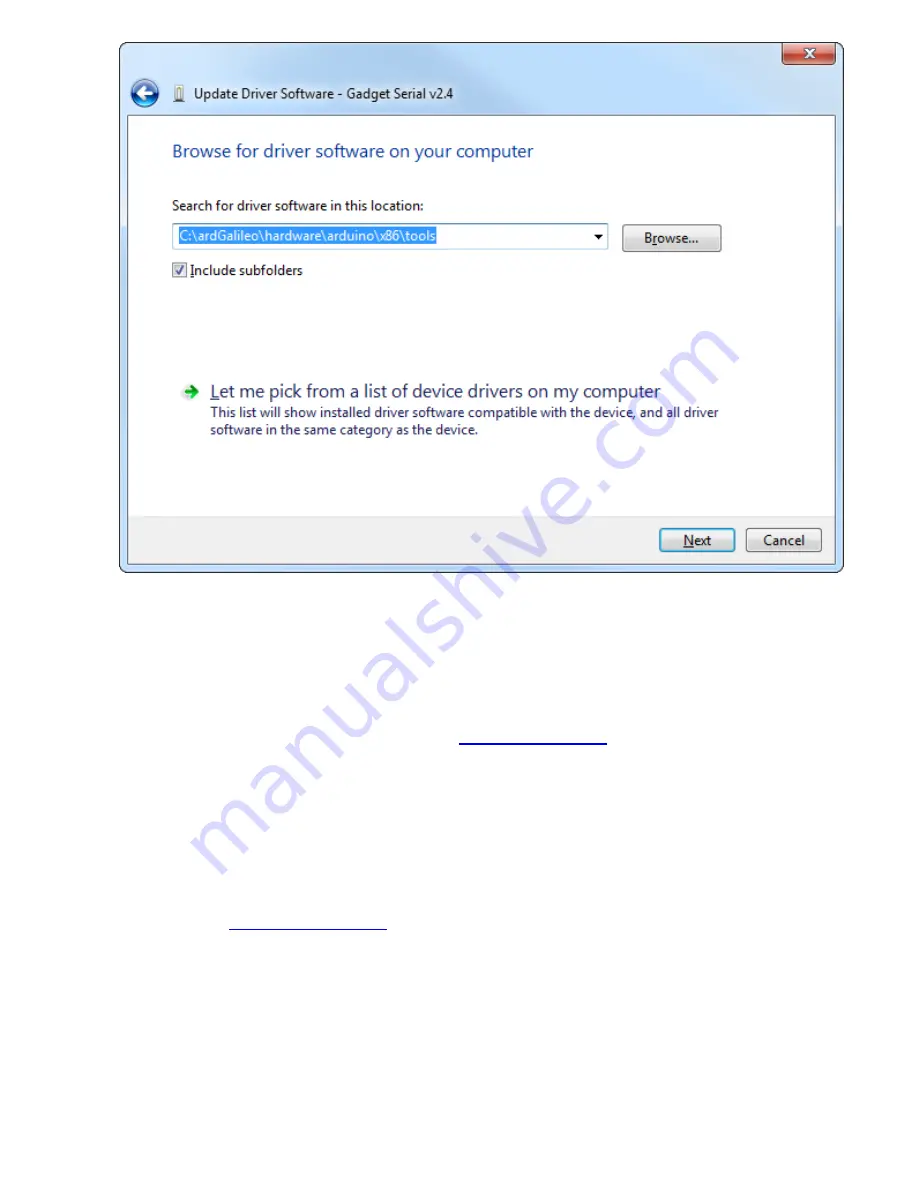
7.
Click Install
on the next
Windows Security
window that pops up. And, after a number of
loading-bar-scrolls, the installation should complete and you should be greeted with a
Windows has successfully updated your driver software
window.
8. Look back at the
Device Manager
, under the
Ports
tree now. There should be an entry for
Galileo (COM #)
. Remember which COM # your Galileo is assigned, it’ll be important for
Arduino sketch uploading and the next step,
updating firmware
.
Mac OS X Driver Install
Mac has built-in driver support for the Galileo, so this setup should be easy. Follow the steps below
to install the board on your machine:
1. Begin by
connecting 5V power
to the Galileo.
2. Then connect a
micro-B USB cable
from the
USB Client
port on the Galileo to an available
USB socket on your computer.
3. Wait a few seconds while the Galileo boots up. To verify the Galileo has enumerated properly,
open the
System Information
window (Hold
Option
> Click the Apple menu in the top left >
Click
System Information
), and check under the
USB
tab for a
Gadget Serial v2.4
entry.
Page 10 of 20


