9
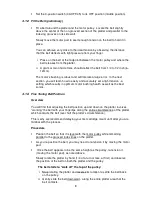
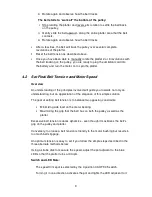
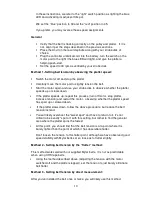
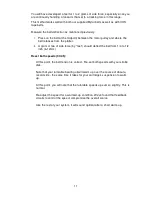
iii. Rotate again and observe how the belt tracks
The belt starts to “walk off” the bottom of the pulley:
i. Stop rotating the platter and reverse its rotation to settle the belt back
on the pulley.
ii. Gently slide the belt upward - along the entire platter area that the belt
contacts.
iii. Rotate again and observe how the belt tracks
•
After a few tries, the belt will track the pulley over several complete
revolutions of the platter.
Reset the belt tension as described above.
•
Once you have been able to manually rotate the platter 2 or 3 revolutions with
the belt tracking on the pulley, you are ready to plug the umbilical cord into
the battery and turn the motor on to spin the platter.
4.2 Set Final Belt Tension and Motor Speed
Overview
An understanding of the principles involved will guide you towards not only an
understanding, but an appreciation of the elegance of this simple solution.
The goal of setting belt tension is to balance two opposing constraints:
Minimizing side load on the motor bearing
Maximizing the grip that the belt has on both the pulley as well as the
platter
Excessive belt tension reduces dynamics - even though it maximizes the belt's
grip on the pulley and platter.
Conversely, too loose a belt tension is friendly to the motor bushing but results in
too much belt slippage.
An optimum tension is easy to set if you follow the simple steps described in the
three alternate methods below:
Using a strobe disk to measure the speed, adjust the pot adjacent to the blue
LED so that the platter turns at 33 rpm.
Switch and LED Note:
The speed trim spot is selected by the 3 position 33-OFF-45 switch.
Turning it in one direction activates the pot and lights the LED adjacent to it.


