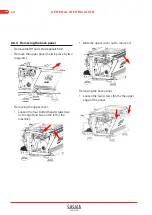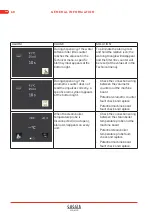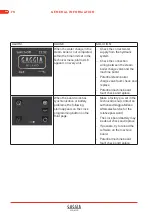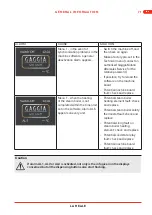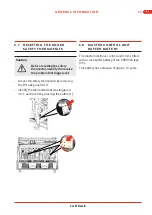
• Loosen the two countersunk hex-head
screws that fix the lower edge of the panel.
Slide out the back panel and disconnect the rear
LED supply connector.
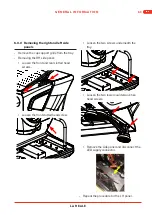
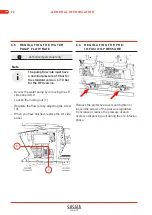
6.3.4 Removing the cup-warmer tray
- Remove the RH and LH side panels (par.
6.3.2).
- Loosen the two rear screws that fix the cup-
warmer tray, and the two screws that fix the
cup-warmer plate.
After removing the RH panel, disconnect:
- A: the cup-warmer temperature probe wiring
- B: the cup-warmer supply wiring
- C: the cup-warmer earth wiring
ENG
LA REALE
GENERAL INFORMATION
65
Summary of Contents for La Reale
Page 1: ...INSTALLATION AND USE ...
Page 6: ...ENG IV CONTENTS ...
Page 14: ...ENG 8 GENERAL INFORMATION ...
Page 22: ...ENG 16 GENERAL INFORMATION ...
Page 29: ...14 3 5 2 10 15 4 6 10 13 11 13 1 8 12 9 7 12 4 A 4 B ENG LA REALE GENERAL INFORMATION 23 ...
Page 80: ...ENG 74 GENERAL INFORMATION ...
Page 82: ...ENG 76 GENERAL INFORMATION ...
Page 83: ...LA REALE ELECTRIC AND HYDRAULIC DIAGRAMS 8 ...
Page 86: ...ENG 7 PURPLE 7 PURPLE 6 6 6 0 0 0 0 0 0 0 0 0 80 DIAGRAMS ...


