G-MINI Installation Guide
Page 11
4.
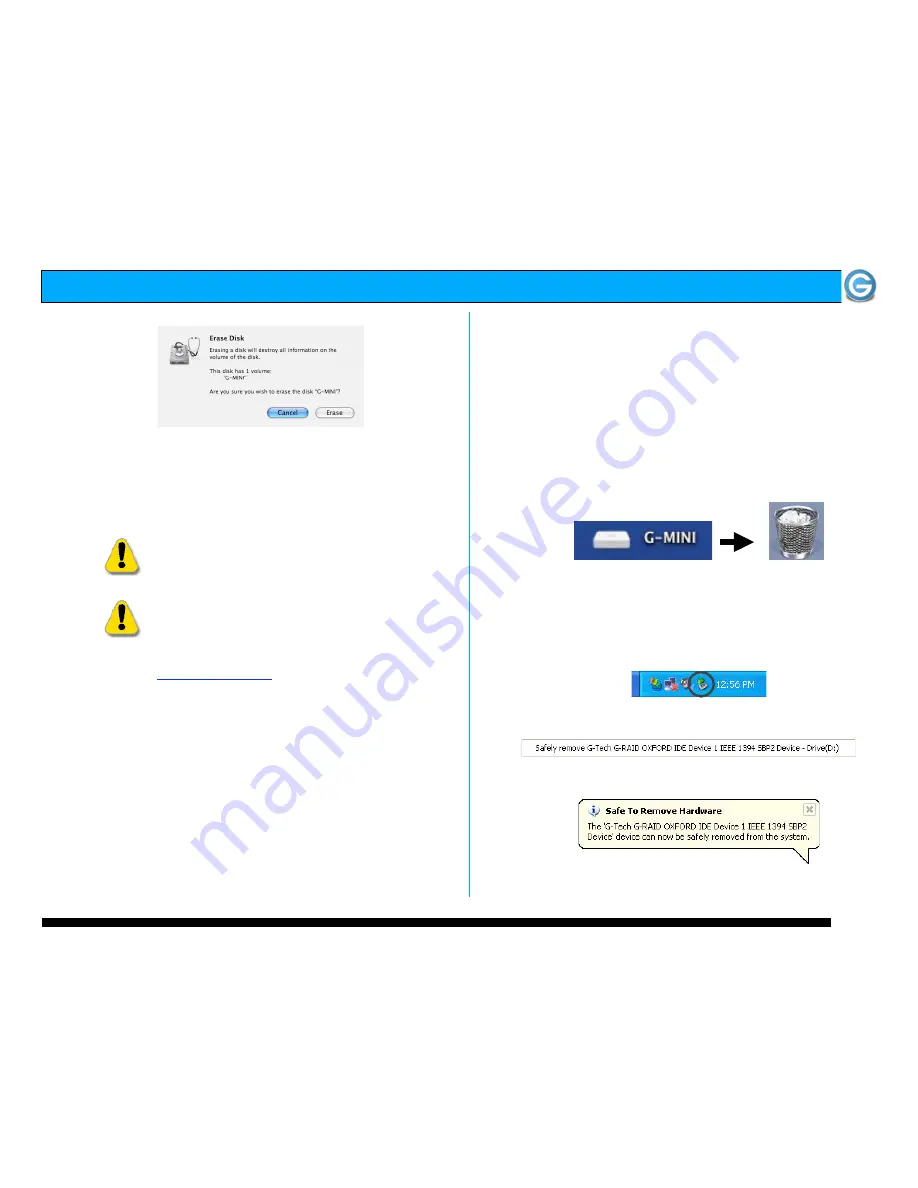
Click “Erase” and your drive will be formatted to its full
capacity as FAT32. With this format, you will be able to
READ/WRITE on both windows (2000/XP) and MAC OS
machines. (NOTE: You could format your drive on a
Windows machine FAT32, however Windows limits
FAT32 partitions to 32GB in size)
WARNING
:
THIS WILL ERASE ALL DATA ON YOUR DRIVE.
NOTE
: The 'MS-DOS File System' cannot write
files over 4 GB. If you are working with files over
4 GB, you may want to choose a software option
like MacDrive. MacDrive is Windows software that
enables the Windows OS to mount MAC formatted
drives. (
www.macdrive.com
)
8. UNMOUNTING/DISCONNECTING G-MINI
A great feature of G-MINI is its ability to be connected and
disconnected while your computer is running. To prevent
failures and/or data loss it is important to follow the steps
below when unmounting/disconnecting G-MINI from your
computer.
8.1
Mac OS X Computers
1. Before powering down and disconnecting G-MINI, you
must unmount it from the system by dragging the G-MINI
icon to the trash located in the dock, or by selecting the
drive icon and pressing the apple key and the “E” key at the
same time. (Apple+E)
2. It is now safe to power off and remove G-MINI from your
system.
8.2
Windows Computers
1. Before powering down and disconnecting G-MINI,
left-click on the “Safely Remove Hardware” icon shown below.
2. A box like the following will appear. Click on the entry.
3. A balloon like the following will appear.
4. It is now safe to power off and remove G-MINI from your
system.


