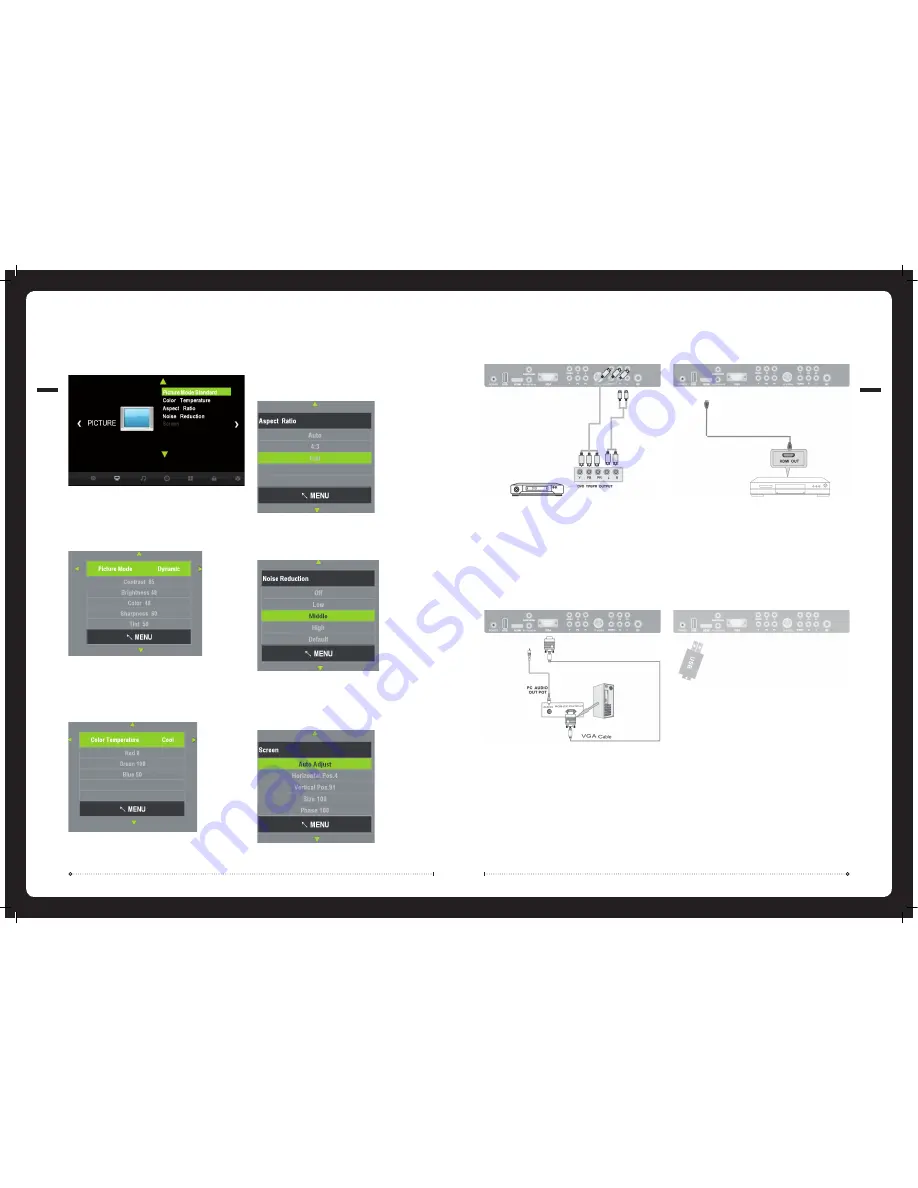
Picture
Press
MENU
button on the remote and
◄
/
►
use to cycle to
PICTURE
page below:
Picture Mode:
Select
Picture Mode
Press
◄
or
►
to cycle through available picture modes:
Standard, Mild, User
and
Dynamic
.
Note:
Contrast, Brightness, Color and Sharpness can only be changed under
User
.
»
»
Color Temperature:
From the
PICTURE
menu select
Color Temperature
Press
◄
or
►
to cycle through available color temperature modes:
Medium, User, Warm
and
Cool
.
Note:
Red, Green, and Blue can only be changed under
User
.
»
»
Noise Reduction:
From the
PICTURE
menu select
Noise Reduction
Press
▲
/
▼
to select Noise Reduction:
Off, Low, Middle, High
and
Default
.
»
»
Aspect Ratio:
From the
PICTURE
menu select
Aspect Ratio
Press
▲
/
▼
to select Aspect Ratio:
Auto, 4:3
and
Full
.
»
»
Screen:
From the
PICTURE
menu select
Screen
Press
▲
/
▼
to select Screen Options:
Auto Adjust, Horizontal Position, Vertical Position, Size
and
Phase
.
»
»
008
Y Pb Pr Connection
Connect the
Y Pb Pr
output of the accessory device to the
Y Pb Pr
input on the TV.
The picture quality is improved, compared to connecting a regular VCR video input.
Connect the Audio output of the accessory device to the Audio input jacks on the TV
using the
RCA
cable.
Select the
Y Pb Pr
input source using the
SOURCE
button on the remote.
VGA Connection
Connect the
RGB
output of the PC to the
VGA
input on the TV.
Connect the PC audio output of the PC to the PC Audio input jacks on the TV
Select the
VGA
input source using the
SOURCE
button on the remote.
HDMI Connection
Connect the
HDMI
output of the accessory device to the
HDMI
input on the TV.
Select the
HDMI
input source using the
SOURCE
button on the remote.
USB Connection
Insert the
USB
flash drive into the
USB
slot on the TV.
Select the
USB
input source using the
SOURCE
button on the remote.
005


