background image

4

Diagnostic Tests

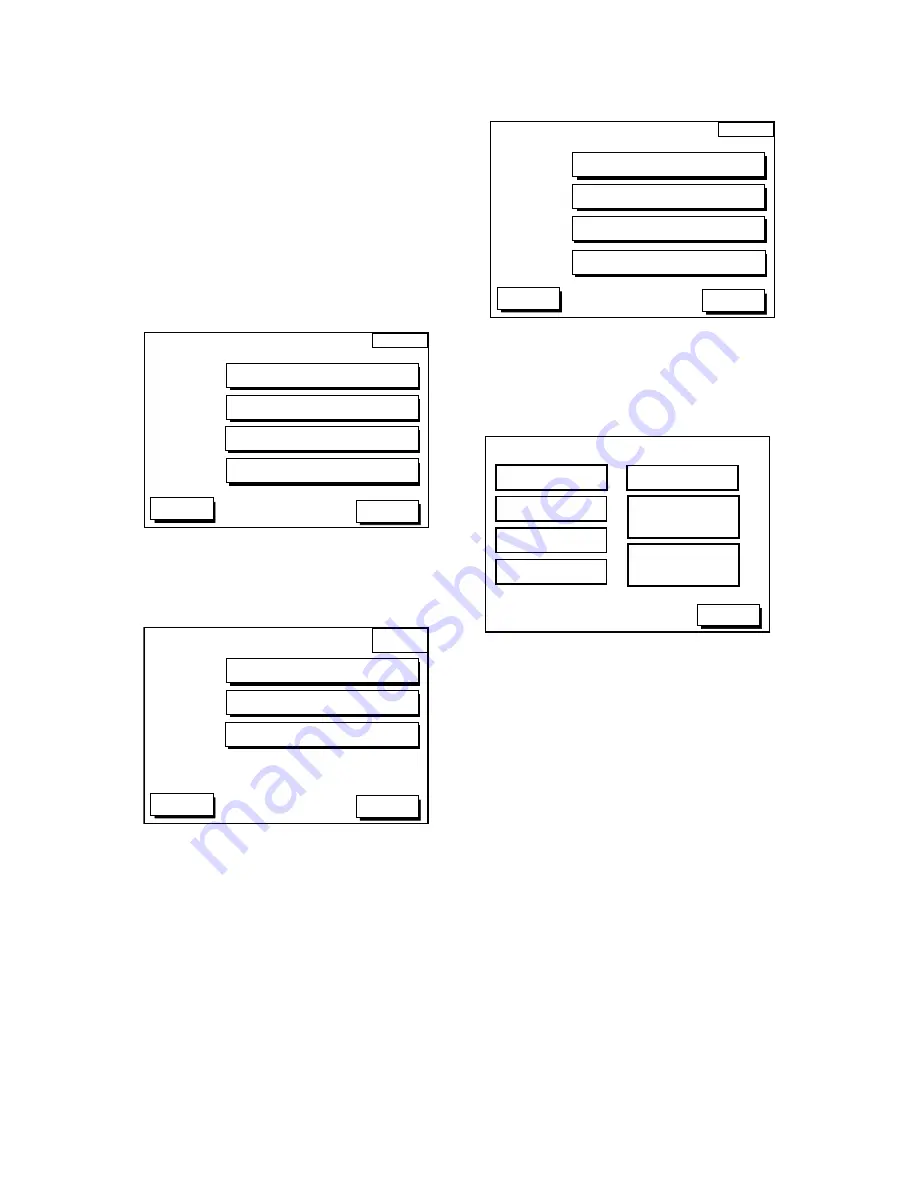
Memory, I/O port test

This test conducts a general check of the dis-
play unit and the antenna unit. The unit dis-
plays the results for each device or
component checked as OK or NG (No Good).

1. Press the [MENU] key to open the main

menu.

2. Press the soft key CONFIGURATION to

show the configuration menu.

CONFIG

DGPS 3D

SETUP NMEA PORT 1

UPLOAD/DOWNLOAD DATA

SETUP NMEA/DGPS PORT 2

SYSTEM MENU

RETURN

Figure 12-1 Configuration menu

3. Press the soft key SYSTEM MENU to

open the system menu.

SYSTEM

MENU

DGPS 3D

SELF TEST

MEMORY CLEAR

DEMONSTRATION MODE

RETURN

Figure 12-2 System menu

4. Press the soft key SELF TEST to open

the test menu.

TEST

DGPS 3D

MEMORY

I/O TEST

TEST PATTERN

KEYBOARD TEST

RETURN

REMOTE CONTROLLER TEST

Figure 12-3 Test menu

5. Press the soft key MEMORY•I/O TEST

to start the test. Test results and program
nos. are shown as below.

PROGRAM: OK

No. (LOOK HERE)

RETURN

TEST

SRAM: OK

DRAM: OK

PORT1: OK 
PORT2: OK 

INTERNAL
BATTERY: OK

GPS
RECEIVER: OK

No.(Doesn't Matter)

BEACON
RECEIVER: OK

No.(Doesn't Matter)
No.

NOTE: Special connections are required to check PORT1

             and PORT2 otherwise, "--" appears.

Figure 12-4 Memory, I/O test results

6. The test runs continuously. To return to

the self test menu, press the soft key
RETURN.

Note: BEACON RECEIVER results only ap-
pear on GP-1650/1850 "D" and "DF" Ver.

Summary of Contents for GP-1850 Series

Page 1: ...FISHING MODE and Feature Enhancements This Furuno GP1650 1850 Series Plotter has a newly developed software revision that includes many exciting new features This addendum is a supplement to your Operator s Manual It describes these new features and explains how to utilize them ...

Page 2: ...s Start Stop Own Ship Tracking and Edit Mark Entries easily from a newly added Softkey Menu In Pleasure Mode this new Softkey Menu is not displayed 2 New Memory Card Storage Capability It is now possible to store Marks Lines Waypoints Routes Tracks and Configuration Information Menu Settings of the GP1650 1850 Series onto a memory card The entire memory contents of a GP1650 1850 can be stored into...

Page 3: ... does not effect the Installation Manual included with your GP1650 1850 C Software Revision Check For Confirmation Only The Software Revision of your GP1650 1850 can be found by using the Self Test procedure on page 4 The Memory I O test will display the software revision number in the upper left corner of the display The last two digits of the number indicate which software version is currently i...

Page 4: ...STRATION MODE RETURN Figure 12 2 System menu 4 Press the soft key SELF TEST to open the test menu TEST DGPS 3D MEMORY I O TEST TEST PATTERN KEYBOARD TEST RETURN REMOTE CONTROLLER TEST Figure 12 3 Test menu 5 Press the soft key MEMORY I O TEST to start the test Test results and program nos are shown as below PROGRAM OK No LOOK HERE RETURN TEST SRAM OK DRAM OK PORT1 OK PORT2 OK INTERNAL BATTERY OK G...

Page 5: ...N DISPLAY SET GO TO METHOD OPERATION MODE RHUMB LINE nm kt ft F DD MM MMM 24 HOUR AUTO2 LINE MAGNETIC AUTO 01 3 E LORAN C LAT LON 1 POINT PLEASURE s Display setup1 menu 2 Press to select OPERATION MODE 3 Press the soft key EDIT to show the OP ERATION MODE window OPERATION MODE PLEASURE FISHING OPERATION MODE window 4 Press or to select PLEASURE or FISHING 5 Press the soft key ENTER or the ENTER ke...

Page 6: ... window MARK SHAPE MARK LINE MARK COLOR YELLOW MARK LINE window 3 Press the soft key MARK SHAPE to change mark shape the soft key MARK LINE to change mark line or the soft key MARK COLOR to change mark color Mark shape Press the soft key MARK SHAPE to dis play the MARK SHAPE window Press or to select mark shape desired MARK SHAPE MARK SHAPE window Mark line Press the soft key MARK LINE to display ...

Page 7: ...al marks lines 1 Operate the cursor pad to place the cur sor on the mark you want to erase 2 Press the CLEAR key The mark se lected is erased Note To erase a line place the cursor on the edge of the line The line segment will be erased Erasing whole marks lines You can erase all marks and lines Be abso lutely sure you want to erase all marks and lines erased marks and lines cannot be re stored 1 P...

Page 8: ...g When the formatting is com pleted FORMAT COMPLETED appears 5 Press the ENTER key to finish Now you can record data to the memory card 2 Saving Data to Memory Card The memory card can save four items of data track mark line waypoint route and configu ration Saving data 1 Insert a formatted memory card into the slot 2 Press the MENU key followed by the soft keys CONFIGURATION and UPLOAD DOWNLOAD D...

Page 9: ...ey to overwrite same data type on the card or press the CLEAR key to escape OVERWRITE FOLLOWING DATA OK YES ENTER key NO CLEAR key TRACK OVERWRITE message 3 Loading Data from Memory Card Data track marks waypoints configuration can be loaded from a memory card and dis played on the screen This feature is useful for observing past data and setting up the equipment for a specific purpose with con fi...

Page 10: ...added to internal track oldest track will be erased when the track memory capacity is exceeded Waypoint route The loaded data OVERWRITES previously stored waypoints and routes BE CAREFUL NOT TO DESTROY VALUABLE DATA Mark line The loaded data is added to internal data When the mark line memory becomes full no marks may be entered Configuration The loaded data replaces current configura tion setting...

Page 11: ...of the ship is shown to be at sea while it is in fact moored at a pier You can compensate for this error by offsetting chart position as fol lows 1 Press the MENU key followed by the soft keys CHART SETUP OPTIONS and CHART OFFSET DGPS 3D RETURN SET OFFSET ZOOM OUT ZOOM IN CHART OFFSET 135 12 345 E 34 12 345 N OS FROM 276 9 16 41 nm RESET OFFSET Plotter display chart offset selected 2 Use the curso...

Page 12: ...ongitude positions in hundredths thousandths or ten thousandths of a degree UPLOAD DOWNLOAD DATA menu This menu allows you to upload waypoint and route data to a PC or download the same data from a PC via the DGPS connector at the back of display unit The menu can be displayed by pressing the MENU key fol lowed by the soft keys CONFIGURATION and UPLOAD DOWNLOAD DATA For de tailed information see t...

Page 13: ...width of the sounder display can be se lected between standard approx 20 mm and wide approx 40 mm 1 Press the MENU key and the soft key SOUNDER SETUP OPTIONS The sounder setup menu appears See Fig ure 1 9 2 Press to select E S WINDOW window 3 Press the soft key EDIT to show the E S WINDOW window E S WINDOW STD WIDE 4 Press or to select STD or WIDE STD The width of the sounder display is approx 20 ...

Reviews: