45
EN
Int
rod
uct
ion
Con
nec
ti
on
s
P
lay
b
a
ck
Ed
it
ing
O
the
rs
Fu
nct
ion
S
e
tup
Rec
or
di
ng
VCR Fun
cti
ons
Basi
c Se
tu
p /
TV
Vie
w
Op
eration
This unit allows you to play back the files purchased or rented
from DivX
®
Video-On-Demand (VOD) services. The files are
available on the Internet. When you purchase or rent
DivX
®
VOD files on the Internet, you will be asked to enter a
registration code and a deactivation code. This menu items
provide you with the both codes.
1
Press [SETUP].
2
Select “General Setting” using [
K
\
L
], then
press [ENTER
\
OK].
3
Select “DivX” using [
K
\
L
], then press
[ENTER
\
OK].
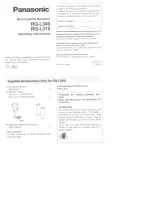
4
Select “DivX® VOD” using [
K
\
L
], then press
[ENTER
\
OK].
DivX® VOD selection screen will appear.
5
Select “Registration Code” or “Deactivation
Code” using [
K
\
L
], then press [ENTER
\
OK].
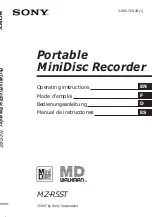
Your registration code or deactivation code will appear.
e.g.) Registration Code
To deactivate this unit:
You can register 6 devices (1PC and 5 devices) for an
account of DivX
®
. If you want to use more than 6 devices,
you must deactivate unnecessary one. If you want to
deactivate this unit, please follow the steps below.
At step
5
, select “Deactivation” using
[
K
\
L
]
, then press
[ENTER
\
OK]
. Confirmation screen will appear. Select
“Yes” using
[
K
\
L
]
, then press
[ENTER
\
OK]
.
This unit is deactivated.
You can get the new registration code and deactivation
code.
You will be asked to enter the new codes when you
download a DivX
®
VOD file next time.
Note
• You must first download the file from the Internet and play it
back on this unit before you are able to get another code.
• Once you play back the DivX
®
VOD file, you will not be able
to select “Registration Code” and “Deactivation Code”
unless you deactivate the unit.
• You must follow this step every time you purchase or rent a
DivX
®
VOD file from the Internet for a deactivated unit.
It is recommended that files to be played back in this unit
are recorded under the following specifications:
[DivX
®
]
• Official DivX
®
Certified product
Hint for the purchased or rental official DivX
®
Certified
product
• When you purchased or rental a DivX
®
file through the
official site of DivX
®
video which is called DivX
®
Video-On-
Demand (VOD) services, a registration code is required
every time you get the new file from the DivX
®
VOD services.
Refer to “DivX
®
VOD” on page 45.
• Some DivX
®
VOD files are restricted with the limited
playable times (you cannot play them back beyond the limit).
If your DivX
®
VOD file has such limit, the playback
confirmation screen will appear.
Use
[
0
\
1
]
to select “Yes” if you want to play back the file, or
to select “No” if you do not want to play it back. Then press
[ENTER
\
OK]
to confirm the selection.
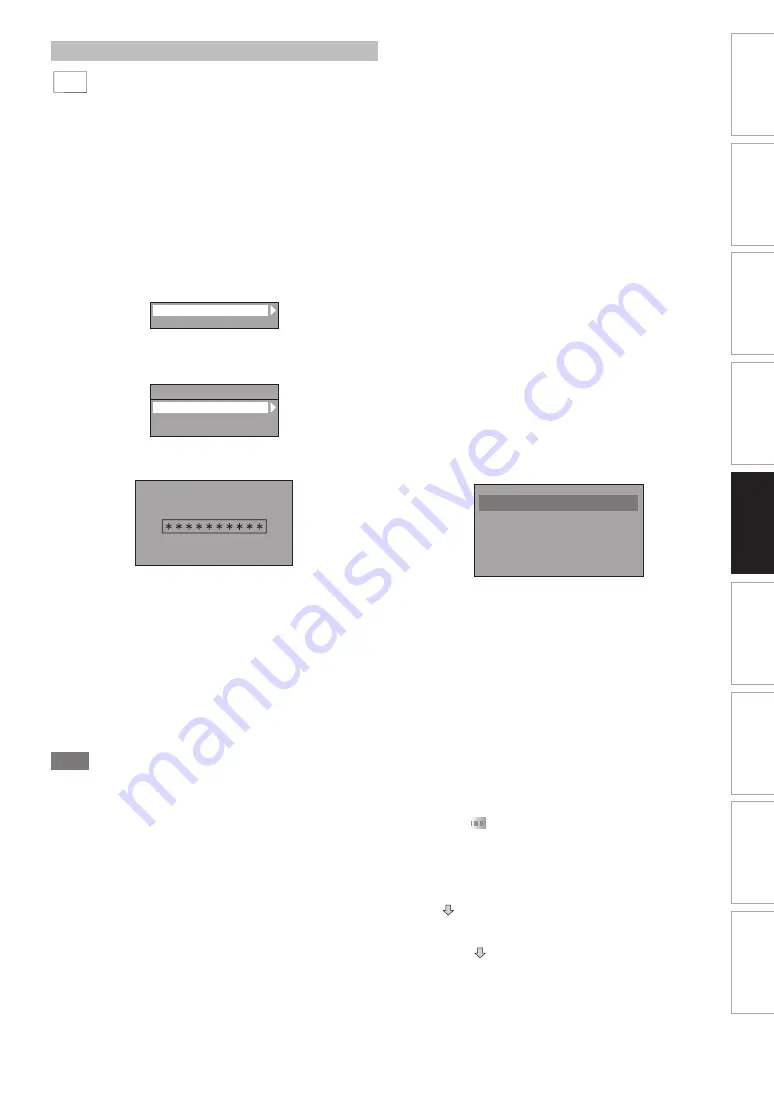
• You cannot play back the DivX
®
VOD files of which rental
period has been expired. In such case, press
[TOP MENU]
and select other files that can be played back.
Note for DivX
®
• DivX
®
is a codec (compression/decompression) that can
compress images to a very small amount of data. The
software can compress video data from almost any sources
to the size that can be sent on the Internet without
compromising visual quality of the images.
• For discs, a file with an extension of “.avi” and “.divx” can be
played back as a DivX
®
file.
• Files whose extension other than “.avi” and “.divx” will not be
listed on the DivX
®
menu. However, unplayable groups or
tracks may be displayed, depending on the recording
conditions.
• Even if the file has an extension of either “.avi” and “.divx”,
this unit cannot play it back if it is recorded in the format
other than DivX
®
.
• Folders are known as Groups; files are known as tracks.
• A symbol of
is shown on the top of the file name.
• A maximum of 255 folders or 999 files may be recognised in
one disc.
• Up to 8 hierarchies can be recognised in one folder. Files in
the 9th or deeper hierarchies cannot be played back.
• If the track extends beyond the scope of screen, a down
arrow “
” appears, indicating that the user can view
another part on the next page. The current page number
and the number of total pages are shown on the right of the
down arrow “
”.
• Letters of a file / folder name overflowing the given space will
be displayed as “...”.
DivX
®
VOD
DivX
DivX
®
DivX
®
DivX® VOD
DivX Subtitle
DivX® VOD
Registration Code
Deactivation Code
Deactivation
Your registration code is:
DivX®VOD
To learn more visit
www.divx.com/vod
• Playable Codec of AVI files
: DivX
®
3.x, DivX
®
4.x,
DivX
®
5.x, DivX
®
6.x
• Maximum size of image
: 720 x 480 @30 fps
720 x 576 @25 fps
• Sampling frequency of audio : 16 kHz - 48 kHz
• Audio type
: MPEG1 audio layer 3 (MP3),
MPEG1 audio layer 2,
Dolby Digital
Rental Expired
This rental is expired.
Please push ‘TOP MENU’.