FUNAI DBVR-7510S Owner'S Manual Download Page 20

20

EN

Track Search

There are three ways to begin the playback of a specific track 
on a disc. 

Using the Number buttons

1)

Press 

the


Number buttons

 to enter the desired track 

number.

•Playback will start at the selected track.
•For any discs, to play a single-digit track, press the 

number directly (e.g. for track 3, press 

3

).

•For the disc with less than 100 tracks, to play a double-

digit track, press 

+10

, then the number (e.g. for track 26, 

press 

+10

2

6

).

•For the disc with more than 100 tracks, to play a double-

digit track, press 

+10

0

, then the number of the track

(e.g. for track 26, press 

+10

0

2

6

). To play a triple-

digit track, press 

+10

, then the number of the track (e.g. 

for track 126, press 

+10

1

2

6

).

Using SEARCH

1)

Press 

SEARCH

.

•The Track Search display appears.

2)

Within 30 seconds, select a desired track number using 

the


Number buttons

•Playback will start at the selected track.
•For the disc with more than 10 but less than 100 tracks, 

to play a single-digit track, press 

0

 first, then the number 

of the track (e.g. for track 3, press 

0

3

). 

•For the disc with more than 100 tracks, to play a single 

or a double-digit track, press 

0

 first, then the number of 

the track (e.g. for track 3, press 

0

0

3

 and for track 26,


press 

0

2

6

).

•In any other cases, just press the number of the track.

Using SKIP 

H


G

During playback, press 

SKIP


G

 to move to the next track. 

Press it repeatedly to skip subsequent tracks.
Press 

SKIP


H

 to go back to the beginning of the current 

track. Press it repeatedly to go back to the previous tracks.

•If 

SKIP


H


G

 are pressed while the playback is paused, 

the playback will be paused again after skipping to the 
next track.

•During Dual Playback, using 

SKIP


H


G

 will only 

affect MP3 tracks.

•To skip JPEG files, use 

s

 or 

B

. If the “SLIDE SHOW” 

is set to “MUSIC”, 

SKIP


H


G

 are available for both 

MP3 and JPEG files.

Note: • SKIP


H


G

 are not available when playback is 

stopped.

Chapter / Title Search 

Using SEARCH

1)

During playback, press 

SEARCH

 once for the Chapter 

Search, twice for the Title Search.

2)

Enter the desired chapter/title number using 

the


Number 

buttons

.

Using the Number buttons

1)

During playback, press 

the


Number buttons

 to enter the 

desired chapter number.

•Playback will start at the selected chapter.
•For single digit chapters (1-9), press a single number 

(e.g. to play chapter 3, press 

3

).

•To play chapter 26, press 

+10

2

6

Note: •

Depending on the disc being played, using 

the


Number buttons

 cannot be performed.

Using SKIP 

H


G

During playback, press 

SKIP


G

 to go to the next chapter. 

Press it repeatedly to skip subsequent chapters.
Press 

SKIP


H

 to go back to the beginning of the current 

chapter. Press it repeatedly to go back to the previous chapter.
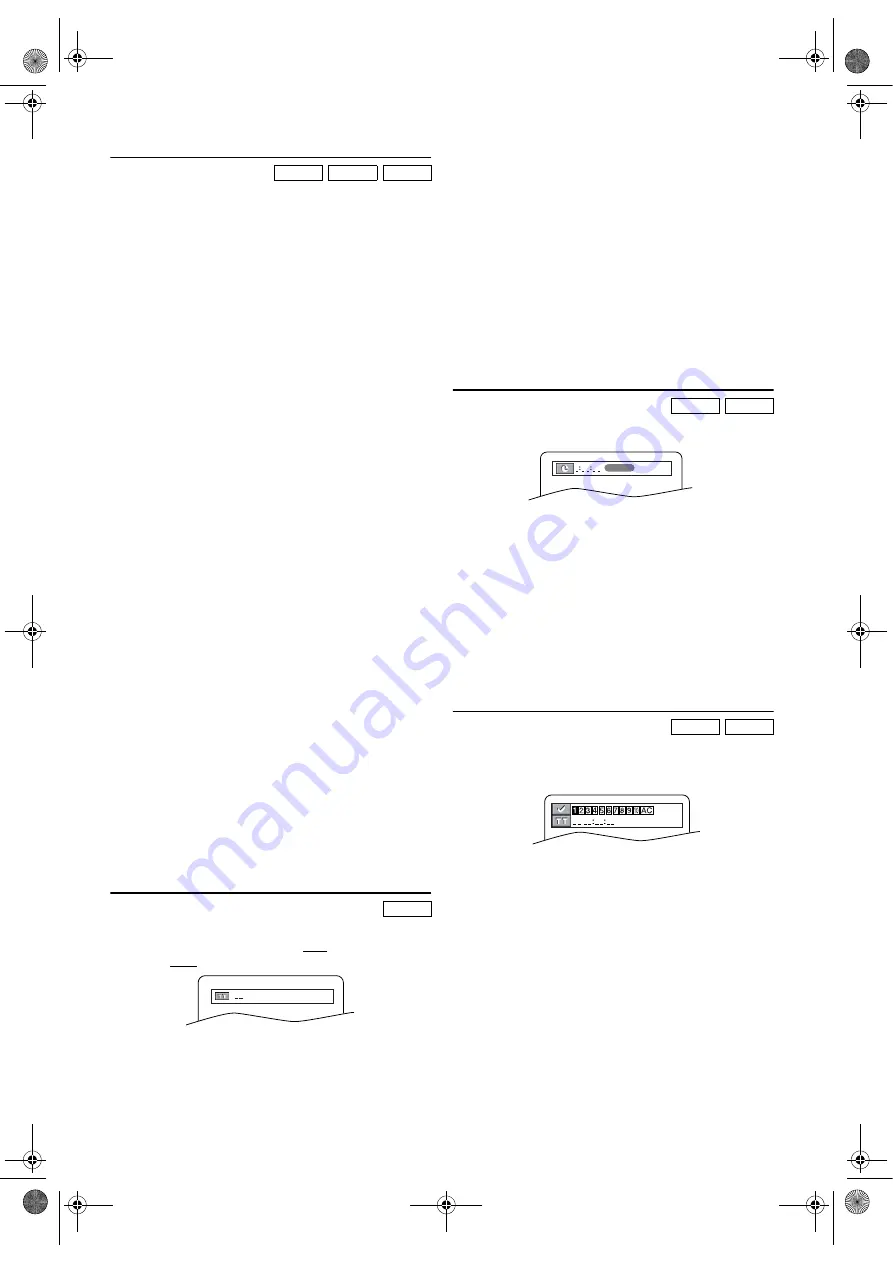
Time Search 

1)

During playback, press 

SEARCH

 repeatedly until the 

Time Search screen appears on the TV screen.

2)

Within 30 seconds, enter a desired disc time using 

the


Number buttons

.

•Playback will start at the specified time.
•For DVDs, enter a desired time of the current title.
•For Audio CDs, enter a desired time of the current 

track.

•Press

 CLEAR 

to erase the incorrect input. 

Note: •

“0” appears automatically when there is no need to 
enter a number. For example, “0:0_:_ _” appears in 
the Time Search display if the total time of the disc or 
track is less than 10 minutes.

 Time Search is not available on some discs.

Marker Setup

Use markers to memorise your favourite places on a disc.

1)

During playback, press 

SEARCH

 repeatedly until the 

Marker Setup screen appears on the TV screen.

2)

Press 

s

 or 

B

 to select 1, 2, 3, 4, 5, 6, 7, 8, 9 or 10 and 

ensure that “_ _  _ _:_ _:_ _” appears in the display.

3)

When the disc reaches the desired point, press 

ENTER

.

•The Title or Track and elapsed time will appear on the 

TV screen.

4)

To return to the marker later, press 

SEARCH

 repeatedly 

until the Marker Setup screen appears and 

s

 or 

B

 to 

choose the desired marker, then press 

ENTER

.

5)

Press 

SEARCH 

or 

RETURN

 to exit.

Note: •

Opening the disc tray, turning off the power or 
selecting “AC” at step 

2)

 and press 

ENTER

 will erase all 

markers.

To clear a marker, use 

s

 or 

B

 and select the marker 

number to be cleared, and then press 

CLEAR

.

You can mark up to 10 points.

CD

MP3

JPEG

DVD-V

/29

DVD-V

CD

DVD-V

CD

1:29:00

TOTAL

E8GA5BD(EN).fm  Page 20  Tuesday, April 17, 2007  11:56 AM

Summary of Contents for DBVR-7510S

Page 1: ...al Features 16 Disc Menus 16 Title Menu 16 Calling up a Menu Screen During Playback 16 MP3 JPEG Playback 17 Dual Playback 17 Slide Show Mode 17 Adjustment of Picture Size 18 Resume 18 Pause 18 Step by...

Page 2: ...ake sure that the Timer Recording mode is OFF 9 This product is in Stand by mode when it turns off while the power cord is connected 10 Do not place any combustible objects on the device candles etc 1...

Page 3: ...uctions carefully before attempting to connect this unit to mains The wires in this mains lead are coloured in accordance with the following code BLUE NEUTRAL BROWN LIVE Important As the colours of th...

Page 4: ...CD DVD Audio Note Only the sound recorded on the normal CD layer can be delivered The sound recorded on the high density Super Audio CD layer cannot be delivered Any other discs without compatibility...

Page 5: ...chapters or tracks during playback Press and hold this button for 1 5 seconds or more to search backward through the disc 15 CHANNEL VCR To change TV channels To adjust the tracking manually during pl...

Page 6: ...ges on a DVD To change sound modes of a CD 23 PAUSE F To pause playback DVD To advance playback one frame at a time DVD To pause playback or recording VCR To advance playback one frame at a time VCR T...

Page 7: ...best picture quality for DVD and VCR features 2 Use S VIDEO OUT for the better picture quality for DVD features only Sound 1 Use SCART Output DVD VCR AV1 TV for best sound quality for DVD and VCR fea...

Page 8: ...for connecting to an MD deck or DAT deck The audio source on a disc in a Dolby Digital Multi channel surround format cannot be recorded as digital sound by an MD or DAT deck Unless connected to a Dol...

Page 9: ...ss K or L until the relevant day appears then press B 7 Press K or L until the relevant hour appears then press B 8 Press K or L until the relevant minute appears 9 Press SETUP to start the clock Note...

Page 10: ...en added press CHANNEL K L To Skip a Preset Channel The channels you can no longer receive or seldom watch can be set to be skipped when you access channels by pressing CHANNEL K L Use the remote cont...

Page 11: ...speed in either a forward or reverse direction In this mode the sound will be muted 2 Press the button again the unit will now search in super high speed This function will not operate for a NTSC tape...

Page 12: ...to AUTO RETURN then press B ON will appear next to AUTO RETURN 4 Press SETUP Watch the Recorded Timer Programme Press T SET to turn on the unit and press VCR then press PLAY B Index Search This funct...

Page 13: ...corded tape Press PLAY B to start playback 2 Press PAUSE F at the desired point on the tape 3 Press REC OTR The unit will be in the Recording Pause mode 4 Press CHANNEL K L to select the channel to be...

Page 14: ...the entire programme by pressing s 3 Press SETUP to exit Avoid Overlap of TIMER Programmes A timer programme does not work while another programme is under execution Hints for OTR and Timer Recording...

Page 15: ...er or Clock Channel number press DISPLAY Each time you press DISPLAY TV screen will change as illustrated When you select the channel using the Number buttons select the desired channel position numbe...

Page 16: ...ally and black bars may appear at the both top and bottom of the screen It may take a time to deliver the picture or the sound This is not a malfunction You can change the on screen language in PLAYER...

Page 17: ...in the screen scope G appears at the right bottom of the screen indicating that you can view remaining items on the next page H appears at the left bottom of the screen indicating that you can view o...

Page 18: ...tly faster slower speed while keeping the sound quality as in the normal playback 1 During playback press MODE once The current setting appears 2 Press s or B to switch among x1 3 x0 8 and OFF Plays b...

Page 19: ...The selected language will be displayed on the display bar at the top of the screen 3 To turn off subtitles press SUBTITLE repeatedly until OFF appears Note If your language is not shown after pressi...

Page 20: ...the desired chapter title number using the Number buttons Using the Number buttons 1 During playback press the Number buttons to enter the desired chapter number Playback will start at the selected c...

Page 21: ...ently entered track To erase all tracks in the programme at once select ALL CLEAR at the bottom of the list and press ENTER When selecting an MP3 JPEG file or folder press Cursor s B as follows Press...

Page 22: ...4 Press DISPLAY repeatedly until on screen information disappears 1 During playback press DISPLAY Current track number total tracks elapsed time and remaining time of the current track and current pl...

Page 23: ...reen black bars appear on the top and bottom of the screen 4 3 PAN SCAN When viewing a 16 9 on a 4 3 aspect TV screen a full height picture with both sides trimmed is presented 16 9 WIDE If a wide scr...

Page 24: ...s ENTER 4 Press the Number buttons to enter your 4 digit password When doing this for the first time enter any 4 digit number by pressing the Number buttons except for 4737 then press ENTER That numbe...

Page 25: ...sh FIN 5255 French FRE 5264 Frisian 5271 Galician 5358 Georgian 5747 German GER 5051 Greek GRE 5158 Greenlandic 5758 Guarani 5360 Gujarati 5367 Hausa 5447 Hebrew 5569 Hindi 5455 Hungarian HUN 5467 I K...

Page 26: ...ot be played Ensure the disc label is facing up Check if the disc is defective by trying another disc Handle a disc with special care so that it does not have fingerprints scratches or dusts on its su...

Page 27: ...the centre out Do not wipe in a circular motion Do not use solvents such as benzine thinner commercially available cleaners or antistatic spray intended for analogue records Cleaning the disc lens Aft...

Page 28: ...EC We declare that the following product DVD CD PLAYER VIDEO CASSETTE RECORDER Model DBVR 7510S Trade Name Funai is in compliance with following Regulations EN55013 2001 A1 2003 EN55020 2002 A1 2003 A...

Reviews: