


8
L i f e B o o k A 1 1 1 0 / V 1 0 3 0 B I O S
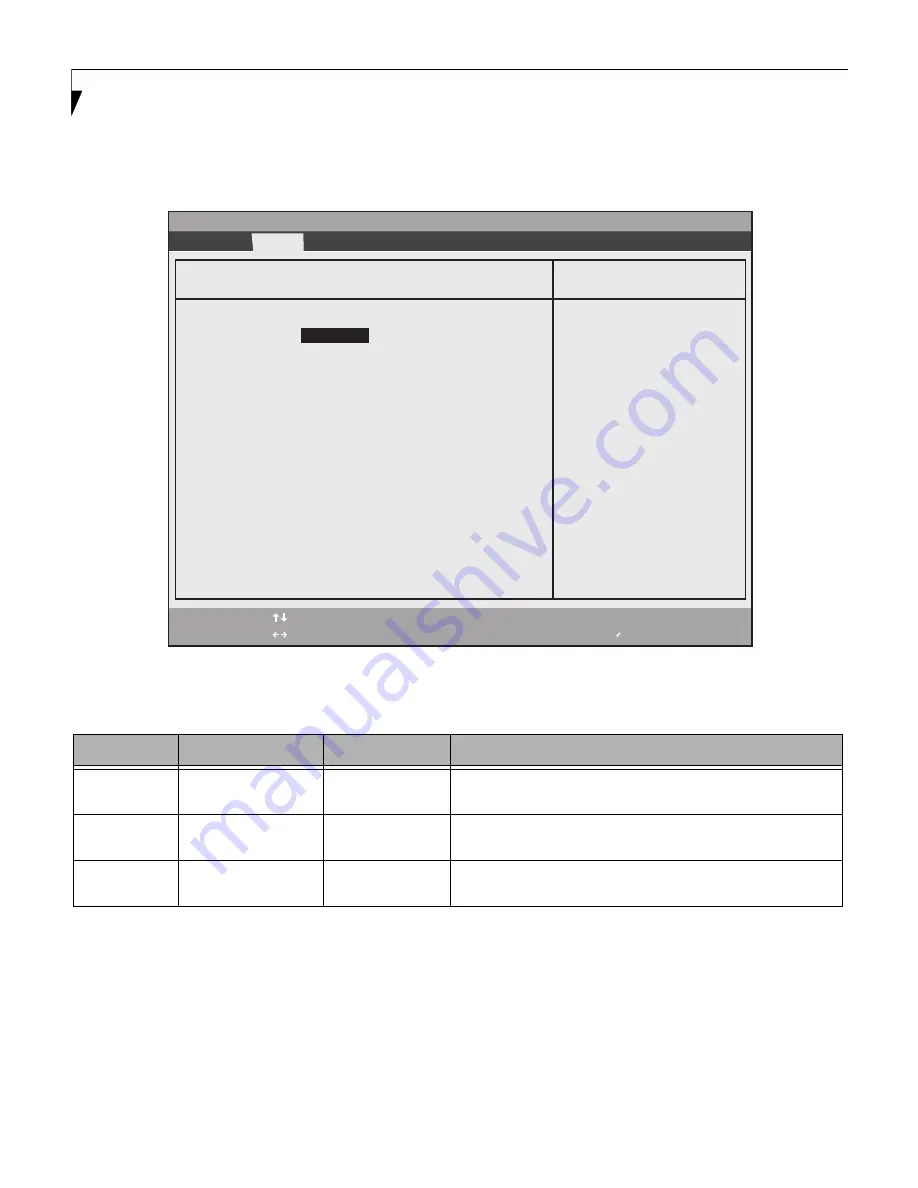
Drive1 Submenu of the System Menu
The Drive1 submenu allows you to configure secondary ATA devices.
Figure 4. Drive1 Submenu
Exiting from System Menu
When you have finished setting the parameters on this menu, you can either exit from the setup utility, or move to
another menu. If you wish to exit from the setup utility, press the [Esc] key or use the cursor keys to go to the Exit
menu. If you wish to move to another menu, use the cursor keys.
Table 4: Fields, Options and Defaults for the Drive1 Submenu of the System Menu
Menu Field
Options
Default
Description
Drive1:
■
Disabled
■
Enabled
[Enabled]
Enables or disables Drive1.
Type:
---
---
Displays the drive device type in Drive1. This field is for information
only.
Model:
---
---
Displays the model number of the device in Drive1. This field is for
information only.
F1
Help
ESC
Exit
Select Item
Select Menu
-/Space
Enter
F9
Setup
Defaults
F10
Save and Exit
Change Values
Select Sub-Menu
Item Specific Help
Drive1 [HL-DT-ST DVDRAM_GSA-T50N]
▲
Phoenix SecureCore(tm) Setup Utility
Info
System
Advanced Security Boot Exit
Drive1:
[Enabled]
Type: CD/DVD
Model: HL-DT-ST DVDRAM_GSA-T50N
[Disabled]
The drive is disabled.
[Enabled]
The drive is enabled.


