


32
- Touch Screen
.
T
O
AVOID
POTENTIAL
SCRATCHING
AND
DAMAGE
,
NEVER
USE
ANYTHING
BUT
THE
INCLUDED
STYLUS
OR
YOUR
FINGER
WITH
THE
TOUCH
SCREEN
.
T
O
PURCHASE
ADDITIONAL
OR
REPLACEMENT
STYLUSES
,
VISIT
F
UJITSU
’
S
ACCESSORIES
WEBSITE
AT
:
WWW
.
SHOPFUJITSU
.
COM
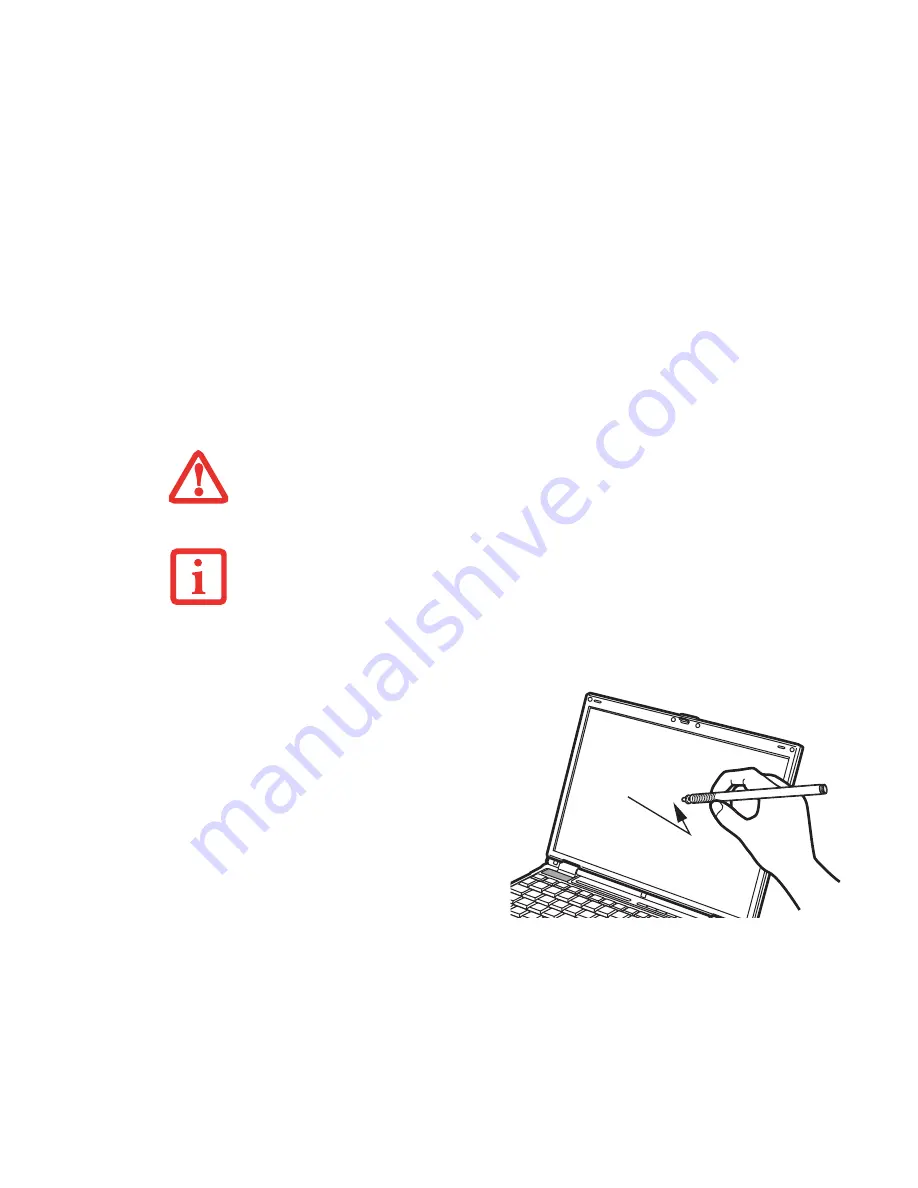
Clicking
To left-click, touch the object you wish to select,
then lift the stylus tip immediately. You also have
the option to perform the left-click operation by
tapping lightly with your finger on the touch
screen once.
To right-click, first select a right-button tool. Go
to Start > Control Panel, then perform the
following steps, depending upon your operating
system.
XP Professional:
Select Touch Panel > Right
Button Simulation tab.
XP Tablet PC/Vista Business:
Select Tablet and
Pen Settings (or Pen and Input Devices in Vista).
Select Pen Options, then make sure that Pen
Action “press and hold” is set to Right-click.
Figure 16. Clicking the Touch Screen
It can be used two ways: by holding down the key or
by pressing the key once.


