68
Menus
Menus
Using the Menus: Shooting Mode
Using the Menus: Shooting Mode
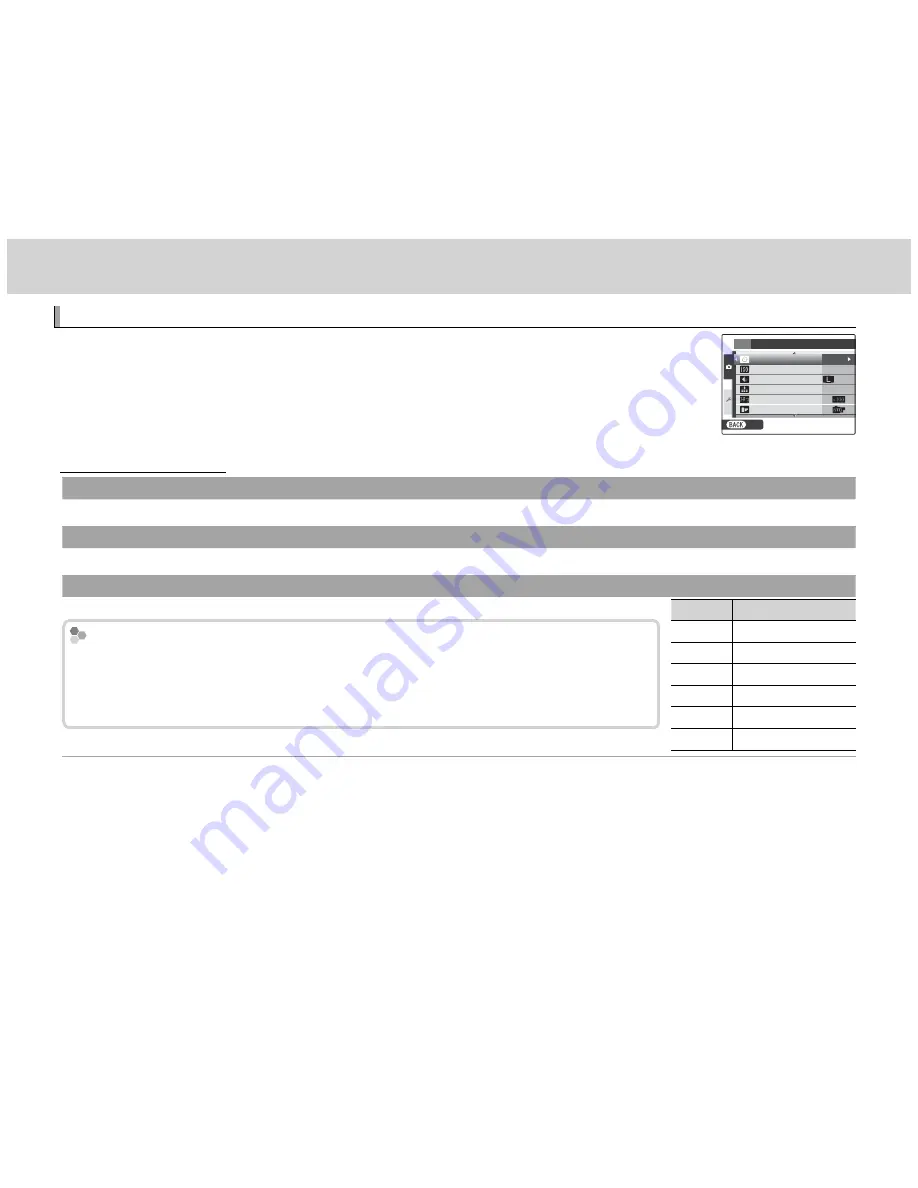
The shooting menu is used to adjust settings for a wide range of shooting condi-
tions. To display the shooting menu, press
MENU/OK
in shooting mode. Highlight
items and press the command dial right to view options, then highlight an option
and press
MENU/OK
. Press
DISP/BACK
to exit when settings are complete.
SET
EXIT
P
F
3 : 2
200
OFF
SHOOTING MENU
DYNAMIC RANGE
ISO
SELF-TIMER
FILM SIMULATION
IMAGE SIZE
IMAGE QUALITY
Shooting Menu Options
Shooting Menu Options
B
B
SELF-TIMER
SELF-TIMER
((
defaults to
defaults to
OFF)
OFF)
Take pictures with the self-timer (
P
43).
N
N
ISO
ISO
((
defaults to
defaults to
200)
200)
Control the camera’s sensitivity to light (
P
50).
O
O
IMAGE SIZE
IMAGE SIZE
((
defaults to
defaults to
O
O
3 : 2)
3 : 2)
Choose the size and aspect ratio at which still pictures are recorded.
Aspect Ratio
Aspect Ratio
Pictures with an aspect ratio of 3 : 2 have the same proportions as a frame of 35 mm fi lm, while
Pictures with an aspect ratio of 3 : 2 have the same proportions as a frame of 35 mm fi lm, while
an aspect ratio of 16 : 9 is suited to display on
an aspect ratio of 16 : 9 is suited to display on
H
H
igh
igh
D
D
efi nition (HD) devices. To make it easier to
efi nition (HD) devices. To make it easier to
frame pictures with an aspect ratio of 16 : 9 in the optical viewfi nder, select
frame pictures with an aspect ratio of 16 : 9 in the optical viewfi nder, select
H
H
HD FRAMING
HD FRAMING
for
for
z
z
FRAMING GUIDLINE
FRAMING GUIDLINE
(
(
P
P
85).
85).
O
IMAGE SIZE
is not reset when the camera is turned off or another shooting mode is selected.
Option
Option
Prints at sizes up to
Prints at sizes up to
O
3 : 2
36 × 24 cm (14 × 9.5 in.)
O
16 : 9
36 × 20 cm (14 × 8 in.)
P
3 : 2
26 × 17 cm (10 × 7 in.)
P
16 : 9
26 × 15 cm (10 × 6 in.)
Q
3 : 2
18 × 12 cm (7.5 × 5 in.)
Q
16 : 9
17 × 9 cm (7 × 3.5 in.)


