6.1 Clearing Paper Jams
215
6
Troubleshooting
If you encounter a problem while using this printer and have trouble solving it, see if any of
the symptoms in the following pages “6.1 Clearing Paper Jams” (P. 215) through “6.8
Network-related Problems” (P. 287) match your problem.
If your problem is described in the following pages, apply the suggested solution provided
for the problem.
If your problem is not described, or could not be solved with the suggested solution, contact
our Customer Support Center or your dealer.
6.1
Clearing Paper Jams
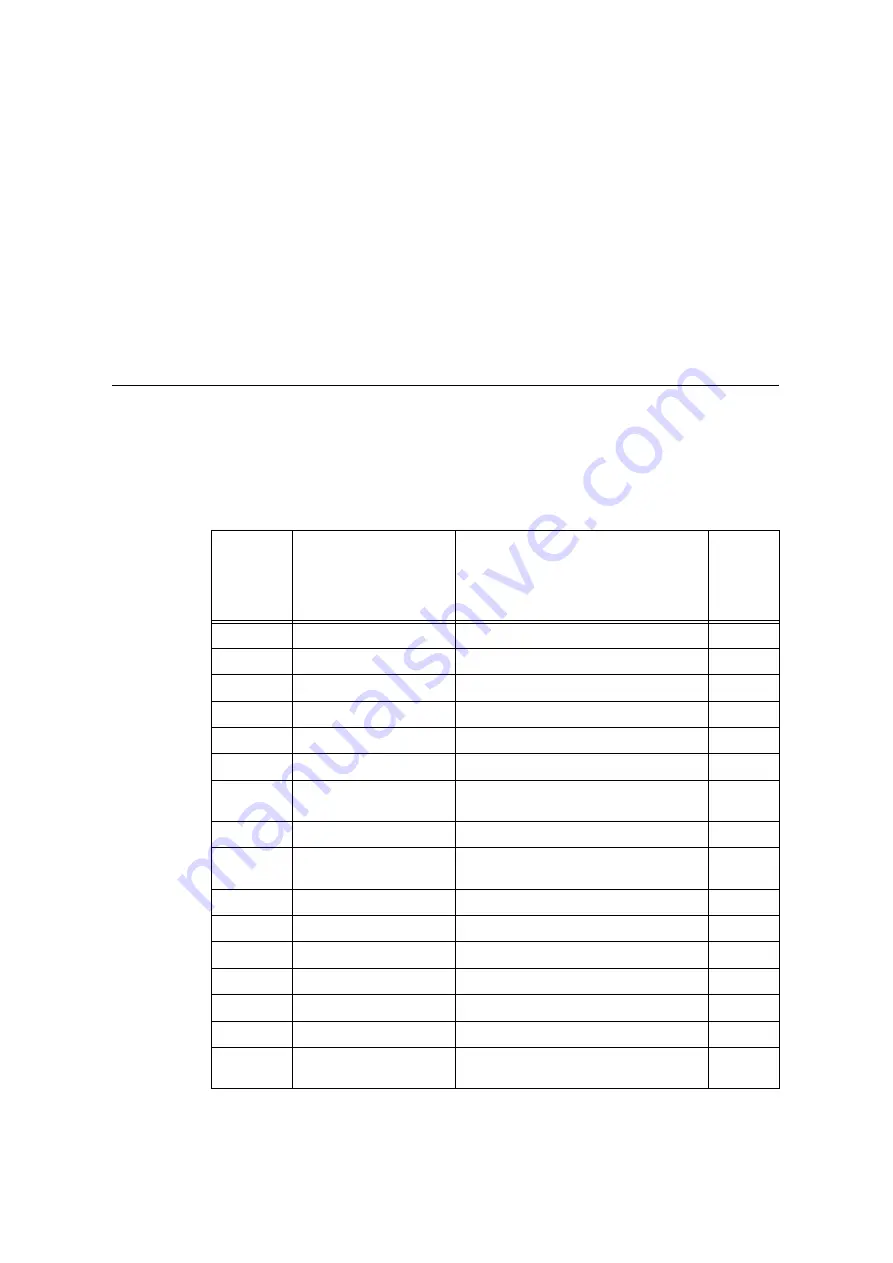
A paper jam will disable the machine and cause an alarm to sound. An <Error> lamp will
light on the control panel and an error message will appear on the display. Use the figure
on the bottom left of the control panel to check the location of the paper jam described in
the message, and remove the jammed paper.
After the paper jam is cleared, printing restarts automatically from the point where printing
stopped due to the paper jam.
Alpha-
numerics
indicated
in the
figure
Position of Paper Jams
on the Message
Paper Jam Solution
Referenc
e Pages
1, 2, 3 & 4
Tray 1 to 4
Paper Jam in Trays 1 - to 4
5
Tray 5 (Bypass tray)
Paper Jam in the Bypass Tray 5
A
Cover A
Paper Jams in Upper Left Cover A
B
Cover B
Paper Jams in Duplex Module Cover B
C
Cover C
Paper Jams in Bottom Left Cover C
D
Cover D
Paper Jams in Top Left Cover D
-
High Capacity Feeder /
Tray 6
Paper Jams in Tray 6 (HCF B1)
-
Finisher / Top cover
Paper jams under the Finisher Top Cover
F
Finisher / Transport Cover
F
Paper Jams in the Finisher Transport Cover
F
-
Finisher / Exit Cover H
Paper Jams at H in the Finisher
-
Finisher / [2a]
Paper Jams at 2a in the Finisher
-
Finisher / [2b]
Paper Jams at 2b in the Finisher
-
Finisher / [3]
Paper Jams at 3 in the Finisher
-
Finisher / [4] / [4a]
Paper Jams at 4a in the Finisher
-
Finisher / [4] / [4b]
Paper Jams at 4b in the Finisher
-
Finisher / [4a] / [Right
Bottom Tray]
Paper Jams in the Right bottom tray


