4.2 Loading Paper
129
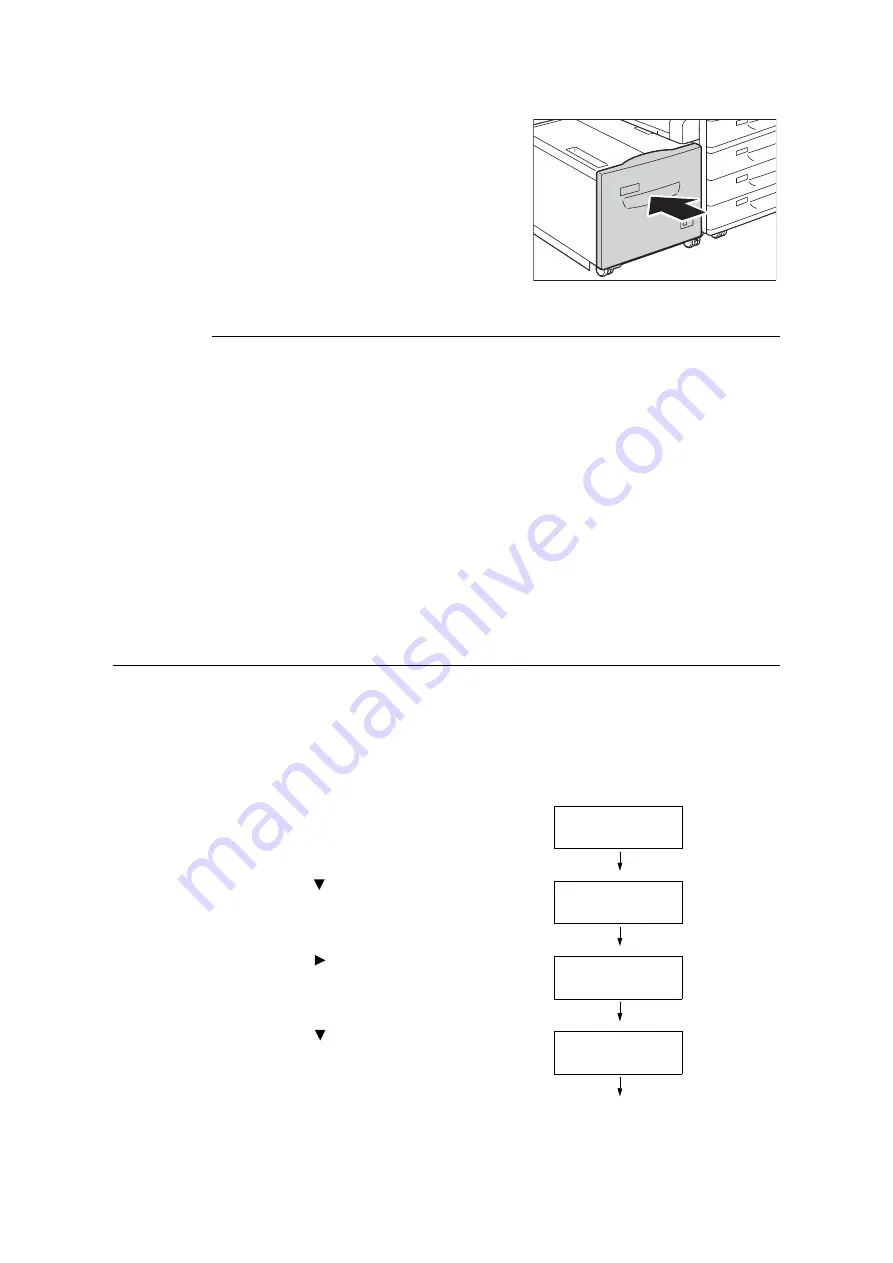
10. Push the tray in gently until it stops.
Paper Sizes/Paper Type for Tray 6
Though the printer can detect the size (only standard sizes) and orientation of paper loaded
in paper tray 6, use the control panel to configure the paper type setting.
If the paper type setting does not match the actual type of the paper, toner may not fuse
properly to the paper, resulting in poor print quality. Make sure to configure the paper type
settings correctly. The initial factory default setting for all the trays is plain paper.
Refer to
• “Setting the Paper Sizes of Trays” (P. 129)
• “Changing the Paper Type Settings of Trays” (P. 131)
Note
• The printer performs image quality processing in accordance with the current paper type setting.
Configuration of [Image Quality] settings on the control panel also is required when using coarse paper
(“coarse paper” refers to paper having conspicuous transparent characters when held up against the
light), or some types of thick paper such as business card paper. Refer to “[Image Quality]” (P. 196) for
information about image quality and “Configuring Image Quality Settings for Each Paper Type” (P. 132)
for information about configuring settings.
Setting the Paper Sizes of Trays
Use the following procedure when configuring custom paper size settings for trays 1
through 4.
Note
• If you changed the paper loaded in a tray from custom size paper to standard size paper, select [Auto] in
Step 9 below. Doing so allows the printer to automatically detect the type of the paper loaded in each
paper tray.
1.
On the control panel, press the <Settings>
button to display the menu screen.
2.
Press the < > button until [Admin Menu] is
displayed.
3.
Press the < > or <OK> button to select.
[Network/Port] is displayed.
4.
Press the < > button until [Printer
Settings] is displayed.
Settings
LanguageEmulation
Settings
Admin Menu
Admin Menu
Network/Port
Admin Menu
Printer Settings


