background image

8

Test

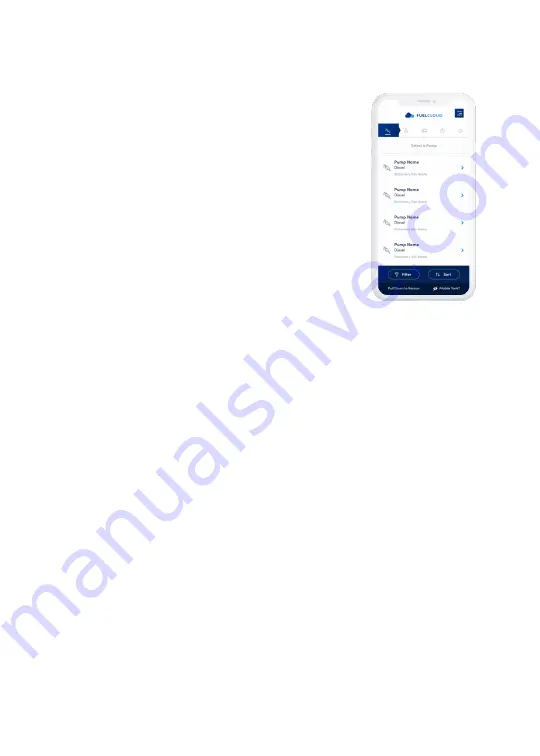
Open the FuelCloud mobile 
app and connect to your newly 
installed FuelCloud hardware.

Note: if you cannot connect to your 
FuelCloud hardware and the unit 
has powered up correctly, verify that 
you have completed online setup 
appropriately.

Toggle the bypass switch and verify that the pump 
can run in bypass mode.

•  Check that the Pulse LED flashes when running 

in bypass mode.

•  Check that the latest version of the FuelCloud 

app is installed.

Summary of Contents for CLOUDBOX

Page 1: ...CLOUDBOX Quick Start Guide ...

Page 2: ...Help Videos and more information available at help fuelcloud com Important Online setup must be complete in order to finish installation and test your system If you are the account owner please complete online setup prior to your installation date Go to Fuelcloud com and follow the on screen prompts ...

Page 3: ...3 Add a Tank 2 Add a Site Important Ensure that the location address and coordinates for the site are correct Tip Go to Settings Billing in the left navigation 1 Add a Default Payment Method The Setup Page will walk you through the all of the necessary steps and features to get your system going A few of these steps are mandatory for installation while others can be set up later For install here s...

Page 4: ...less signal to communicate with the hardware and your mobile device needs a line of site to the CloudBox to connect and unlock the pump Select an installation site that is in visual range and do not install the CloudBox inside or behind a metal cement barricade ...

Page 5: ...power off Mount Turn off all power to the pump at the breaker Attach the 4 included Mounting Brackets and screws to the CloudBox Use any available fasteners to mount the CloudBox Included with CloudBox 4x OFF ON ...

Page 6: ...minal on the bottom bank of terminals on the left hand side of the CloudBox circuit board DC power has a 8 50VDC power range For power input attach the appropriate wires DC DC to the designated terminals on the top bank of terminals on the left hand side of the CloudBox circuit board For power output attach the appropriate wires to the designated terminals on the bottom bank of terminals on the le...

Page 7: ...DC INPUT INPUT OUTPUT OUTPUT AC CLASS 2 WIRING TERMINAL DC DC ...

Page 8: ... of the two wires you attach to each terminal Note 3 wire pulser if pulser requires 12V DC power Attach one wire to the terminal marked Pulse Attach one wire to the terminal marked GND Attach the pulser 12V power wire to the 12V terminal Attach signal wire to the Pulse Attach the ground wire to the GND terminal 2 Wire Passive Pulser 3 Wire Active Pulser Warning Do not attach AC power to the termin...

Page 9: ...12v Level GND 2 Wire Passive Pulser FUELCLOUD PULSER Pulse Pulse Pulse 3 Wire Active Pulser FUELCLOUD PULSER Pulse 12v Level GND GND Signal 12v ...

Page 10: ...d lights up a green LED on the right of the board should activate a Status LED should move from flashing red to yellow If no LEDs illuminate Verify that the terminals are correctly wired for your power supply Verify that there is power coming to the CloudBox STATUS POWER ...

Page 11: ...to your FuelCloud hardware and the unit has powered up correctly verify that you have completed online setup appropriately Toggle the bypass switch and verify that the pump can run in bypass mode Check that the Pulse LED flashes when running in bypass mode Check that the latest version of the FuelCloud app is installed ...

Page 12: ......

Reviews: