


Installation Introduction
I. Working with Quick Connect Fittings
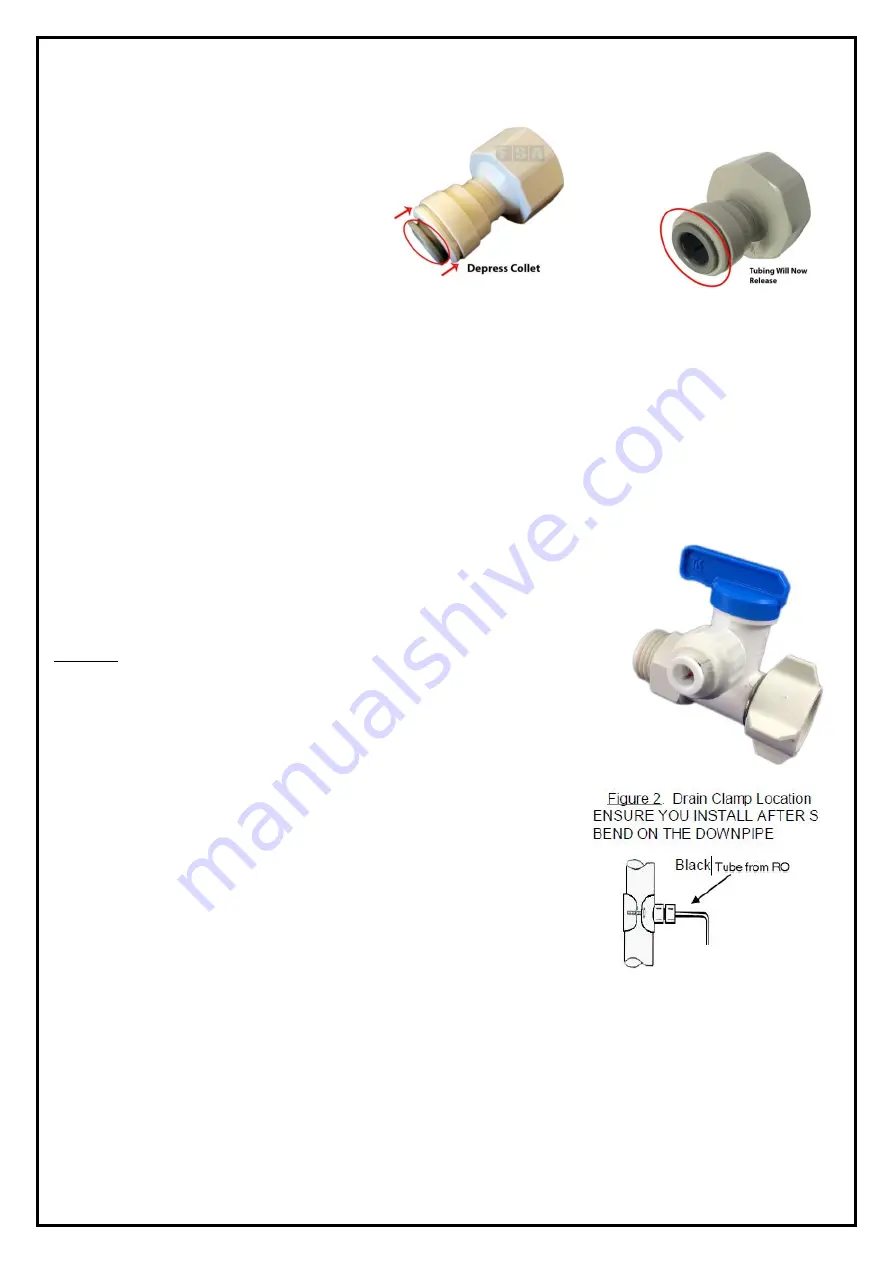
If you come across a push-fit fitting, you
need to firmly push the tubing into the
opening until you feel a “click” which
signifies that the tubing has pushed
through the internal O-ring and is seated
correctly. If leaking occurs, it may be due
to roughly cut tubing OR the tubing is not
pushed in far enough. To remove tubing
from push-fit fittings, depress the floating
collet (shown to the right), then pull the tubing out.
II. Flushing
Laws and regulations prevent us from wet-testing these filtration systems prior to sending them out.
Therefore, during assembly of these systems they are not pressure tested so it is possible to have a small
leak in a connection (which is simply fixed by re-seating the tubing or tightening a fitting). As the filters are
dry packed, the systems will require flushing before first use.
Installing Connections
I. Feed Water Connection
Using the supplied Feed Water Adaptor [FWA] (Pictured right), Locate the
connection between the kitchen tap & cold-water line (Usually a flex line).
Shut off the incoming water and bleed pressure from the line by opening the
tap. Disconnect the flex line from the cold-water inlet and install the Feed
Water Adaptor in between.
DO NOT apply thread tape to these connections as they are designed to use
the washers only – Thread tape is only required on the male thread of the
FWA if it is not installing to a flex line.
With the blue handle facing in line with the cold-water line (As pictured) the
valve is in the off position. During this point, you can turn the water back on
to check for leaks in the valve installation.
II. Drain Clamp
The best installation point for the drain clamp is below the S bend
(Trap). The Vertical tailpiece is ideal.
1. Mark the position of the hole on the pipe and drill through using
a ¼” (6mm) drill bit (One side only).
2. Unscrew the clamp and wrap it around the pipe, loosely screw
it back up leaving enough slack so you can position the hole
with the outlet of the clamp.
3. Tighten the clamp to create a seal.
III. Drilling Faucet Hole - Stainless Steel Sink)
1. Drilling through a stainless-steel sink can be achieved by marking the location with a centre punch
and drilling a 3/16” Pilot Hole – When drilling through stainless steel – lower speeds are better with
a sharper bit to avoid burning the surface of the sink.
2. Using a 1/2” or 7/16” carbide or sharp drill bit, enlarge the hole to fit the stem of the faucet (7/16”
Thread)
For installation on other types of sinks – such as stone, it is best to employ a specialist to drill the hole to
ensure it is done correctly – where possible it is best to get the sink manufactured with a pre-drilled hole.


