FrSky Electronic Co., Ltd www.frsky-rc.com Contact us : [email protected]
Add:F-4,Building C, Zhongxiu Technology Park, No.3 Yuanxi Road, Wuxi, 214125, Jiangsu, China Technical Support: [email protected]
FrSky is continuously adding features and improvements to our products. To get the most from your product, please check
the download section of the FrSky website www.frsky-rc.com for the latest update firmware and manuals
.
FrSky Electronic Co., Ltd www.frsky-rc.com Contact us : [email protected]
Add:F-4,Building C, Zhongxiu Technology Park, No.3 Yuanxi Road, Wuxi, 214125, Jiangsu, China Technical Support: [email protected]
How to change the SBUS signal from negative to positive for RX1 IN and RX2 IN:
The SBUS signal from FrSky Redundancy Bus is negative. Follow the steps below to change it from negative to
positive.
Take RX1 IN for example
I. Connect the signal pins of CH11 and CH12 by a jumper
II. Connect the power supply to BATT1 or BATT2 and the GREEN LED will Flash
III. Remover the jumper and disconnect the power supply
Note
Connect the signal pins of CH13 and CH14 by a jumper, and follow I & II
to change the SBUS signal
from negative to positive for RX2 IN.
Connect the signal pins of CH11 and CH12, CH13 and CH14 by jumpers, and follow I & II to change
the SBUS signal from negative to positive for RX1 IN and RX2 IN at the same time.
Follow step
I & III to switch back the SBUS signal from positive to negative.
Setting for Servo Signal Output Period:
The default period of the signal output is 20ms, and it could be set to the receiver synchronized.
Analog servos are not recommended to set to receiver synchronized.
Follow the steps below to set the signal output period:
I. Connect the signal pins of CH1 and CH2 by a jumper
II. Connect the power supply to BATT 1 or BATT 2
III. The GREEN LED flashes quickly, indicating that signal output period has been synchronized with that of the
receiver (from 20ms to the desired value)
IV. Disconnect both the jumper from CH1 and CH2 and the power supply
How to distinguish between 20ms and the receiver synchronized
Connect a receiver to RX1 IN or RX2 IN, then connect power supply to BATT1 or BATT2. If GREEN LED flashes
quickly, it is receiver synchronized output. If stay on, it is 20ms output.
How to update the firmware
Update the RB-20 through S.PORT interface
Instruction Manual for FrSky RB-20
Instruction Manual for FrSky RB-20
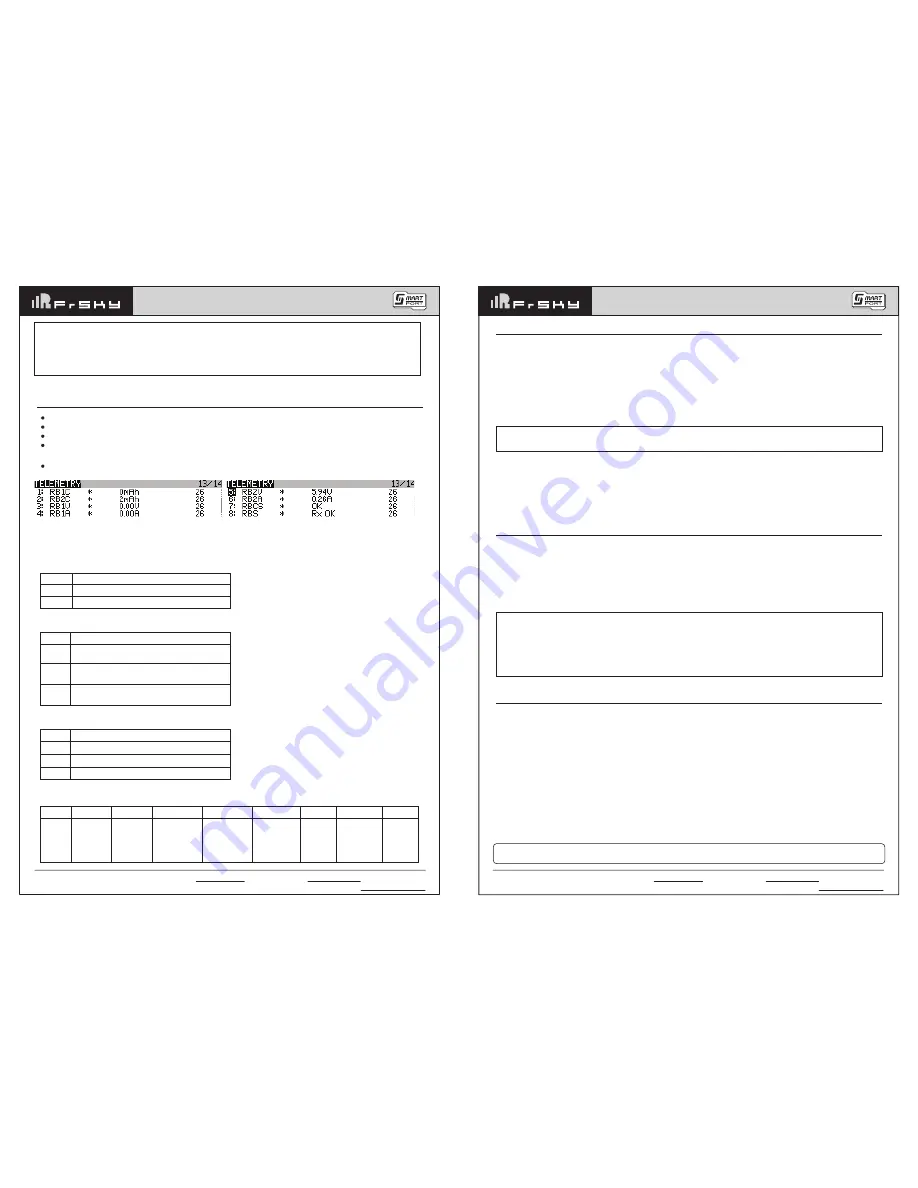
Values:
Voltage — actual voltages of both inputs
Current — actual current flowing from the power supply to the output
Capacity — consumed capacity of each power supply
Over-I Monitor — indication of servo status( good or overloaded); indication of receiver status
;
numbers of
detected channels and output period of signal
All values above will be transmitted to FrSky radio system in real time
Note
I
hold
means the maximum current passes through the device without tripping under the above three
conditions.
I
trip
means the minumum current passing through the device will cause trip under the above three
conditions.
Attention
1. Only failsafe set on the receiver which is connected to RX1 S.P will work.
2. RB-20 doesn't support hotplug. When RX1 or RX2 is replaced halfway, RB-20 needs to be repowered on.
3. Make sure both of the receivers output the same signal. For example,when S8R and X8R are used
together, disable gyro on S8R, or they will output different signals.
4. Two receivers could be bound to the same RF module. Also, users could bind RX1(RX2) to IXJT and
RX2(RX1) to the external module XJT, but the S.Port of the external module should be disabled (The
transmitter could only get the S.Port signal from one module by now).
5. RB-20 will manage the telemetry of the two receivers automatically after connecting the devices.
There’s no need to disable the telemetry while binding RX1/RX2.
Note: If you want to change back to the default servo signal output period(20ms), please follow STEP
Ⅰ
&
Ⅱ
above without connecting any receiver.
RBnC:
total power usage of battery n
RBnV:
the voltage of battery n
RBnA:
the current of battery n
RBCS:
1.
2. When using SD logs function, if the RBCS has a non-zero value, such as 64, Convert 64 to binary 100000
,
As you can see from the table, the channel 7 overloader or Voltage less than 4V.
RBS:
1.
2. When using SD logs function, if the RBS has a non-zero value, such as 6, Convert 6 to binary 00110
,
As you
can see from the table
,
the RX1 lostFrame & Rx2 failsafe.(0 is normal)
Display Definition for Value
OK normal
CHnH CHn overload or undervoltage (Less than 4 v).
Display
RX OK
RXn_FS
RXn_LF
Definition for Value
Normal
Rxn failsafe
Rxn lost Frame
BitX
Bit n
(n≤15)
Bit 16
Bit 17
Definition for Value
0: channel n+1 normal
1: channel n+1 overloader or Voltage less than 4V
0: RX1 normal
1: RX1 overloader or Voltage less than 4V
0: RX2 normal
1: RX2 overloader or Voltage less than 4V
Bit X
Definition
for Value
Bit 0
1: RX1_
FAIL SAFE
Bit 1
1: RX1_
FRAME_LOST
Bit 2
1: RX2_
FAIL SAFE
Bit 3
1: RX2_
FRAME_LOST
Bit 4
1: RX1_
PHYSICAL_
CONNECTION_
LOST
Bit 5
1: RX2_
PHYSICAL_
CONNECTION_
LOST
Bit 6
1: RX1_
NO_SIGNAL
Bit 7
1: RX2_
NO_SIGNAL


