


89
EN
-U
S
Room calibration
Function
-
Room calibration calibrates the cameras in the 3D glasses (optical calibration)
-
Room calibration ensures that the 3D glasses function properly
-
Room calibration must always be carried out when starting for the first time and when
the Virtual Welding system is changed to a different location
Performing room
calibration
NOTE!
Risk from optical sources of interference.
These can affect the quality of the calibration.
► During calibration, shield the unit as much as possible from sunlight, headlights, etc.
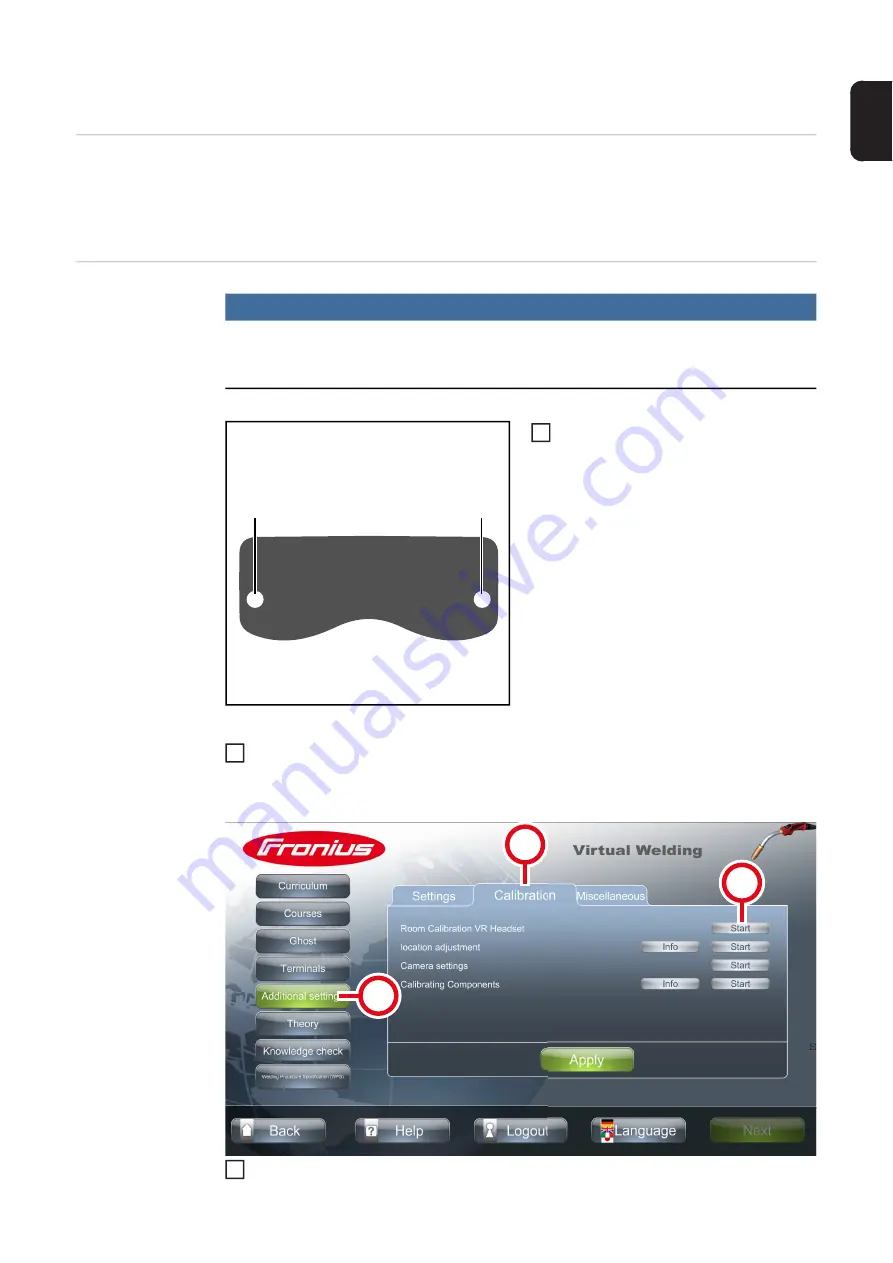
Front view of 3D glasses
Make sure that the cameras (1) of the
3D glasses are clean and not covered
(by hair, caps, hands, etc.)
With the NFC key, touch the sensor on the Virtual Welding system to open terminal
management
-
For the position of the sensor, see section
Select button (2)
(1)
(1)
1
2
(2)
(3)
(4)
3
Summary of Contents for Virtual Welding 2.0
Page 2: ...2...
Page 6: ...6...
Page 13: ...General information...
Page 14: ......
Page 20: ...20 Robotics function package MMA function package...
Page 21: ...Operating controls connections and mechanical components...
Page 22: ......
Page 28: ...28 2 Ventilation openings at the rear of the device 2 2 2...
Page 29: ...Installation...
Page 30: ......
Page 34: ...34 Top of StandUp Terminal side view 2 mounting bracket 3 screws with washers 2 3 3 3 3 2...
Page 45: ...Commissioning...
Page 46: ......
Page 69: ...Ghost...
Page 70: ......
Page 72: ...72 Use the arrow keys to make the desired settings Select button 4 Select button 5 4 4 5 5 6...
Page 74: ...74...
Page 75: ...Available modes on the Virtual Weld ing system...
Page 76: ......
Page 84: ...84...
Page 85: ...Calibration...
Page 86: ......
Page 90: ...90 Select tab 3 Select button 4 Follow the instructions on the touch screen glasses 4 5 6...
Page 92: ...92 Follow the instructions on the touch screen 6...
Page 94: ...94 Follow the on screen instructions 6...
Page 95: ...Other settings...
Page 96: ......
Page 104: ...104...
Page 105: ...Setup Menu...
Page 106: ......
Page 127: ...127 EN US Make the desired settings Select button 2 2 3 4...
Page 128: ...128...
Page 129: ...Troubleshooting maintenance and disposal...
Page 130: ......
Page 135: ...Update...
Page 136: ......
Page 138: ...138 Use button 3 to select the iso file that is located in the update folder 3 VWUPDATE 10...
Page 139: ...139 EN US Select GPT with button 4 4 VWUPDATE 11...
Page 141: ...141 EN US Enter VWUPDATE in field 6 6 VWUPDATE 13...
Page 143: ...143 EN US Select Checkbox 9 and 10 VWUPDATE 9 10 15...
Page 144: ...144 Select button 11 VWUPDATE 11 16...
Page 149: ...Technical data...
Page 150: ......


