High Throughput Wireless Data Transceiver Installation Guide
LIG000^AA Rev A
6 of 7
Follow the steps below to configure the Power Output Level:
9
Connect to the transceiver’s Web page (See the HT2+ User Manual for further
instructions).
9
Click the “Radio Setup” Link.
9
Choose an appropriate setting in “Transmit Power”, as defined from the previous tables.
9
Click the “Save Changes” button. After the page refreshes, click the “Reboot” button and
wait for the transceiver to restart.
6.
Repeat the steps above for each transceiver in the network.
NOTE.
Please, be advised that antennas other than listed in this section can potentially be
used with the transceiver provided that:
•
these antennas are of a similar type to the listed above;
•
antenna gain does not exceed 5 dB for omni-directional and 11 dBi for directional
antenna;
•
overall system EIRP does not exceed 36 dBm.
WARNING: Any antenna other than listed in this section needs to be approved by
FreeWave Technologies before its use to assure that the transceiver in
combination with the new antenna meets FCC requirements.
B. Transceiver Location
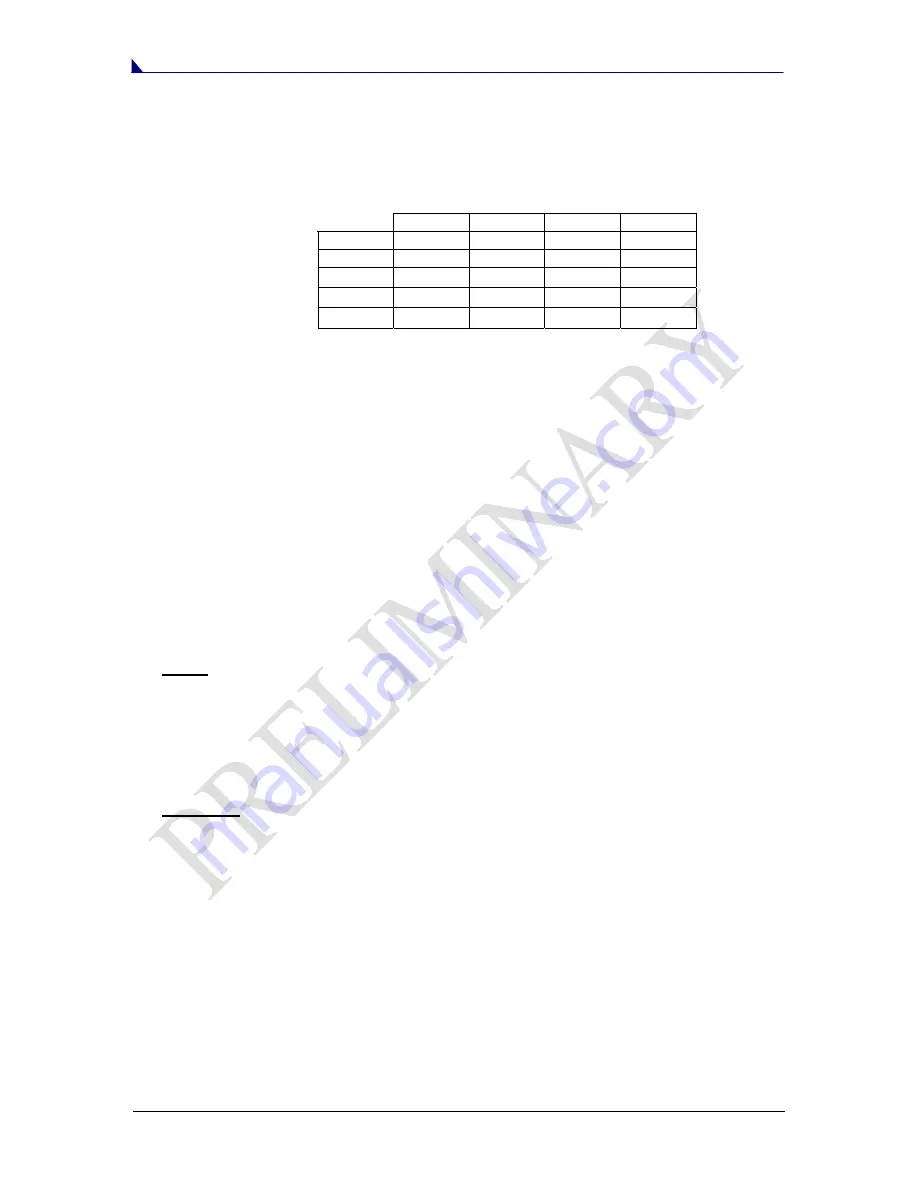
Table 3:
EIRP for 6dB Yagi Antenna, Cable loss vs. RF
Xmit Power Setting.
Cable Loss
1dB 2dB 3dB 4dB
RF Xmit
10
35.00 34.00 33.00 32.00
Power
9
34.80 33.80 32.80 31.80
8
32.39 31.39 30.39 29.39
7
31.24 30.24 29.24 28.24
6
29.90 28.90 27.90 26.90


