background image

1

EN

4

Freecom ToughDrive Pink

Accessing the password-encrypted hard drive

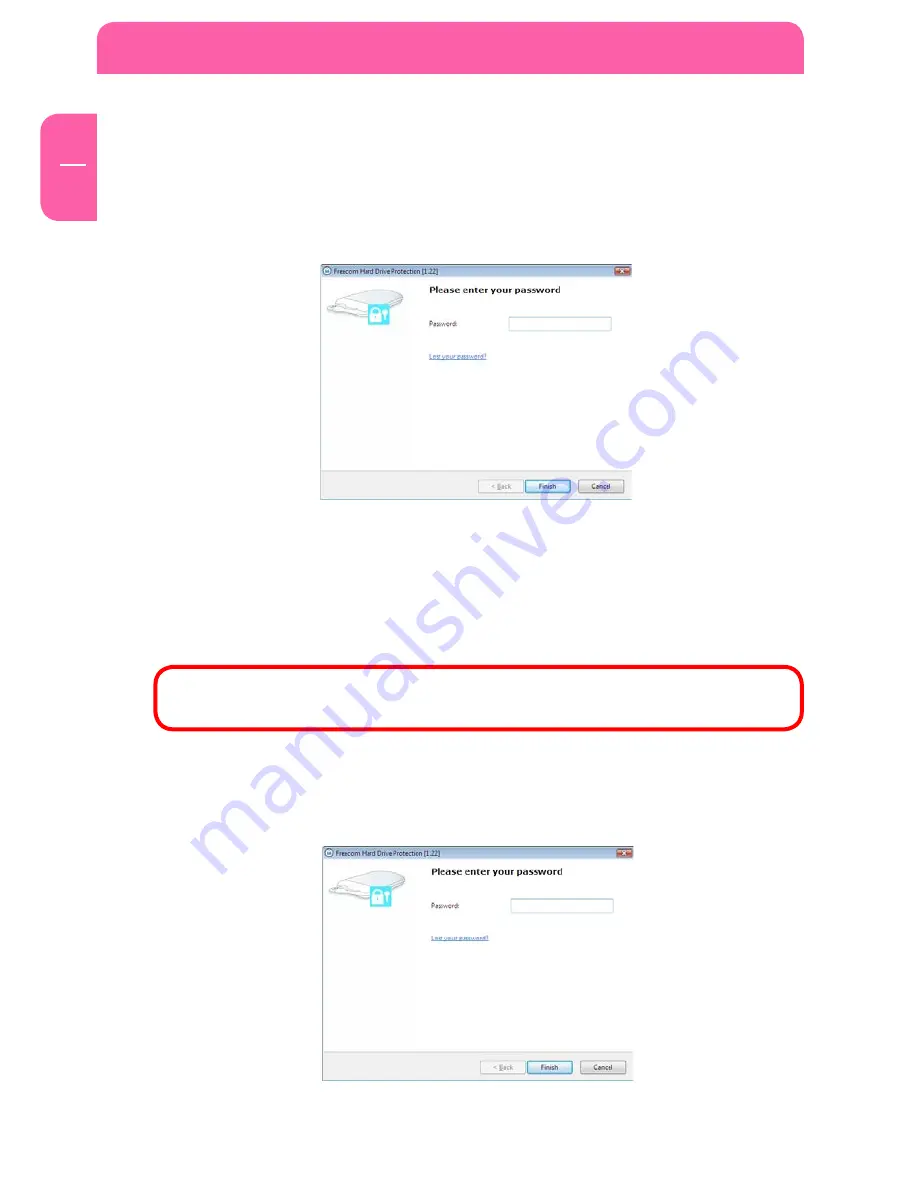
1.  Open the virtual CD-ROM Drive and double-click on “Password.exe”. The Freecom 

Hard Drive Protection tool opens.

2.  Enter your password and click “Finish”. Your password-protected hard drive will now 

be accessible in “My Computer”.

I lost my password, what can I do now?

If you lose your password, you will not be able to access your data anymore. The only way 

to continue using your ToughDrive Pink is to erase and format the hard drive. 

Attention! When erasing and formatting the hard drive, all data previously 

stored on the drive will be erased. All data on the drive will be deleted!

Follow these steps to erase and format your hard drive:
1.  Run “Password.exe” from the virtual CD-ROM Drive.

Summary of Contents for TOUGH DRIVE PINK

Page 1: ...TOUGH DRIVE PINK EXTERNAL MOBILE HARD DRIVE 2 5 USB 2 0 Win Mac Rev 848 USER MANUAL...

Page 2: ...d in this manual are only used for identification purposes and may be trademarks or registered trademarks of the respective companies This device was designed for home or office use Warning This devic...

Page 3: ...nstallation page 7 Chapter 2 Driver Installation page 7 Chapter 3 Installation of the application software page 8 Chapter 4 Freecom Hard Drive Protection Tool page 10 Chapter 5 Using Freecom Turbo USB...

Page 4: ...llowing components are needed PC Intel Pentium III AMD Duron 900 MHz or higher 256 MB RAM Vista 512 MB RAM or higher Available USB 2 0 or USB 1 1 port Internet connection for online warranty registrat...

Page 5: ...before operating the device Failing to do so may lead to condensation within the drive enclosure which in turn may cause the drive to malfunction Do not place liquids or drinks on the Freecom ToughDri...

Page 6: ...ess For your convenience the Freecom ToughDrive Pink has been partitioned 1 partition andpre formatted FAT32filesystem TheFAT32formatensuresmaximuminterchange abilityoftheFreecomToughDrivePinkbetweend...

Page 7: ...the drive is connected to a USB 2 0 port On some computers it might occur that the USB port does not deliver enough power to the ToughDrive Pink In that case you need to use an external power supply...

Page 8: ...r to continue with the installation 3 1 1 Saving Freecom data The user manuals and complementary software when applicable are pre loaded onto the hard drive We recommend that you save these files to y...

Page 9: ...allation 1 Saving Freecom data Theusermanualsandcomplementarysoftware whenapplicable arepre loadedonto theharddrive Werecommendthatyousavethesefilestoyourcomputer Documents Freecom to always have a ba...

Page 10: ...password protection Some PCs keep USB devices supplied with power when being in hibernation mode therefore you remain logged in with your password 4 1 1 Configuring the password protection 1 Connect...

Page 11: ...rotection software The Hard Drive Protection Wizard will open Click Next to proceed 4 Enter a password This password will be required to access the protected partition Confirm the password in the seco...

Page 12: ...l now be accessible in My Computer I lost my password what can I do now Ifyouloseyourpassword youwillnotbeabletoaccessyourdataanymore Theonlyway to continue using your ToughDrive Pink is to erase and...

Page 13: ...mat Hard Disk Wizard 3 To continue you have to confirm that all data on your hard disk will be deleted Click on Next to continue 4 In a final step you have to confirm once again that you want to erase...

Page 14: ...sible when you connect the drive 1 Make sure you already run the Password exe to have access to your protected data 2 Onceyouhaveaccesstoyourprotecteddata runthe Password exe againandselect Remove pas...

Page 15: ...from your Mac in order to reactivate the password protection Some Macs keep USB devices supplied with power when being in hibernation mode therefore you remain logged in with your password 4 2 1 Confi...

Page 16: ...on OK Accessing the password encrypted hard disk 1 Connect your Freecom ToughDrive Pink to your Mac A window will open stating that the inserted disk is not readable Click on Ignore 2 Run Password fro...

Page 17: ...e alldatapreviously stored on the drive will be erased All data on the drive will be deleted Follow these steps to erase and format your hard drive 1 Run Password from the virtual CD ROM Drive and cli...

Page 18: ...ill always be visible when you connect the drive 1 Make sure you already run Password to have access to your protected data 2 Once you have access to your protected data run Password again and select...

Page 19: ...Run Start exe fromyourToughDrivePinkandgotoSoftwareInstallation Freecom Turbo USB 2 0 3 The Freecom Turbo USB 2 0 Wizard will open 4 Check the drive and click on Configure to enable the Turbo USB2 0 d...

Page 20: ...ystems and Instructions to enable you to adapt the Freecom ToughDrive Pink to your needs 6 2 File System features Please refer to the tables below for an overview File systems supported by different o...

Page 21: ...titioning your ToughDrive Pink under Windows 2000 XP Vista 6 3 1 Deleting a partition on the Freecom ToughDrive Pink 1 Click with the right mouse button on the My Computer icon on your desktop 2 Selec...

Page 22: ...EN 6 Freecom ToughDrive Pink 5 Click with the right mouse button on the unallocated area and select the option NewPartition Windows2000 CreatePartitionWizard The NewPartitionWizard opens Click on Nex...

Page 23: ...st the size of your partition Click on Next if only one partition is to be created See next chapter Creating two or more partitions on the Freecom ToughDrive Pink under Windows 2000 XP Vista how to cr...

Page 24: ...ngs Choose either FAT32 or NTFS the Allocation unit size should remain on Default Finally select Perform a quick format and click on Next 10 Click on Finish to complete the partitioning of your Freeco...

Page 25: ...ition 2 Click with the right mouse button on the My Computer icon on your desktop 3 Select the option Manage 4 Select the option Storage Disk Management 5 Right click on the unallocated space of your...

Page 26: ...26 EN 6 Freecom ToughDrive Pink 8 Click on Finish to create the Extended partition The unallocated space now changed to Free space...

Page 27: ...k on Next 12 Assign a drive letter and click on Next 13 Select the formatting option Format this partition with the following settings Chooseeither FAT32 or NTFS the Allocationunitsize shouldremainon...

Page 28: ...S X 1 Open the Disk Utility This can be found in Applications Utilities 2 Click on the tab Partition Here you can setup the partition settings and partition the drive according to your set tings e g M...

Page 29: ...ing the serial number on the product has been altered removed or made illegible This guarantee covers only the hardware components packaged with the product This guaranteecoversnoneofthefollowing a an...

Reviews: