Using the incoming mail stamp function
33
10
Using the incoming mail stamp function
10.1 Things worth knowing about incoming mail stamp
You can use the incoming mail stamp function to
register your incoming mail. It uses the franking
machine’s date, time and printing unit. Adjusting/
changing date and time is possible in franking mode
only.
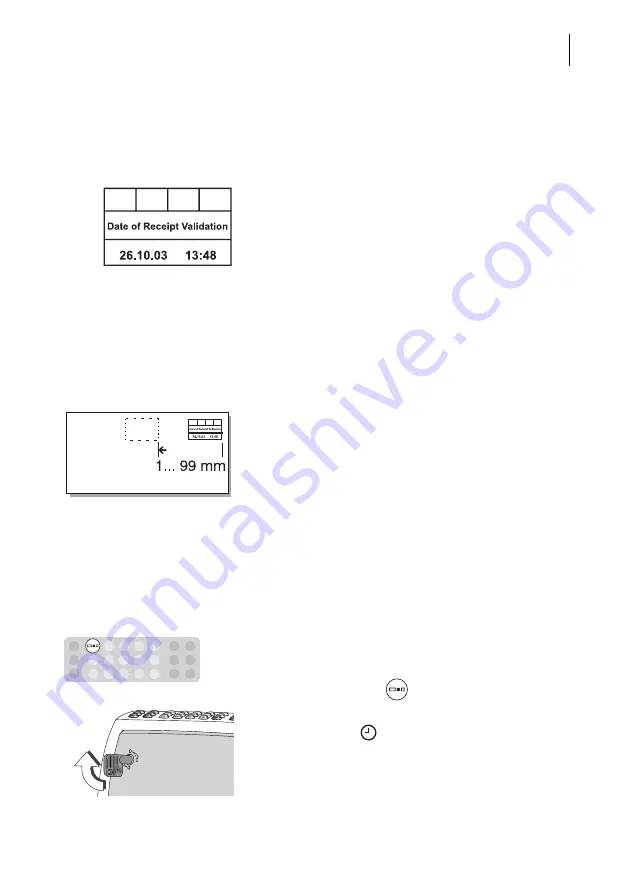
You receive a standard incoming mail stamp as the
basic equipment (see illustration). On request,
special stamps to your specifications can be
installed. A stamp area of 30 x 120 mm is available
for your text and graphic designs.
You can print the incoming mail stamp on envelopes
up to 5 mm thick or directly on documents.
The optimail prints the incoming mail stamp around
8 mm from the upper edge and 10 mm from the
right-hand edge of the incoming mail.
You can set a print offset to relocate the imprint up
to 99 mm to the left.
To print the incoming mail stamp on another area of
the envelope, you can insert the incoming mail
folded. Please note the maximum processable
thickness (5 mm).
10.2 Stamping incoming mail
Starting incoming mail stamp mode
The optimail must be switched off.
•
Press and hold the
key and switch on the
optimail using the key-operated switch.
•
As soon as the
symbol appears in the display,
you can release the key.
+
ON


