10
NT630 Pro ABS & Airbag Reset Tool Manual_English_V1.01
●
USB connection to personal computer
3.1.1 Connecting to Vehicle Power
The scanner normally powers on whenever it is connected to the data link connector (DLC).
To connect to vehicle power:
1.
Locate the data link connector (DLC). The DLC is generally located under the dash on the
driver side of the vehicle.
2.
Attached the diagnostic cable to the scanner and tighten the captive screws to ensure good
connection.
3.
Connect a correct adapter to the data cable according to the vehicle being serviced and plug it
into the vehicle DLC.
4.
Switch the ignition key to the ON position.
5.
The scanner automatically boots up.
IMPORTANT
Never try to provide power for the scan tool from USB connection when the scan tool is
communicating with a vehicle.
3.1.2 Connecting to Personal Computer with USB Cable
The scan tool also receives power through the USB port when it is connected to a PC for updating
software and transferring saved files.
To connect to PC:
1. Insert the small end of the USB cable to the USB port at the right side of the scanner and the
large end to a computer.
2. Press the power switch of the scan tool to power it on.
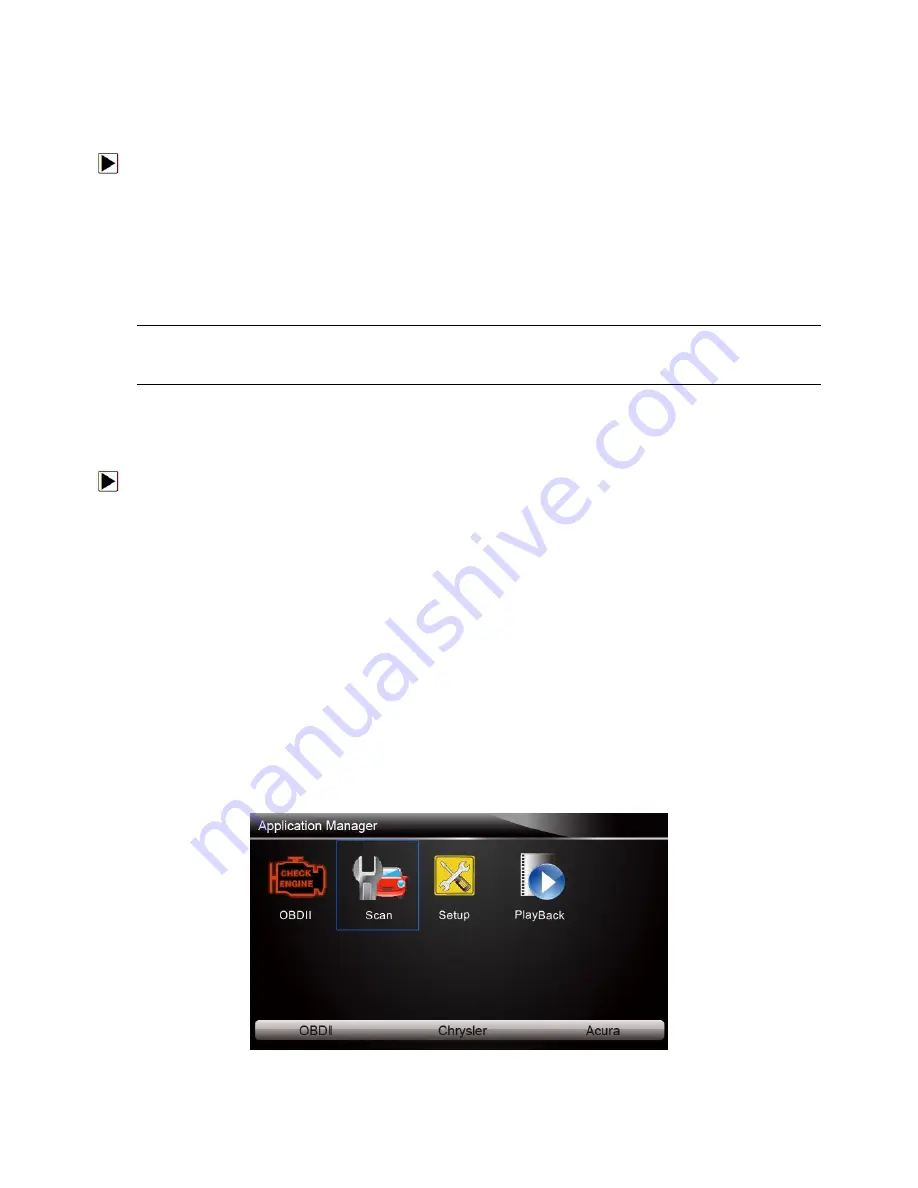
3.2 Application Overview
When the scan tool boots up, the Home screen opens. This screen shows all applications loaded
on the unit.
Following applications are preloaded into the scanner:
●
OBDII/EOBD
– leads to OBDII screens for all 9 generic OBD system tests.
●
Scan
–leads to screens for diagnostic trouble code information, live data stream, ECU
information, special functions of ABS and airbag systems on 49 vehicle makes sold
worldwide.
●
Setup
– leads to screens for adjusting default settings to meet your own preference and view
information about the scanner.
●
Playback
– leads to screens for access saved data files.
Figure 3-1 Sample Home Screen


