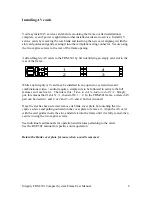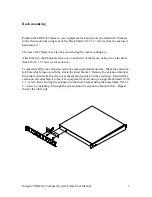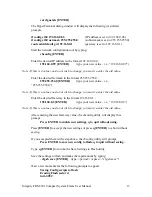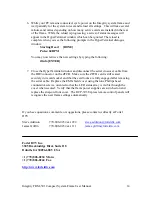
1. Remove the faceplate of the FRM-501 frame by loosening the attached L-brackets
used for mounting in a 19” EIA rack. These must also be removed if an RCP-502
Compact Control Panel is installed as a replacement for the standard face plate.
Remove the two brackets and save for reuse. Remove the top cover from the
frame. Slide the blank face plate assembly out of the front of the frame about one
inch.
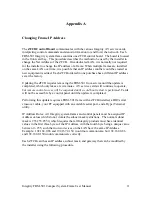
The ZFCB card is located in the front bay card and is secured by two latching card
ejectors at the left and right ends. Removal of the ZFCB is not required for this update.
Caution – a factory installed tie-wrap secures the ZFCB right side card lock during
shipment. Do not attempt to remove the ZFCB from the frame without first cutting and
removing the tie wrap!
2. Connect your serial crossover cable from the PC’s available serial port to the
DB9M connector located on the front edge of the ZFCB control board.
3. Open a HyperTerminal window on your PC and set session variables to the
following values:
38400
Bits per second
8
Data bits
N
Parity
1
Stop Bit
None
Flow Control
4. In the connection dialog window, press
[ENTER]
to verify you have established
communication with the ZFCB. If successful, this will be indicated by the
following prompt appearing in the dialog window:
Unrecognized Command. Type ‘help’ for a list of commands.
5. The ZFCB control board is running an application called
fortelconv
which must
be terminated prior to changing the IP address. Terminate the application by
typing the following:
quit [ENTER] [ENTER]
The following prompt will appear:
Starting application. Press ENTER to abort.
Navigate to the correct directory by typing the following:
cd / [ENTER]
( type: “cd” <space> <slash> <ENTER> )
Display the currently installed network settings (IP Address, subnet mask and
gateway) by typing:
Integrity FRM-501 Compact System Frame User Manual
12

