EN-11
Important!
• Choose a different spot each time you test. Repeated
punctures at the same spot may cause soreness and
calluses.
• Avoid lancing the areas with obvious veins to avoid
excessive bleeding.
• It is recommended to discard the first drop of blood as it
might contain tissue fluid, which may affect the test result.
Make Blood Glucose Test
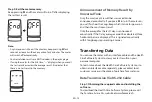
1. Insert the test strip into the test slot of the device. Wait for
the device to display the blood drop “ “.
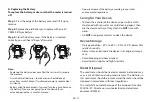
2. Select the appropriate measuring mode by pressing
M
.
• General Tests - any time of day without regard to time
since the last meal.
• AC (
) - no food intake for at least 8 hours.
• PC (
) - 2 hours after a meal.
• QC (
) - testing with control solution.
3. Obtain a blood sample.
Use the pre-set lancing device to puncture your desired
site. After penetration, discard the first drop of blood with a
clean tissue or cotton. Gently squeeze the punctured area
to obtain another drop of blood. Be careful
NOT
to smear
the blood sample. The volume of blood sample must be at
least 0.5 microliter (μL) for blood glucose testing.
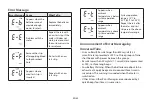
4. Apply the blood sample.
Move your finger to meet the absorbent hole of the test
strip and the drop will be automatically be drawn onto
the test strip. Remove your finger until the confirmation
window is filled. The meter begins to count down. Do not
remove your finger until you hear a beep sound.
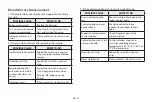
5. Read your result.
The results of your blood glucose test will appear after
the meter counts down to 0. The results will be stored
automatically in the meter memory.


