background image

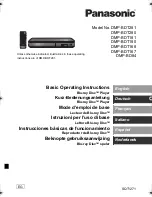
1.1.2. CONFIGURATION SCREEN OF DEFAULT AUDIO OUTPUTS IN THE ZONES

The audio output configuration screen allows the type of audio in each zone to be modified if there is no event. 

The following actions can be performed using the buttons on the front panel of the device:

-

w

/

s

: buttons to select the required zone. It is marked with an asterisk.

-

a

/

d

: allows the type of audio in each zone to be selected.

-

OK

: confirms the values chosen and return to the Audio configuration screen.

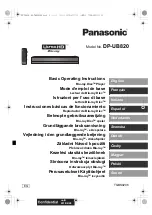
1.2. NETWORK CONFIGURATION SCREEN

The network configuration screen allows access to this menu, composed of the following sections:

- Network configuration status.
- Edit network configuration.

The following actions can be performed using the buttons on the front panel of the device:

-

w

/

s

: buttons to select the required submenu. It is marked with an asterisk.

-

a

: allows you to return to the previous screen.

-

d

: unused.

-

OK

: access the selected submenu.

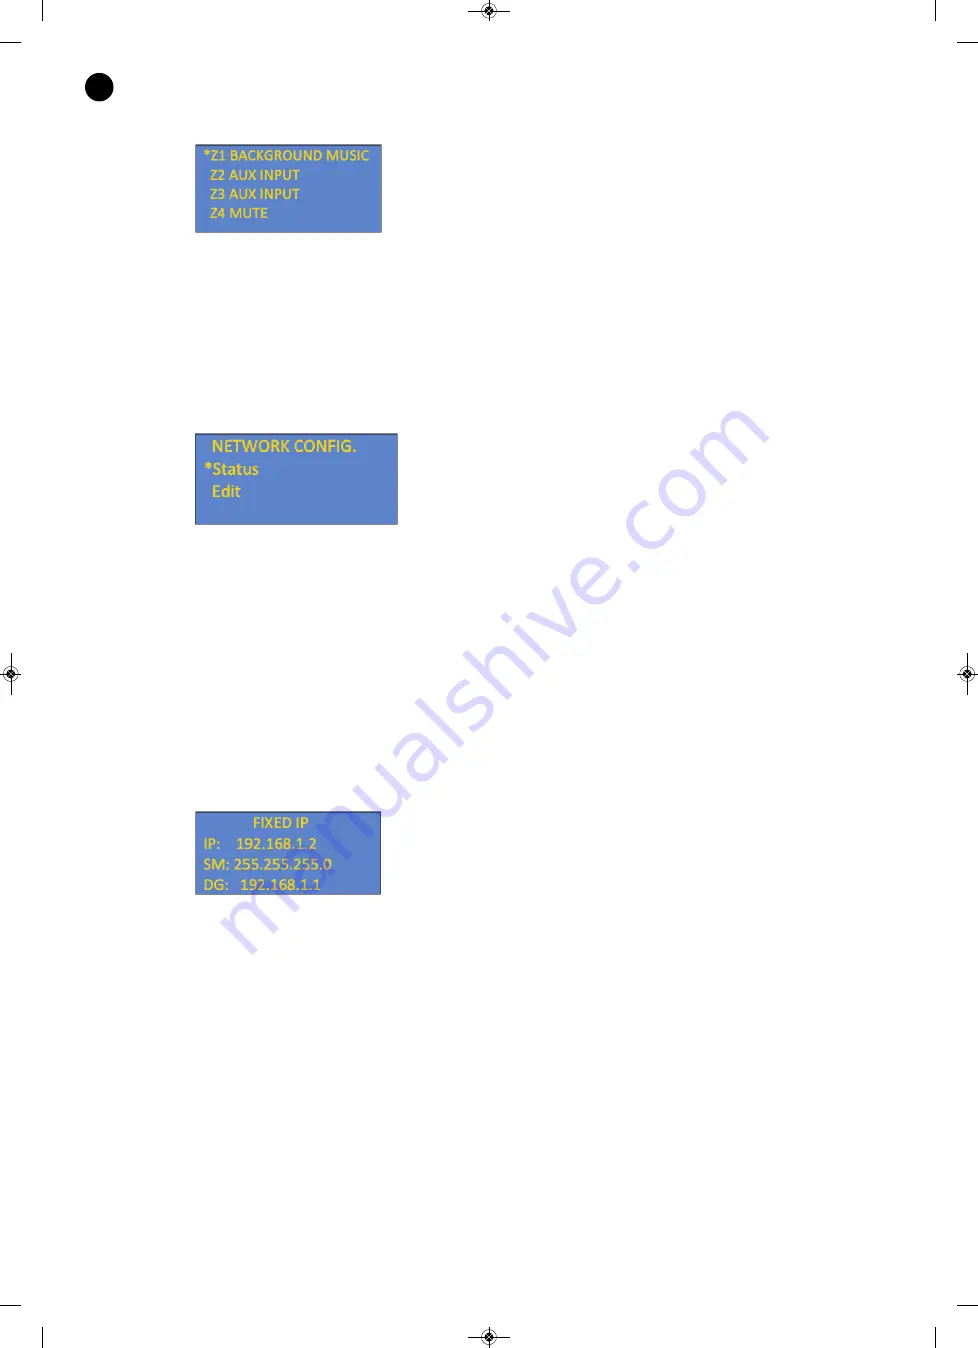
1.2.1. NETWORK CONFIGURATION STATUS

This screen displays information about the network configuration status.

The following actions can be performed using the buttons on the front panel of the device:

-

a

: allows you to return to the previous screen.

- 32 -

EN

ZSM-1050_MANUAL_(EN)_20190425.qxp_Maquetación 1  25/4/19  9:33  Página 32

Summary of Contents for ZSM-1050

Page 1: ...ZSM 1050 MESSAGE PROGRAMMER EVENTS AND BACKGROUND MUSIC PLAYER WITH 4 OUTPUT ZONES INSTRUCTION MANUAL ZSM 1050_MANUAL_ EN _20190425 qxp_Maquetaci n 1 25 4 19 9 33 P gina 1...

Page 2: ...SIP 6 File manager Background music Messages Alarms 7 Background music 8 Scheduled messages New message 9 Alarms Alarm con guration 10 Direct messages New direct message 11 Dashboard window 12 Export...

Page 3: ...ght heat sources and excessive dust Do not place the machine near magnetic elds or static electricity Do not use surfaces which vibrate or receive impact Do not pile machines on top of one another VEN...

Page 4: ...posed of it must be done properly placing it in a special selective electronic and electrical equipment container or through a dealer when purchasing a similar product at no additional cost It also sh...

Page 5: ...con guration of your network the connection of the device the Ethernet cable etc If necessary set up a xed IP address in the Set up menu Network Edit To connect to a ZSM device via internet the TCP co...

Page 6: ...connectable provided that it is connected to the local network It is only necessary to specify the access password default 1111 You must select a device from the local network by pressing the Select...

Page 7: ...so that the connection can be assigned to one or more of them SELECT DEVICE IN LAN Press the button to display a list of devices connected to the local network Select one and press OK or double click...

Page 8: ...s as alarms Direct messages instant message con guration and application Export data from device create a backup copy of the contents of a device and download them to the PC Import data to device Uplo...

Page 9: ...display Dashboard Con guration GENERAL System time and date shows the current time and date in the ZSM device If the Synchronize with PC option is pressed the ZSM device automatically acquires the tim...

Page 10: ...on con guration see section on alarms AUDIO Volumes Each type of audio has its own volume control Sound Mono or stereo output Default Zone Output Indicates the default audio source in the zone Options...

Page 11: ...ansferring le data In local area networks there is no difference whereas with internet connections the Block mode is much faster reaching speeds of up to 3 8 Mb s Conversely the Serie mode is slower b...

Page 12: ...the value of the rst and last port which is used to specify the usable port range for SIP calls Active zones indicates in which zones the SIP call will go through Active relays indicates the relays th...

Page 13: ...ot sent in sub directories Files Send Sends les to the marked channel Download Downloads marked les to PC Delete Deletes marked les Copy Disables background music There are buttons on each channel by...

Page 14: ...d or direct messages Download Download the marked les to the PC Delete Deletes the marked les Copy Copies the marked les to another device as message les A connection must be established with the targ...

Page 15: ...o le rst select the channel and then double click on the desired audio le Current con guration o Repeat Activate repeat mode repeats all the les contained in the selected folder o Random selects eithe...

Page 16: ...5 corresponds to the highest priority In the case of the time of the messages coinciding the one with the highest priority will be played rst or otherwise the one which was created rst In the case of...

Page 17: ...ayed in the period of time speci ed in the Period option Example Starting time 8 00 00 Ending time 12 00 00 Period 01 00 00 The message will be played at 8 00 9 00 10 00 11 00 and 12 00 9 ALARMS The s...

Page 18: ...the alarm will be active By level the alarm will only be active as long as the sensor is in activation mode By pulse once the sensor enters activation mode the alarm will be activated regardless of an...

Page 19: ...messages and to edit or delete existing ones NEW DIRECT MESSAGE Name direct message identi cation name Audio track select the audio track you wish to play in the direct message Zones allows the zones...

Page 20: ...back control window b Alarms i Current active alarm ii Alarm volume iii Direct access to the alarm con guration window c Next messages i Current time of the system ii List of upcoming messages and the...

Page 21: ...music messages and alarms Con gurations of messages and alarms EXPORT The PC export window allows you to select the data you would like to be saved to a le To access the data right click on an entry a...

Page 22: ...If programmed messages have been selected in advance the les associated with them will be marked as necessary Background music Select the background music channels you wish to save EN ZSM 1050_MANUAL...

Page 23: ...d in advance the les associated with them will be marked as necessary Alarm les Select the alarm les that you wish to save If you have previously selected alarms that have associated audio les these l...

Page 24: ...The Import to Device window allows you to load a previously exported data le To access it right click on an entry and select Import data to device Destination device Device where the data will be load...

Page 25: ...tifying names to con gure them you must select the con guration you want to load from the drop down list In this way you can load the original con guration into another sensor in compliance with the i...

Page 26: ...nto the target device Message les Select the alarm les you want to upload to the target device If you have previously selected alarms that have associated audio les these les will be marked as obligat...

Page 27: ...gatory Send and import At any time click the Send and Import button with the items that you want to be loaded to the device The window will close and the le transfer process will start Once nished you...

Page 28: ...n in the list 3 Select the new version that you wish to load for the update 4 Press the update button Once the update has completed the device will restart NOTE Fonestar provides the update les for th...

Page 29: ...ate le is stored has been selected press the OK button to perform the update The device will subsequently restart in order to complete the update Through security update The device can be updated usin...

Page 30: ...be changed to the previous channel If there is no previous channel it stops playback of the background music d a short press of this button cancels an event if is scheduled If there is no event schedu...

Page 31: ...ctions can be performed using the buttons on the front panel of the device w s buttons to select the required submenu It is marked with an asterisk a allows you to return to the previous screen d unus...

Page 32: ...rk con guration screen allows access to this menu composed of the following sections Network con guration status Edit network con guration The following actions can be performed using the buttons on t...

Page 33: ...ted octet a d buttons to navigate through the different octets and to select ACCEPT CANCEL OK con rms selection Position the cursor above the ACCEPT option after modifying the values and con rm with t...

Page 34: ...message or alarm they automatically change to the other state The following actions can be taken using the buttons on the front panel of the device w s buttons to select the required relay It is marke...

Page 35: ...turn to the Con guration screen if alternatively the local password has been activated a new one will be requested along with its repetition 1 6 DEFAULT VALUES SCREEN Allows the default values to be r...

Page 36: ...tions can be performed using the buttons on the front panel of the device w s buttons to select the required option It is marked with an asterisk a allows you to return to the previous screen d unused...

Page 37: ...select the required language It is marked with an asterisk a allows you to return to the previous screen d unused OK con rms the required option 5 SOFTWARE SCREEN Indicates the current version of the...

Page 38: ...nnection port 5 Device information screen 6 Selection con rmation buttons Allow the device to be controlled locally REAR PANEL 7 OUTPUT Zones 1 4 outputs 2 x RCA connectors 8 INPUT line level aux inpu...

Page 39: ...D card reader for audio le playback and software upgradin INPUTS 1 background music aux 2 x RCA 1 V 4 programmable inputs for alarm activation through contact closure euroblock 1 ethernet RJ 45 OUTPUT...

Page 40: ...rpose of the product If any service is needed during the warranty period because of lack of conformity please contact the business or distributor where the product was purchased in no more than 2 mont...

Reviews: