FGI-011_Rev.D 08/10/2015 Qwik-Fence Installation Instructions
5858 W. 73
RD
ST
BEDFORD PARK, IL. 60638
Qwik-Fence
®
17
Ceiling Kit Assembly
Toll Free: (800) 622-2214
Phone: (708) 325-0400
Fax: (708) 325-0450
Step 11: Ceiling Kit Assembly.
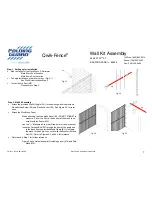
Ceiling can only be installed AFTER the vertical portion of assembly has been completed
per previous instructions (See
Step 1
)
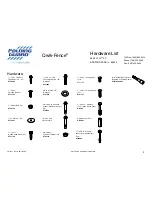
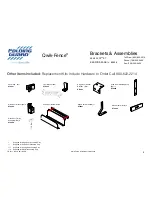
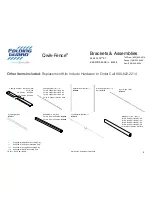
Prior to installation check Ceiling Assembly Kit for accurate part count.
Step 11A: Installing Ceiling Angle (C1).
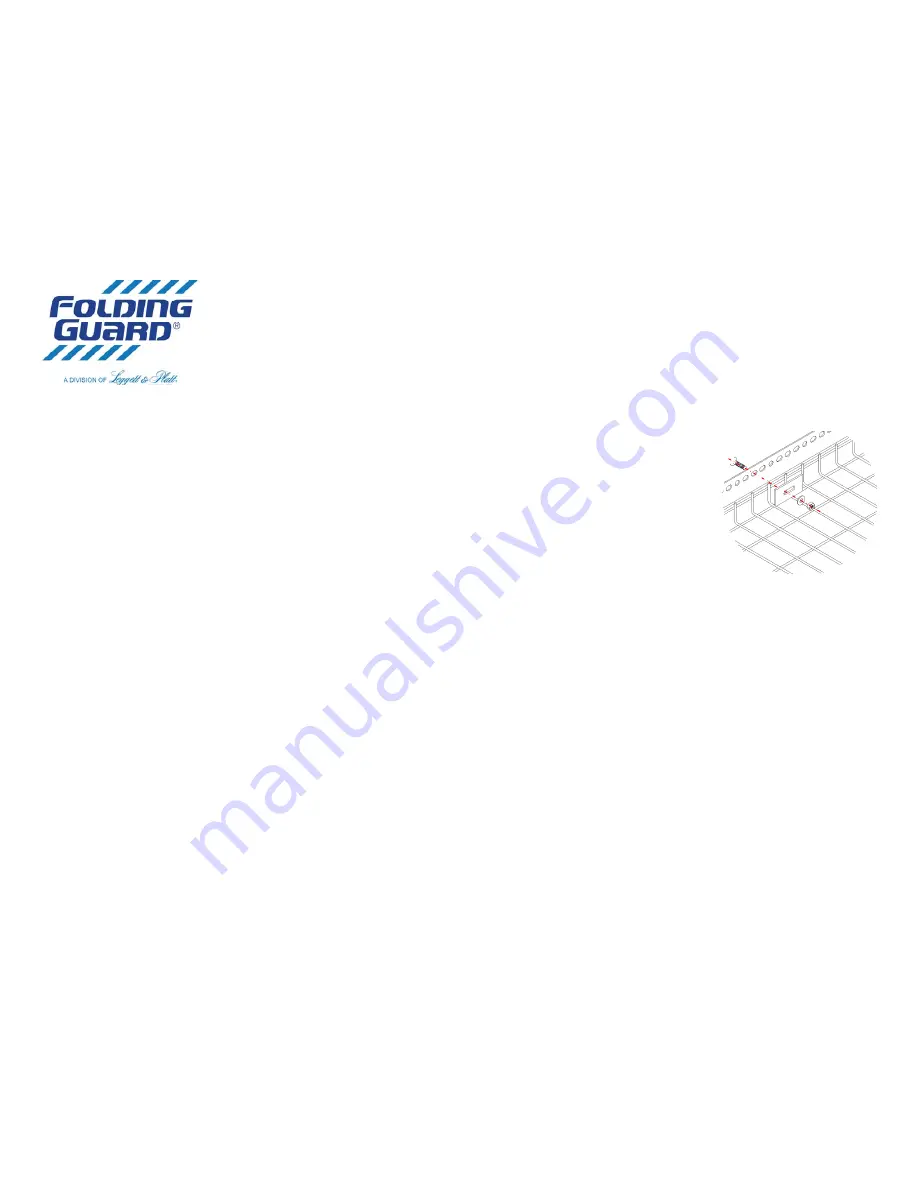
Installing the ceiling angle (C1) can be accomplished either/or bend in or bend out; refer to Figure (9A-1).
Attach the Angle (C1) via the provided Carriage Bolt (F2), Washer (F4), Nut (F3) and Mesh Clamp (B10) to
the vertical already installed panel (M1). See Figure (11A-1) for reference.
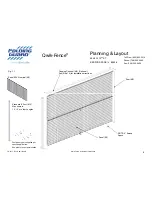
Lay in the Mesh Panel (M1) horizontally with legs going up, as it will serve as your Ceiling Panel. See Figure (11A-1) for reference.
Attach with provided Carriage Bolt (F2), Mesh Clamp (B10), Washer (F4) and Nut (F3) as shown in Figure (11A-1).
Fig.
11A
‐
1
Step 11B: Ceiling Panel attachment to various verticals.
When attaching to a ceiling panel to a wall, please see the (
Step 2
)
instructions (omit the 2” sweep space note).
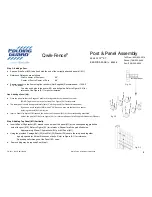
When attaching to a roof support bracket please follow the directions in (
Step 3
)
for attaching to a post.
When attaching to another Ceiling panel please refer to (
Step 5
) for attaching to another panel.

