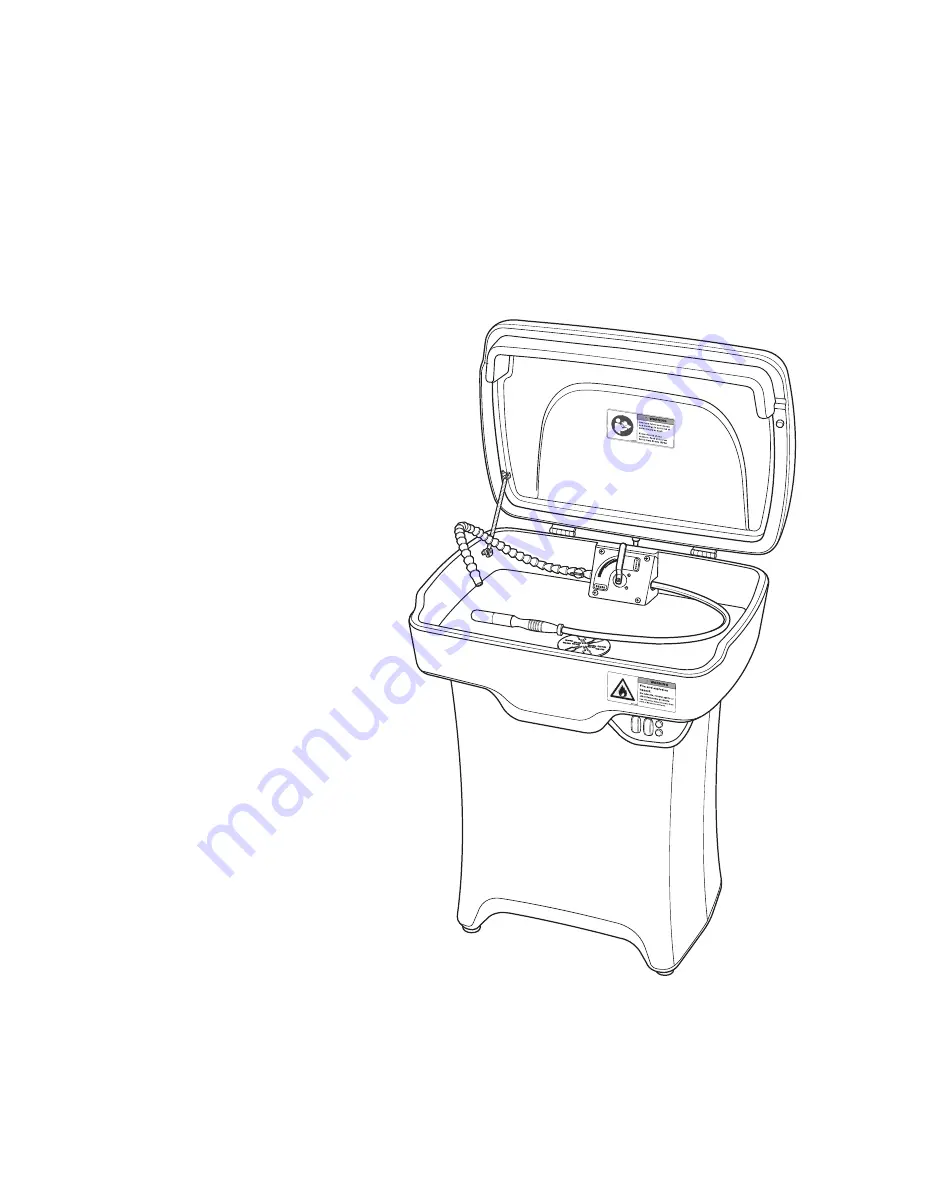
background image

FAULT


AT TEMP


R

I

N

S

E

B R U S H

ON

OFF

ON

OFF

Heated Aqueous Parts 

Washer


User Manual

APW20HT 

READ ALL INSTRUCTIONS BEFORE USING, OR SERVICING, THIS EQUIPMENT. KEEP THIS MANUAL IN A 

LOCATION THAT IS READILY AVAILABLE TO USERS AND SERVICE TECHNICIANS.
English (Original Instructions)

Summary of Contents for APW20HT

Page 1: ...F ON OFF Heated Aqueous Parts Washer User Manual APW20HT READ ALL INSTRUCTIONS BEFORE USING OR SERVICING THIS EQUIPMENT KEEP THIS MANUAL IN A LOCATION THAT IS READILY AVAILABLE TO USERS AND SERVICE TE...

Page 2: ...2 Model APW20HT Contents 1 Safety 3 Safety Labels 4 2 Product Overview 5 3 Installation 6 System Requirements 6 System Specifications 6 Assembling the Equipment 7 4 Use 9 5 Cleaning Maintenance 11 6 T...

Page 3: ...ng Read and follow all chemical safety precautions and handling instructions provided by the solution manufacturer and the Safety Data Sheet SDS associated with the solution being used before using th...

Page 4: ...this unit with parts not listed in this manual may cause the unit to operate improperly Do not use unauthorized parts when servicing the unit Running the heater element without being completely submer...

Page 5: ...cal Plug 13 Pump On Off Switch 14 Heater On Off Switch 15 Low Level Light 16 AT TEMP Light 17 Supply Hose Quick Connect 18 Sink Hose Quick Connect 19 Pump 20 Low Fluid Switch 21 Heating Element Contro...

Page 6: ...mical compatibility consult the manufacturer or SDS for your product or contact our customer service department Power type Electricity Chemical pickup type Draws from pre mixed solution Number of prod...

Page 7: ...quick connect hose from the sink to the supply hose quick connect from the pump 6 Place the sink on top of the base The equipment is shipped in two boxes check that all the parts are included and unda...

Page 8: ...s ON OFF ON OFF LOW FLUID AT TEMP Fire and explosion hazard No solvents mineral spirits or other flammable products Use only water based cleaners Drain parts of flammable contents 7 Open the lid 8 Pla...

Page 9: ...bility to ensure the use of proper solutions with this equipment Chemical solutions must be formulated for this type of application and compatible with unit materials and pump seals Always read and fo...

Page 10: ...multaneously 9 Remove the parts and repeat steps 6 8 with additional parts 10 Monitor the drain grate and filter bag for accumulated solid waste Monitor the solution quality Conduct maintenance if nee...

Page 11: ...the edge of the sink and into a suitable container 2 Move the rinse brush handle to the rinse position and drain as much solution as possible 3 To completely drain the solution a Lift up on the right...

Page 12: ...y j Place the sink on the base k Reconnect the air supply 6 Troubleshooting Issue Solution Solution doesn t flow through the Flexible Rinse Line or Flow Thru Brush Check the hoses between the Sink and...

Page 13: ...r chemical Read and follow safety data sheets SDSs ON OFF ON OFF LOW FLUID AT TEMP Electrical shock hazard Unplug unit before servicing 7 Parts Item number Description PW LID A Includes Lid Spring Hin...

Page 14: ......

Reviews: