


7
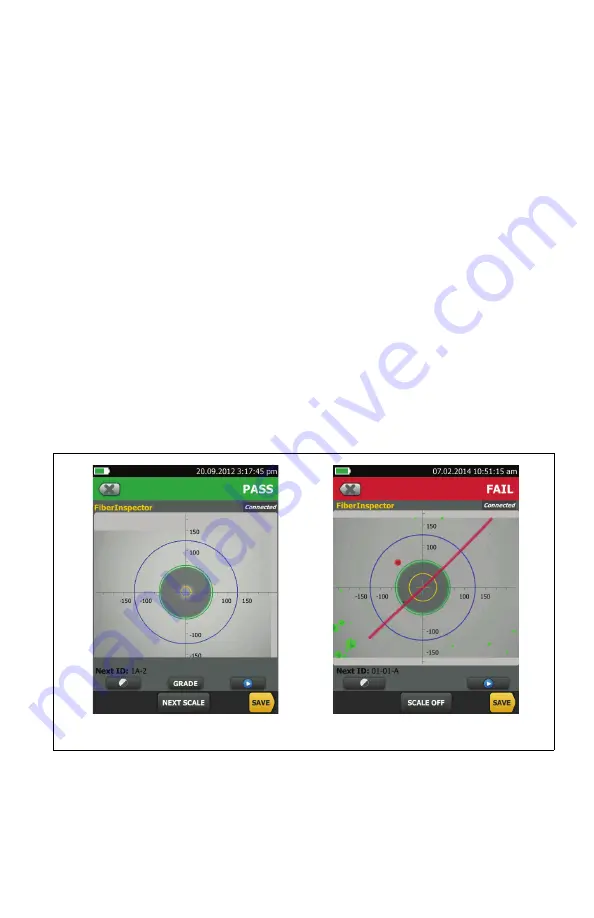
6. Examine the Results
Manual
limit selected (default): To give a
PASS
or
FAIL
grade to the image,
tap
GRADE
.
Test limit selected: To see an analysis of the defects, tap
ANALYZE
. The
tester uses the selected test limit to give scratches and defects a
PASS
(green highlight) or
FAIL
(red highlight) grade.
W
Caution
If a defect is possibly a dirt particle, clean the endface and do the
inspection again. You must remove all loose particles because
they can move into the core when you make connections.
7. Save the Results
7-1
Tap
SAVE
.
7-2
If the
Cable ID
box shows the correct ID, tap
SAVE
.
To enter a cable ID, tap the
Cable ID
box on the
SAVE RESULT
screen, use the
keyboard to enter a name for the results, tap
DONE
, then tap
SAVE
.
The tester saves the results in the
DEFAULT
project, unless you selected a
different project.
I02.EPS
Figure 4. Examples of FiberInspector Results Screens
A
B


