FLOWMAX ALPECO MF1100 Operating Manual Download Page 4

Alpeco Limited, 66 - 69 Rabans Lane, 

Aylesbury, Bucks HP19 8RS. UK.

T: 01296 619510

E: [email protected]

W: alpecoltd.com

To View compartment contents

The on-screen compartment graphic showing the grade and volume in each 

compartment can be viewed on screen at any time by pressing the 
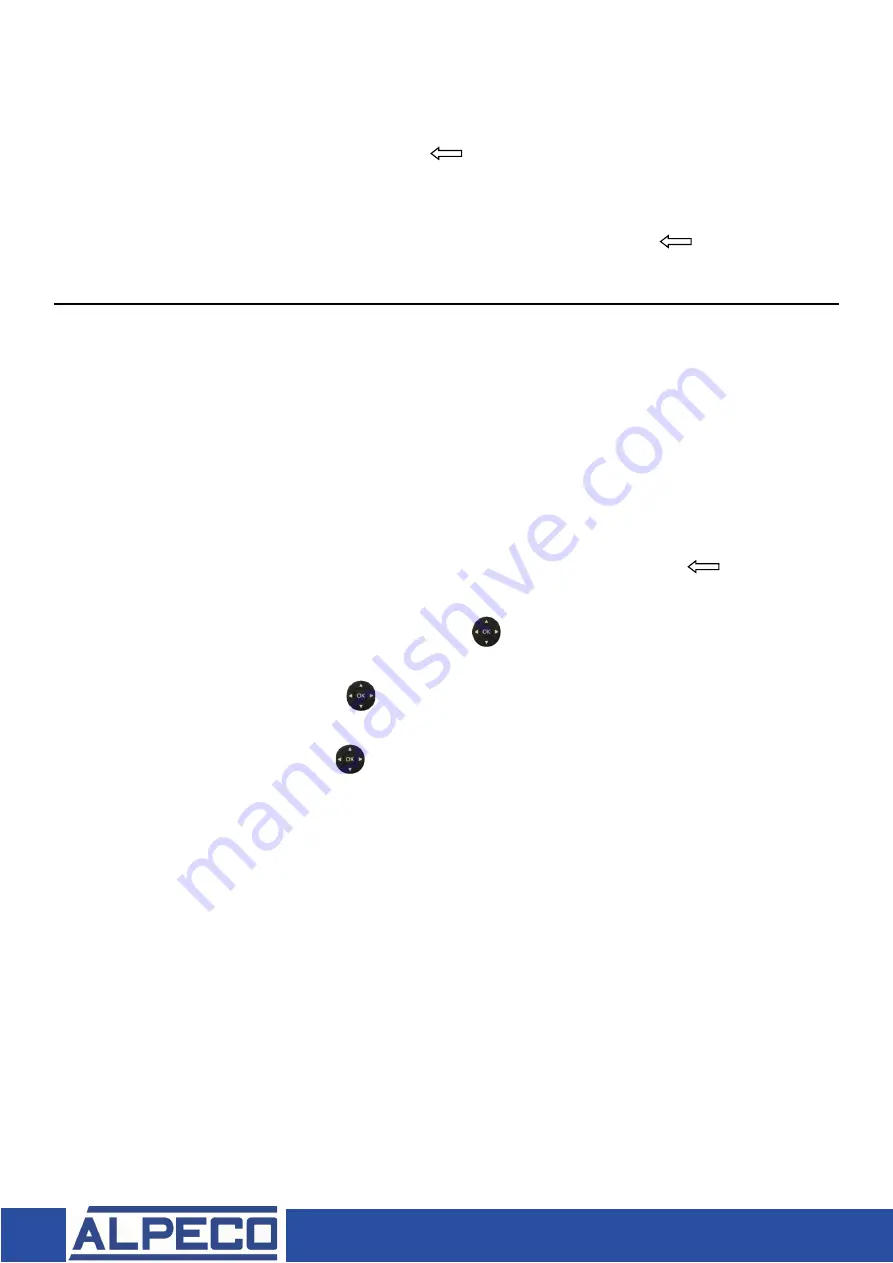
MENU

 key and 

selecting 

Inventory

 followed by 

OK

, press         key to exit to start screen.

Note: Compartment graphics are also displayed during delivery set up.

Note: In the event of a wrong entry during delivery set up – Press the        key to return to 

previous function or start screen.


Pump/Manifold/Meter Discharge 


1.  Insert ticket into Epson printer and press forward button (Ensure red light goes out). 

2.  Open the CHECKMATE control module and Pull 

RED

 ON/OFF control switch.  


Note: It is not necessary to pull the footvalve switches as footvalves will open 

automatically when compartment is selected. 


Set up a new delivery as follows:


Note: In the event of a wrong entry during delivery set up – Press the         key to 

return to previous function or start screen. 

3.  Press 

START

 to display 

Scenario

 menu, use         keys to scroll to desired delivery 

mode, i.e., 

Hose reel, Bulk or product return

 confirm with 

OK 

4.  From the 

Products 

menu, use        to scroll to the product to be delivered i.e., 

DIESEL


confirm with 

OK


5.  From the 

SOURCE

 menu use         to scroll to the compartment from which the 

product is to be taken, confirm with 

OK


Note: only compartments containing the selected product grade will be displayed 

6.  From the 

INSERT PRESET QTY

 menu use the numeric keys to enter the required 

volume, confirm with 

OK


Press 

START

 key to run the delivery.  


Note: Once running the delivery can be stopped and re-started at any time by 

pressing the 

STOP/RESUME

 keys. 

7.  When the preset volume is reached the delivery will stop automatically and after 

a few seconds the 

PRINT

 key will become active – press 

PRINT

 to terminate the 

delivery and print the delivery ticket. 


Note: When 

BULK

 delivery is used the bulk hose will be blown down at the same time 

as the ticket is printed.


2

Summary of Contents for ALPECO MF1100

Page 1: ...TE X O PE R ATI N G M A N UA L MF400 MF400 NV MF800 MF1 100 TRUCK METERING SYSTEMS...

Page 2: ...K T 01296 619510 E sales alpeco co uk W alpecoltd com Contents Bottom Loading 1 Programming of TEX Inventory 1 Pump Manifold Meter Discharge 2 Product Return Operation 3 Functions 4 How to Connect a D...

Page 3: ...f TEX inventory On completion of loading it is necessary to input the loaded grade and quantities into the TEX inventory 1 Press MENU key and use keys followed by OK to select TRUCK INVENTORY and disp...

Page 4: ...Note In the event of a wrong entry during delivery set up Press the key to return to previous function or start screen 3 Press START to display Scenario menu use keys to scroll to desired delivery mod...

Page 5: ...s case it is possible to open any compartment to purge the hose with a different product A pre determined hose content figure i e 100 L will automatically be added to the volume already delivered Afte...

Page 6: ...e etc Functions To adjust brightness of the display Press MENU and select SET BRIGHTNESS followed by OK adjust using the keys and save with OK To adjust the time and date settings Press MENU and selec...

Page 7: ...e run on any smartphone tablet or other modern WI FI device with a minimal configuration How to connect a device to TEX First you need to connect the TEX to a smartphone tablet or PC Follow the proced...

Page 8: ...and press SUBMIT The default credentials are Login USR Password 123456 Now you are connected and you can control the functionality of the TEX TEX Remote control To remotely control the TEX once the WI...

Page 9: ...8RS UK T 01296 619510 E sales alpeco co uk W alpecoltd com Add TEX Link to Home Page In Browser Settings select Add to Home Screen Select Add Select Add Automatically Icon is now displayed as per ima...

Reviews: