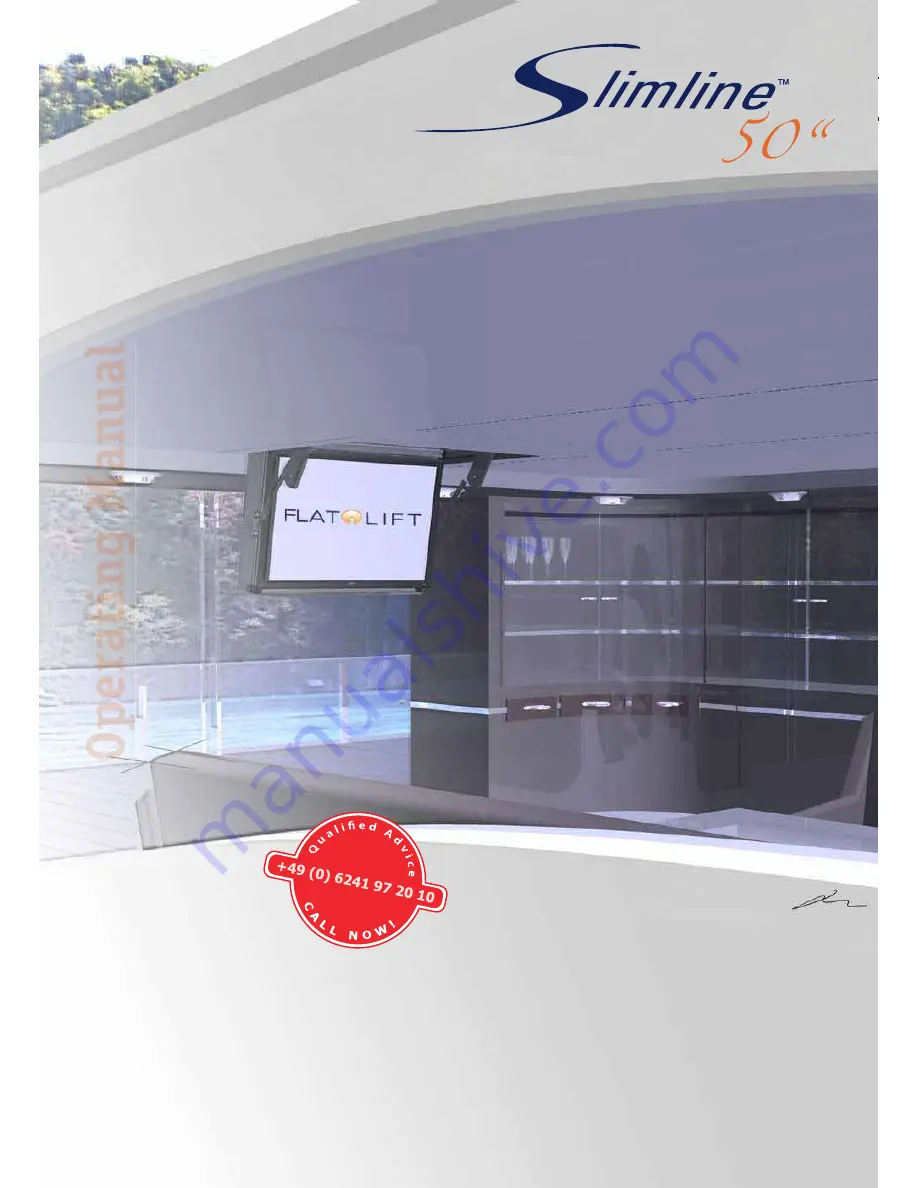
P.01
Operating Manual
O u t p e r f o r m . O u t l a s t .
Oper
atin
g Man
ual
YACHT
AIRCRAFT HOTEL
Page 1: ...P 01 Operating Manual O u t p e r f o r m O u t l a s t Operating Manual YACHT AIRCRAFT HOTEL...
Page 2: ...RODUCT SET UP C 06 PRODUCT CONTROL C 07 TROUBLE SHOOTING Set up P 06 Images P 07 P 08 Programming the remote control S435 P 15 Resetting the receiver P 16 Connection to a room control system P 16 C 08...
Page 3: ...safety instructions In such cases all claims pertaining to the guaran tee are null and void Quality In the choice of our components our primary focus was on ensuring a high level of functionality stra...
Page 4: ...mm H 800mm D 160mm Power on time 15 h Low noise level 45 db Environmental temperature from 5 C bis 40 C 4x flexible adjustable assambly brackets Remote control 433 63MHz Connection to room control sys...
Page 5: ...P 05 Operating Manual O u t p e r f o r m O u t l a s t PRODUCT DIMENSIONS PRODUCT DIMENSIONS 1200 920 a a 200 920 Schnitt a a C 03 Cut a a 1645 1050 1050 200...
Page 6: ...or wooden ceiling installations 4 Please attach your Slimline to the ceiling using the 4 mounting brackets page 07 image 1 No 1 5 Now align the 2 vertical supports in the Slimline ap with the VESA att...
Page 7: ...P 07 Operating Manual O u t p e r f o r m O u t l a s t INITIAL PRODUKT SET U INITIAL PRODUKT SET UP Image 1 2 1 C 04...
Page 8: ...P 08 Operating Manual O u t p e r f o r m O u t l a s t Image 2 Image 3 3 4 C 04 INITIAL PRODUKT SET U INITIAL PRODUCT SET UP...
Page 9: ...the mains supply 5 Now please store the control box and the mains adaptor in the suspended ceiling or in a free area of the Slimline Please consider planning a revision recess see chapter 5 page 10 6...
Page 10: ...over these DIN 7991 counter sunk screws with the actual ceiling lining material so that the same are no longer visible Ac cording to our experience this is one of the most commonly used lining variant...
Page 11: ...P 011 Operating Manual O u t p e r f o r m O u t l a s t PRODUCT INTEGRATION PRODUCT INTEGRATION Image 1 Image 2 1 C 05...
Page 12: ...P 012 Operating Manual O u t p e r f o r m O u t l a s t PRODUCT INTEGRATION PRODUCT INTEGRATION Image 3 Image 4 2 C 05...
Page 13: ...P 013 Operating Manual O u t p e r f o r m O u t l a s t Image 5 45 3 PRODUCT INTEGRATION PRODUCT INTEGRATION C 05...
Page 14: ...P 014 Operating Manual O u t p e r f o r m O u t l a s t PRODUCT INTEGRATION PRODUCT INTEGRATION Image 6 1 Image 6 2 Complete Covering C 05...
Page 15: ...er 2 Press down the left hand key image 1 no 2 After this an LED image 1 no 3 will then ash slowly 3 Holding the programming key down press the rst key on the remote control at the same time image 2 n...
Page 16: ...2 Contact 3 Contact 4 Contact 5 Contact 6 Contact 7 Contact 8 Contact 9 Contact 10 unused open outlet open inlet close outlet close inlet unused power supply 12V power supply 0V unused add on antenna...
Page 17: ...necessary Is the receiver receiving the signals S When activating the remote control the relay should click on both channels If the receiver does not click please delete the channels and re set them...
Page 18: ...NOTICE LEGAL NOTICE C 08 Legal Notice FLATLIFT TV Lift Systeme GmbH Gewerbegebiet S dwest Niedesheimer Str 15 67547 Worms GERMANY Tel 49 0 62 41 97 20 10 Fax 49 0 62 41 97 20 12 info atlift de www at...