


Dreamer NX User Guide | www.flashforge.com
34
Lamp 6-8
Seal 6-9
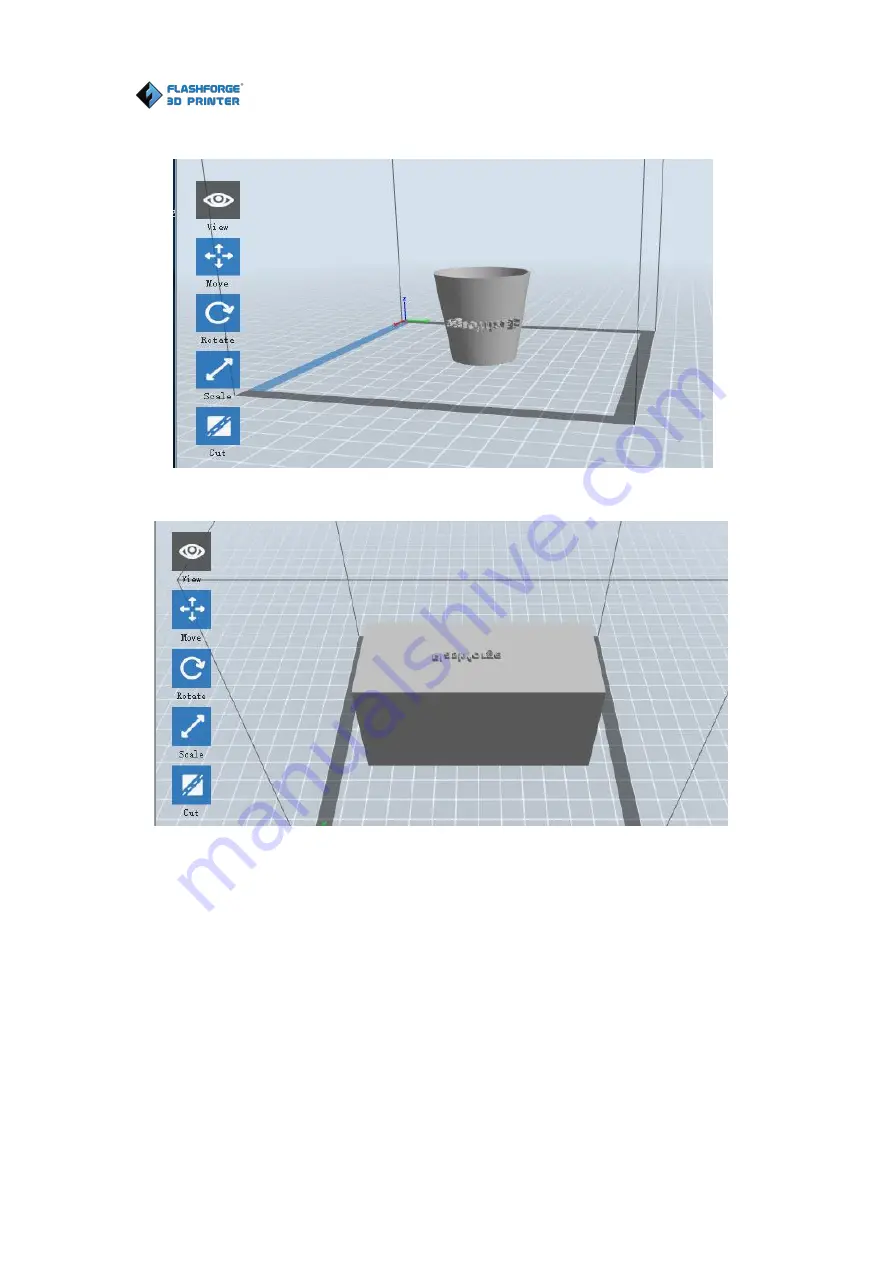
6.2.4 Views
①
Changing views
Change model views by moving, rotating, scaling.
● Drag
Dreamer NX User Guide | www.flashforge.com
34
Lamp 6-8
Seal 6-9
6.2.4 Views
①
Changing views
Change model views by moving, rotating, scaling.
● Drag


