background image

11

Battery Safety Information

In exceptional circumstances, batteries 
may leak fl uids that can cause a chemical 
burn injury or ruin your toy. To avoid 
battery leakage:
•  Do not mix old and new batteries or 

batteries of different types: alkaline, 
standard (carbon-zinc) or rechargeable 
(nickel-cadmium).

•  Insert batteries as indicated inside the 

battery compartment.

•  Remove batteries during long periods 

of non-use. Always remove exhausted 
batteries from the toy. Dispose of 
batteries safely. Do not dispose of the 
product in a fi re. The batteries inside 
may explode or leak.

•  Never short-circuit the battery terminals.
•  Use only batteries of the same or 

equivalent type, as recommended.

•  Do not charge non-rechargeable batteries.
•  Remove rechargeable batteries from the 

toy before charging.

•  If removable, rechargeable batteries are 

used, they are only to be charged under 
adult supervision.

Battery Safety Information

n exceptional circumstances batteries

1.5V x 4

“D” (LR20)

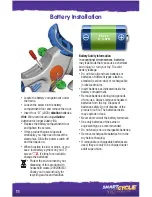
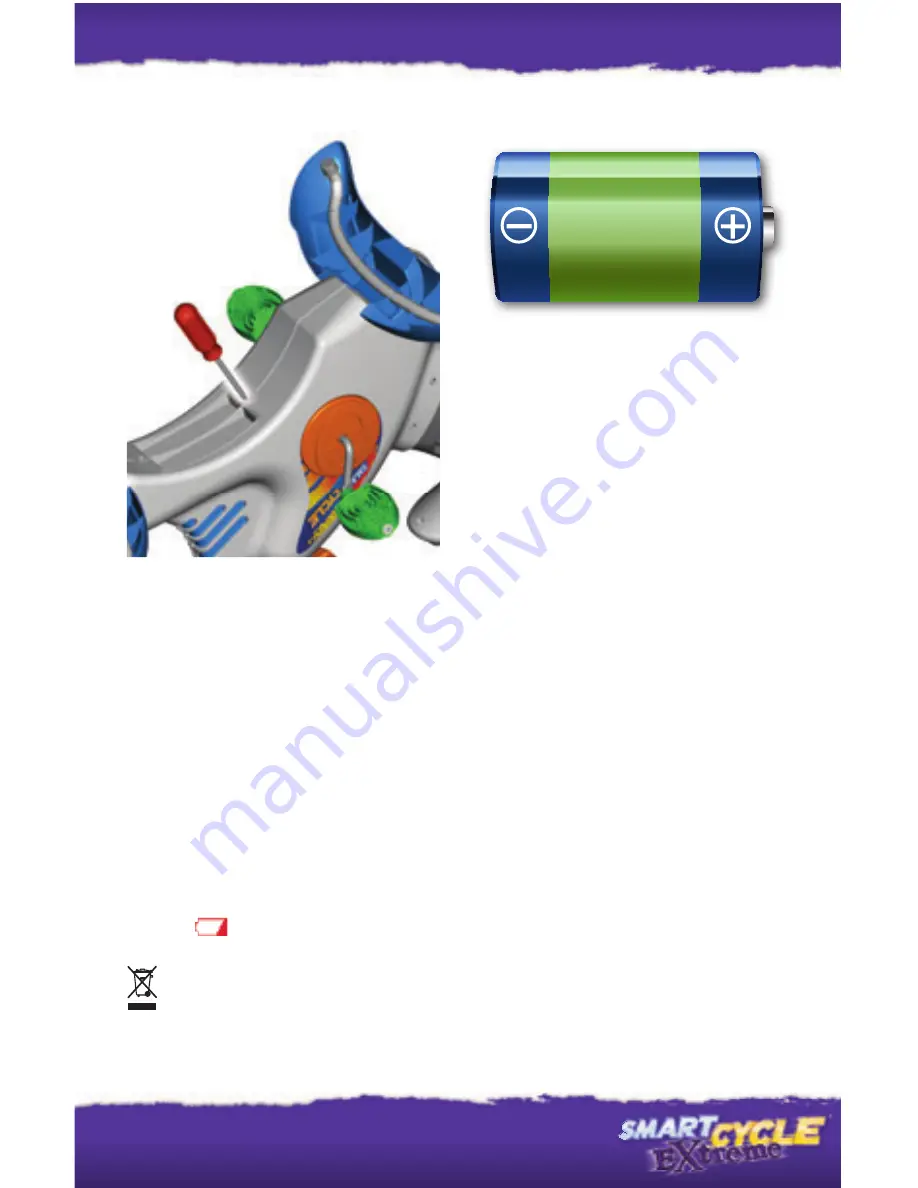
•  Locate the battery compartment under 

the frame.

•  Loosen the screws in the battery 

compartment door and remove the door.

•  Insert four “D” (LR20) 

alkaline

 batteries.

Hint:


We recommend using 

alkaline


batteries for longer battery life.

•  Replace the battery compartment door 

and tighten the screws. 

•  If this product begins to operate 

erratically, you may need to reset the 
electronics. Slide the power switch off 
and then back on. 

•  When function is slow or stops, or you 

see a low battery symbol on your TV 
screen 

 , it’s time for an adult to 

change the batteries!

•  Protect the environment by not 

disposing of this product with 
household waste (2002/96/EC). 
Check your local authority for
recycling advice and facilities.

Battery Installation

Battery I

Summary of Contents for Smart Cycle eXtreme

Page 1: ...PHYSICAL LEARNING ARCADE SYSTEM...

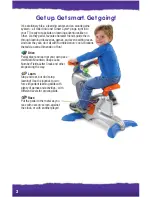
Page 2: ...aces And now they can do it all with Rumble Action cool vibrations that add an extra dimension of fun Drive Pedal steer and learn at your own pace visit Math Mountain Shape Lake Number Fields Letter C...

Page 3: ...screws 8 x 1 Screws 6 Use in Assembly steps 5 and 9 Shown Actual Size 10 x 11 2 Screws 4 Use in Assembly steps 2 and 3 3 Parts Handlebar Frame with Console and Plug and Play Cord Adult assembly is re...

Page 4: ...to secure the seat Seat Assembly 4 Turn the cycle upside down Identify the front base wide and the rear base narrow Fit the front base wide into the groove in the front of the frame Hint The front bas...

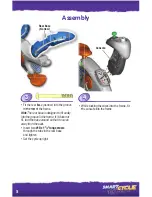
Page 5: ...the frame Hint The rear base is designed to t easily into the groove in the frame If it does not t turn the base around so that it curves away from the seat Insert two 10 x 11 2 long screws through t...

Page 6: ...t the connector on the handlebar into the socket in the console connect the connector on the handlebar into the socket in the console Plug the handlebar connector into the socket in the console Hint T...

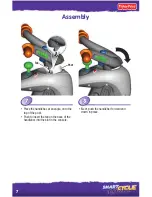
Page 7: ...e onto the top of the post Push to insert the tab on the back of the handlebar into the slot in the console Next push the handlebar forward and down in place 7 Assembly Tab Post Post Place the ha t f...

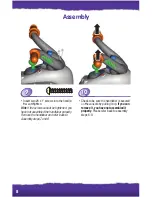
Page 8: ...ve not assembled the handlebar properly Remove the handlebar and refer back to Assembly steps 7 and 8 Check to be sure the handlebar is secured on the console by pulling it up If you can remove it you...

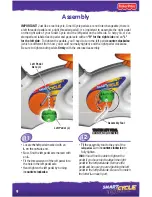
Page 9: ...rt Left Pedal L Left Pedal Axle L TIGHTEN LEFT PEDAL TIGHTEN LEFT PEDAL COUNTER CLOCKWISE Assembly Tool Fit the assem left pedal Tu CO CO Fit th 12 Locate the le L on the out L L h l 11 IMPORTANT Just...

Page 10: ...R Hand tighten the right pedal by turning it clockwise Right Pedal R Right Pedal Axle R TIGHTEN RIGHT PEDAL CLOCKWISE TIGHTEN RIGHT PEDAL CLOCKWISE Assembly Tool Assembly Tool Fit the assembly tool t...

Page 11: ...from the toy before charging If removable rechargeable batteries are used they are only to be charged under adult supervision Battery Safety Information n exceptional circumstances batteries 1 5V x 4...

Page 12: ...xperienced symptoms linked to an epileptic condition e g a seizure or loss of awareness consult your physician before playing video games We recom mend that parents observe their children while they p...

Page 13: ...the game cartridge into the socket in the side of the cycle Push to be sure it is fully inserted Hint You can easily attach other cartridges sold separately and not included to the key ring Note You c...

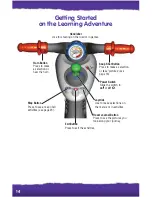
Page 14: ...Snap Shot Button Press to make a selection or take pictures see page 16 Joystick Use to make selections on the menus or in activities Map Button Press to see a map of all activities see page 23 Exit...

Page 15: ...ther handlebar button to make your selection Repeat this process to choose the color of your vehicle horn sound and a hood ornament style Customize Your vehicle Use the joystick to choose to turn the...

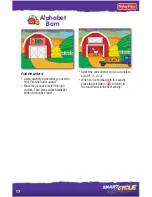
Page 16: ...verse to back up Find the objects Pedal the cycle to move down the road The faster you pedal the faster you go Use the handlebars to steer Find all the letters numbers or shapes shown in the upper lef...

Page 17: ...d the upper case G Move the joystick to scroll through choices Then press either handlebar button to choose a letter Select the correct letter and you complete a word G Goat When you re nished with th...

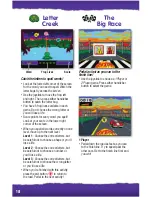
Page 18: ...correct letters but be careful not to choose a shape or you ll lose a life Level 2 Choose the correct letters but be careful not to choose a number or you ll lose a life Level 3 Choose the correct le...

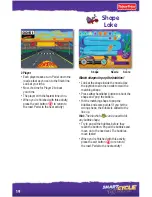
Page 19: ...Use the joystick to aim the nozzle toward the matching shape Press either handlebar button to shoot the shape and pop the bubble Hit the matching shape to pop the bubbles and score points If you hit t...

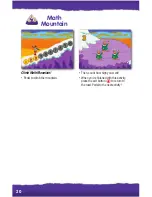
Page 20: ...th Mountain Pedal to climb the mountain Climb Math Mountain Math Mountain Then count how high you went When you re nished with this activity press the exit button to return to the road Pedal to the ne...

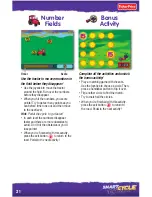
Page 21: ...Use the tractor to run over numbers in the eld before they disappear Use the joystick to move the tractor around the eld Run over the numbers before they disappear When you hit the numbers you score...

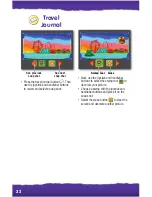
Page 22: ...See previous snap shot See next snap shot Next use the joystick and handlebar buttons to select the stamp tool to decorate your picture Choose a stamp with the joystick and handlebar buttons and place...

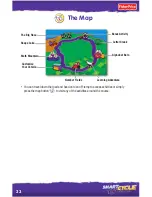
Page 23: ...f ramp to access activities or simply press the map button to visit any of the activities around the course Letter Creek Bonus Activity The Big Race Shape Lake Math Mountain Customize Your Vehicle Num...

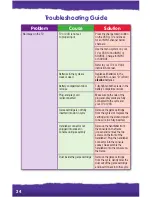
Page 24: ...ake sure both ends of the plug and play cords are fully connected to the cycle and your TV or VCR Game cartridge is not fully inserted into slot in cycle Remove the game cartridge from the cycle slot...

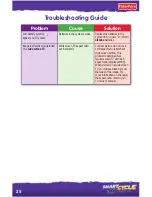
Page 25: ...ide screen TV Wide screen TV aspect ratio set incorrectly For best picture do not use a 16 9 aspect ratio stretched wide screen setting This product is designed for a regular screen TV with a 4 3 aspe...

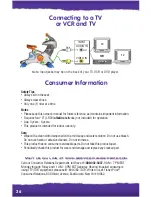
Page 26: ...Friday and 11 AM 5 PM EST Saturday Hearing impaired consumers using TTY TDD equipment please call 1 800 382 7470 Write to us at Fisher Price Consumer Relations 636 Girard Avenue East Aurora New York 1...

Page 27: ...lies with Part 15 of the FCC Rules Operation is subject to the following two conditions 1 this device may not cause harmful interference and 2 this device must accept any interference received includi...

Page 28: ...pongeBob SquarePants and all related titles logos and characters are trademarks of Viacom International Inc Created by Stephen Hillenburg Stretch your mind with other software titles for your Smart Cy...

Reviews: