41
When less than 5 LED battery status display left, the status
display flicker, indicating to charge.
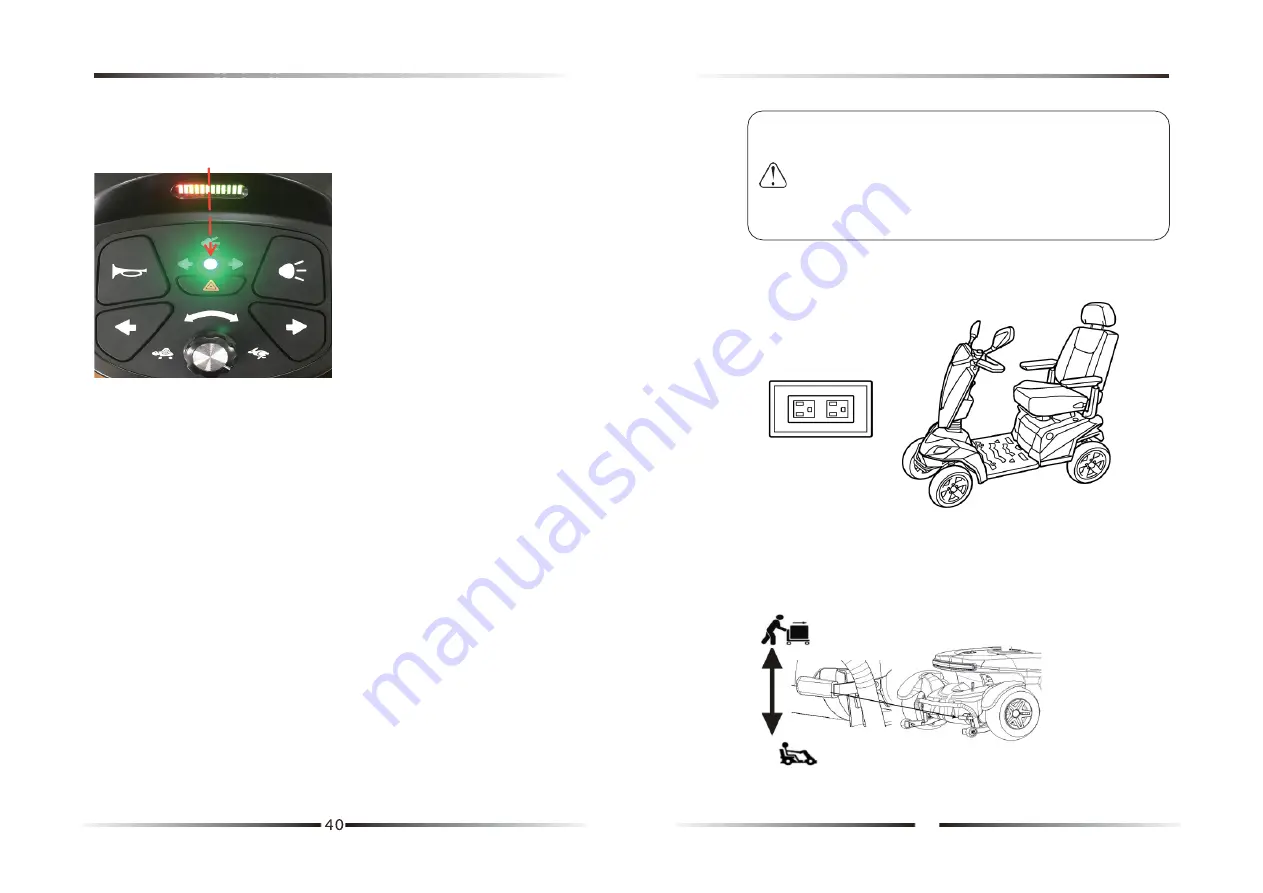
Step 1. Position the scooter near an electric outlet.
9.2
CHARGING THE BATTERIES
It is imperative that you observe the sequence for connecting and
disconnecting the battery charger.
1).Position the scooter near an electric outlet.
2).Switch the scooter off and remove the key.
3).Ensure the lever for “freewheel” mode is pushed down to the
“drive” position.
4).Connect the battery charger plug into the scooter charging socket
located in the centre of the tiller.
5).Plug the battery charging power cord into the socket on the
battery charger.
6).Connect the battery charger power plug into an electrical outlet
(AC115-230V, 50 to 60 Hz) and charge the battery.
7).It is recommended you charge your batteries for 8 to 12 hours.
Step 2. Switch the scooter off and remove the key.
Step 3. Ensure that the “brake lever “is pushed upward to freewheel
mode, pushed down to the drive mode.
CAUTION Do not share the outlet with any other
appliance. CAUTION To avoid the risk of electric
shock, this equipment must only be connected to a
grounded supply main. CAUTION Never use an
extension cord to plug in your battery charger.


