Page | 11
Connecting the Firetrace® Tubing to fittings
All compression fittings must be secured in the following manner.
a)
Cut the tube end ensuring the cut is clean and free from burrs. Check that no debris or swarf has been left
in the tube.
b)
Place the nut over the end of the tube with its threaded section towards the end you wish to create the
flare on.
c)
Push the tube firmly over the flaring tool ensuring the end of the tube bottoms. Be careful not to kink the
tube during this process.
d)
The nut shall be tightened finger tight and then using an appropriate spanner tightened firmly using only
your hands, over tightening can crush the flare.
e)
Slacken off the assembly and inspect the end to ensure flare has formed correctly, this flare can now be
used to connect the tube to the system
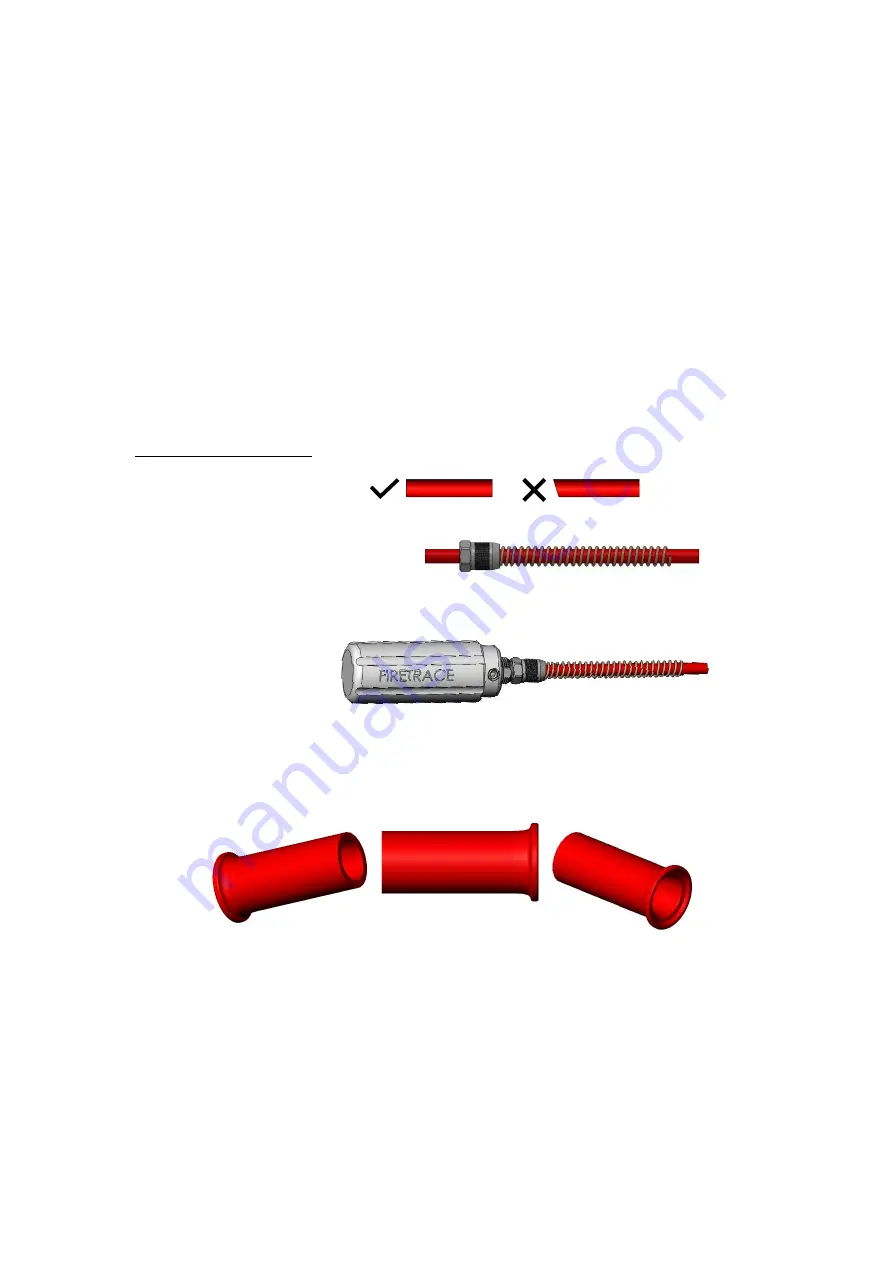
Method used to create Flare
1.
Tubing must be cut square.
The use of a Tube Cutter (Part Number: FT0127) is recommended to achieve an accurate cut
2.
Insert tubing through the spring nut/nut.
3.
Offer the tubing to the flaring tool, so that the end of the tube stops against the face of the flaring tool,
tighten the nut hand tight.
4.
Whilst holding the flaring tool handle, use an appropriate size spanner (14mm spanner for 8mm tube)
tighten the nut spanner tight, the recommended torque is 5.7nm.
5.
Undo the nut and inspect the end to ensure the flare has formed correctly. The tubing is now ready to be
connected to the system.
Visual representation of ideal flare.
For a more comprehensive list of Firetrace® Tube Fittings, refer to section 6
Summary of Contents for FTILPINTHTBI
Page 18: ...Page 17 ...
Page 19: ...Page 18 ...
Page 20: ...Page 19 ...
Page 21: ...Page 20 ...
Page 22: ...Page 21 ...


