


English
- 25 -
Note
: Lip Sync delay may occur during the timeshifting.
Radio record is supported. The TV can record
programmes up to ten hours.
Recorded programmes are split into 4GB partitions.
If the writing speed of the connected USB disk is not
sufficient, the recording may fail and the timeshifting
feature may not be available.
It is recommended to use USB hard disk drives for
recording HD programmes.
Do not plug out the USB/HDD during a recording. This
may harm the connected USB/HDD.
Multipartition support is available. The maximum of two
different partitions are supported. The first partition of the
USB disk is used for PVR ready features. It also must
be formatted as the primary partition to be used for the
PVR ready features.
Some stream packets may not be recorded because
of signal problems, so sometimes video may freezes
during playback.
Record, Play, Pause, Display (for PlayListDialog) keys
can not be used when teletext is ON. If a recording starts
from timer when teletext is ON, teletext is automatically
turned off. Also teletext usage is disabled when there is
an ongoing recording or playback.
Timeshift Recording
Press
(PAUSE) button while watching a broadcast to
activate timeshifting mode. In timeshifting mode, the
programme is paused and simultaneously recorded to
the connected USB disk.
Press (PLAY) button again to resume the paused
programme from where you stopped. Press the STOP
button to stop timeshift recording and return to the live
broadcast.
Note
: Timeshift cannot be used while in radio mode.
Note
: You cannot use the timeshift fast reverse feature
before advancing the playback with the fast forward
option.
Instant Recording
Press
(RECORD) button to start recording an event
instantly while watching a programme. You can press
(RECORD) button on the remote control again to
record the next event on the EPG. In this case, an OSD
will be displayed, indicating the programmed events for
recording. Press (STOP) button to cancel instant
recording.
Note
: You can not switch broadcasts or view the Media
Browser during the recording mode. While recording a
programme or during the timeshifting, a warning message
appears on the screen if your USB device speed is not
sufficient.
Watching Recorded Programmes
Select the
Recordings Library
from the
Media Browse
r
menu. Select a recorded item from the list (if previously
recorded). Press the
OK
button to view the
Play
Options
. Select an option then press
OK
button.
Note: Viewing main menu and menu items will not be
available during the playback.
Press the (STOP) button to stop a playback and return
to the Recordings Library.
Slow Forward
If you press (PAUSE) button while watching recorded
programmes, the slow forward feature will be available.
You can use
button to slow forward. Pressing
button consecutively will change slow forwarding speed.
Recording Configuration
Select the Recording Configuration item in the Settings
menu to configure the recording settings.
Format Disk
: You can use Format Disk feature for
formatting the connected USB disk. Your pin is required
to use the Format Disk feature (default pin is 0000).
Default PIN code can change depending on the
selected country.
If you are asked to enter a PIN code for viewing a menu
option, use one of the following codes:
4725
,
0000
or
1234
.
IMPORTANT
: Note that ALL the data stored on the USB
disk will be lost and the disk format will be converted
to FAT32 if you activate this feature. If your USB disk
malfunctions, you can try formatting the USB disk. In
most cases formatting the USB disk will restore normal
operation; however, ALL the data stored on the USB disk
will be lost in such a case.
Note:
If “USB is too slow” message is displayed on
the screen while starting a recording, try restarting the
recording. If you still get the same error, it is possible that
your USB disk does not meet the speed requireme
nts.
Try connecting another USB disk.
Media Browser Menu
You can play photo, music, and movie files stored on a
USB disk by connecting it to your TV. Connect a USB
disk to one of the USB inputs located on the side of
the TV. Pressing the
MENU
button while in the Media
Browser mode will access the Picture, Sound and
Settings menu options. Pressing the
MENU
button
again will exit from this screen.
You can set your Media
Browser preferences by using the Settings Menu.
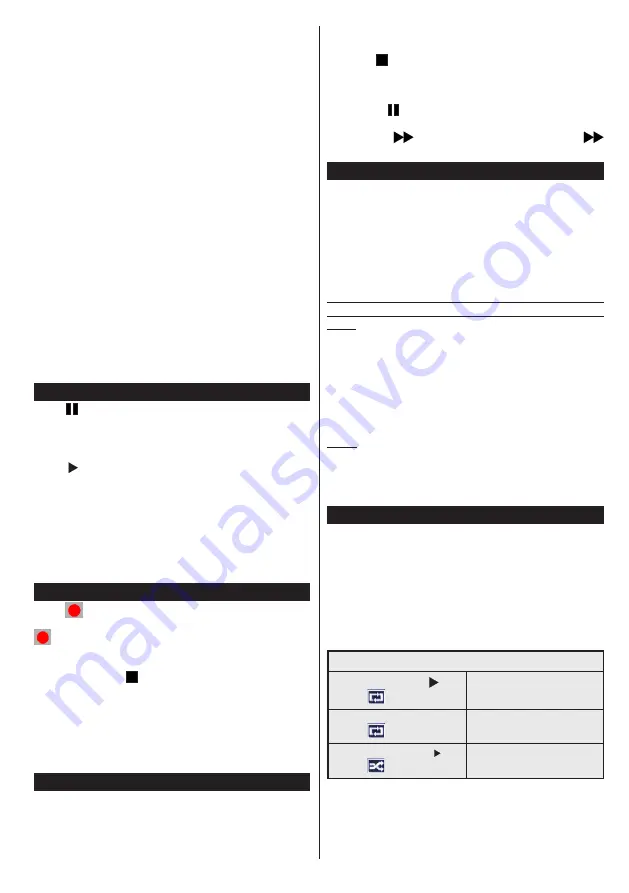
Loop/Shuffle Mode Operation
Start playback with and
activate
TV plays next file and loop
the list.
Start playback with OK and
activate
the same file will be played in a
loop (repeat).
Start playback with OK/ and
activate
the file will be played in a shuffle.


