Finlux 32F703-M Owner'S Manual Download Page 29

- 28 -

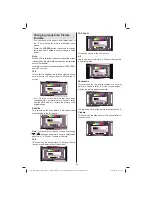
Timers

To view Timers menu, press 

MENU

 button and select 

Settings icon by using “ ” or “ ” button. Press 

OK


button to view Settings menu. Use 

“ ” or “ ”

 button 

to highlight Timers and press 

OK

 to continue:

Setting Sleep Timer

This setting is used for setting the TV to turn off after 
a certain time.

Highlight Sleep Timer by using “

• 

” or “ ” button.

Use “

• 

” or “ ” button to set. The timer can be 

programmed between 

Off

 and 

2.00

 hours (120 

minutes) in steps of 30 minutes.

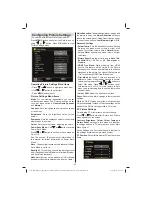
Setting Programme Timers

You can set programme timers for a particular 
programme using this feature.

Press “ ” button to set timers on an event. Programme 
timer function buttons will be displayed on the 
screen.

Adding a Timer

Press 

• 

YELLOW

 button on the remote control to 

add a timer. The following menu appears on the 
screen: 

Channel

: Changes network type by using “ ” or “ ”.

Timer Type

: You can select timer type as Record 

or Timer.

Date

: Enter a date using the numeric buttons.

Start:

 Enter a starting time using the numeric 

buttons.

End

: Enter an ending time using the numeric 

buttons.

Duration

: Displays duration between the starting and 

ending time.

Repeat

: Sets a timer to be repeated as Once, Daily or 

Weekly. Use “ ” or “ ” buttons to select an option.

C h a n g e / D e l e t e

:   S e t s   t h e   c h a n g e / d e l e t e 

permission.

Playback

: Sets the playback permission and parental 

settings. 

Press 

• 

GREEN

 button to save the timer. Press 

RED 

button to cancel.

Change/Delete:

Controls parental settings on timers.

Editing a Timer

Select the timer you want to edit by pressing “

• 

” 

or “ ” button. 
Press 

• 

GREEN

 button. Edit Timer menu screen will 

be displayed.
When 

fi

 nished with editing, press 

• 

GREEN

 button to 

save. You can press 

MENU

 button to cancel.

Deleting a Timer

Select the timer you want to delete by pressing “

• 

” or “ ” button. 
Press 

• 

RED

 button.

Select 

• 

YES

 by using “ ” or “ ” buttons to delete the 

timer. Select 

NO

 to cancel. 

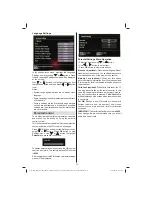
Recording Con

fi

 guration

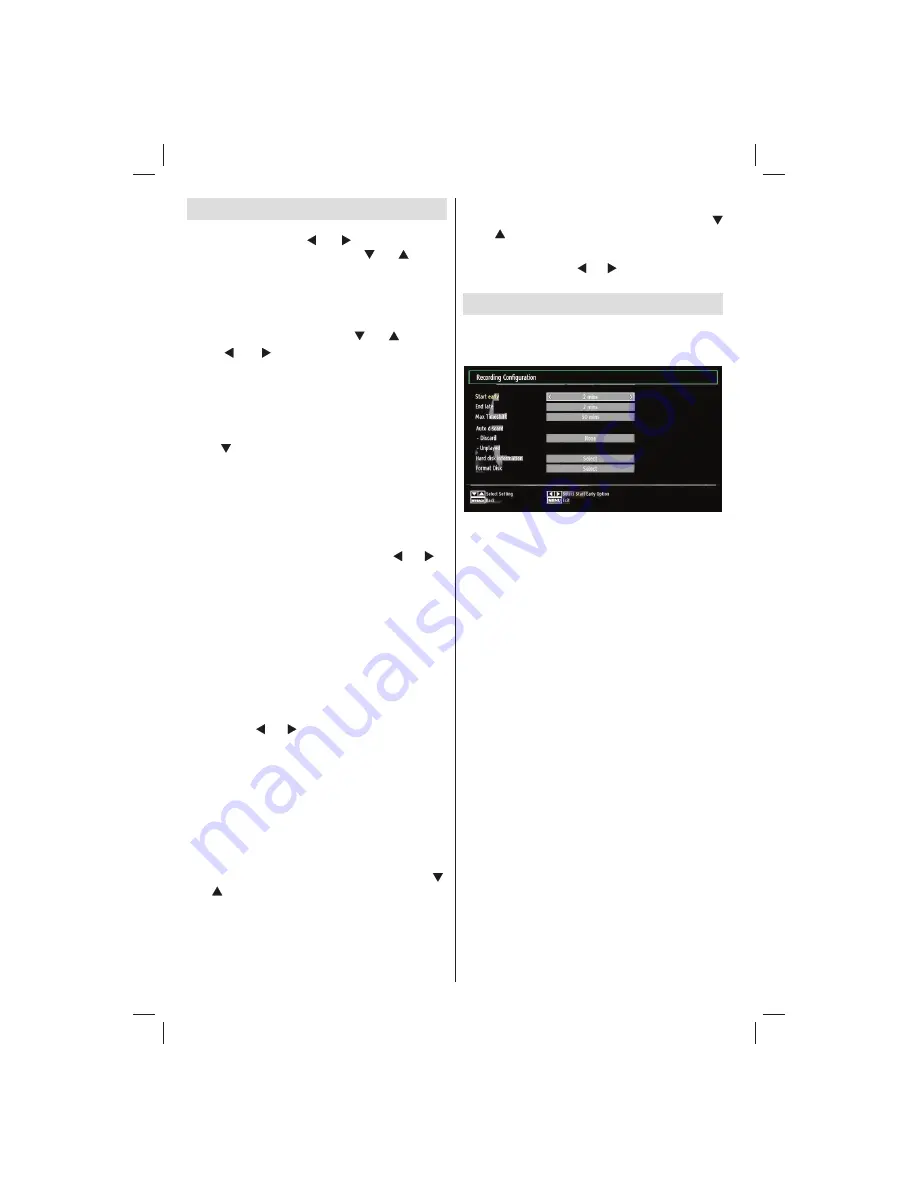
Select Recording Con

fi

 guration item in the Settings 

menu to con

fi

 gure recording settings. The following 

menu is displayed for recording con

fi

 guration.

The following options are available for adjustments:

Start Early (*)

You set recording timer’s starting time to start earlier 
by using this setting.

(*) Available only for EU country options.

End Late (*)

You set recording timer’s end time to end later by 
using this settings.

(*) Available only for EU country options.

Max Timeshift

This setting allows you to set the maximum time 
allowed for timeshifting. Duration options are 
approximate and can change accordingly, depending 
on the broadcast received.

Format Disk

IMPORTANT: Note that ALL the data stored on the 
USB disk will be lost and then the disk format will be 
converted to FAT32 if you activate this feature.

•If you want to delete all 

fi

 les on the connected USB 

hard disk drive or memory stick, you can use Format 
Disk option.  
• Also, if your USB disk malfunctions, you can try 
formatting the USB disk. In most cases formatting 
the USB disk will restore normal operation; however, 
ALL the data stored on the USB disk will be lost in 
such a case. 
• Press 

OK

 button while the Format Disk option 

is highlighted. A menu will appear on the screen, 
requiring you to enter a pin number. If you have not 
changed the pin number, the factory default is 0000. 

01_MB62_[GB]_woypbpr_IDTV_PVR_NICKEL17_5103UK_32850W_10077373_50210686.indd   28

01_MB62_[GB]_woypbpr_IDTV_PVR_NICKEL17_5103UK_32850W_10077373_50210686.indd   28

10.01.2012   13:52:06

10.01.2012   13:52:06

Summary of Contents for 32F703-M

Page 1: ...colour television Owner s manual 32F703 M...

Page 2: ...Photos via USB 19 Slideshow Options 19 Playing Music via USB 19 Recordings Library 20 Media Browser Settings 20 Using the 3D Mode 20 Timeshift Recording 21 Instant Recording 22 Watching Recorded Prog...

Page 3: ...source Remote controlled colour LCD TV Fully integrated Terrestrial digital TV DVB T MPEG2 HDMI connectors for digital video and audio USB input Programme recording Programme timeshifting 1000 program...

Page 4: ...ds to be replaced it should be done by qualified personnel Moisture and Water Do not use this device in a humid and damp place avoid the bathroom the sink in the kitchen etc Do not expose this device...

Page 5: ...e which are heavy metal free should not be disposed of with household waste Please dispose of used batteries in an environmentally friendly manner Find out about the legal regulations which apply in y...

Page 6: ...etimes certain symptoms can occur in unspecified conditions even if you do not have any previous history In such a case if you experience any of the following symptoms immediately stop watching the 3D...

Page 7: ...le D symbol are trademarks of Dolby Laboratories Licence Notification Optional Manufactured under license from Dolby Laboratories Environmental Information This television is designed to consume less...

Page 8: ...3D Settings 18 Picture mode selection Changes picture mode 19 in Media Browser video mode Recordings Library 20 No function 21 Play in Media Browser mode 22 Programme recording 23 No function 24 Rapid...

Page 9: ...an accept either 720p or 1080i signals No sound connection is needed for a HDMI to HDMI connection RF Input 3 connects to an aerial antenna system Note If you use a decoder or a media recorder you sho...

Page 10: ...nd the VIDEO OUT jack on your device Audio Inputs are used for connecting audio signals of external devices Connect the 4 audio cable between the AUDIO INPUTS on the TV and the AUDIO OUTPUT jacks on y...

Page 11: ...cially the USB device itself Do not pull out USB module while playing or recording a file Programme Recording To record a programme you should first connect a USB disk to your TV while the TV is switc...

Page 12: ...o a DVD Player If you want to connect a DVD player to your LCD TV you can use connectors of the TV set DVD players may have different connectors Please refer to your DVD player s instruction book for...

Page 13: ...over located on the back of the handset by gently pulling backwards from the indicated part Insert two AAA R3 or equivalent type batteries inside Observe the correct polarity when inserting batteries...

Page 14: ...ssing or button select the country you want to set and press button to highlight Teletext Language option Use or button to select desired Teletext Language Press button after setting Teletext Language...

Page 15: ...ton to view Select Genre menu Using this feature you can search the programme guide database in accordance with the genre Info available in the programme guide will be searched and results matching yo...

Page 16: ...isplayed Select Record option and press the OK button After this operation a recording becomes set to the selected programme To cancel an already set recording highlight that programme and press the O...

Page 17: ...ess or button to set an option Enter the channel number or frequency using the numeric buttons You can then press OK button to search When the channel is located any new channels that are not on the l...

Page 18: ...le channel Select the channel that you want to lock and select Lock option Press OK button to continue You will be asked to enter parental control PIN Default PIN is set as 0000 Enter the PIN number P...

Page 19: ...you select Videos from the main options available video files will be filtered and listed on this screen You can use or button to select a video file and press OK button to play a video If you select...

Page 20: ...aying Music via USB When you select Music from the main options available audio files will be filtered and listed on this screen Navigate menu Play button Starts the playback Stop button Stops playbac...

Page 21: ...ia Browser Settings You can set your Media Browser preferences by using the Settings dialog Press or button to highlight an item and use or button to set View Style Sets default browsing mode Slide Sh...

Page 22: ...Content resolutions Timeshift Recording IMPORTANT To record a programme you should first connect a USB disk to your TV while the TV is switched off You should then switch on the TV to enable recording...

Page 23: ...using or button and press OK button to enter Recordings Library will then be displayed IMPORTANT To view recordings library you should first connect a USB disk to your TV while the TV is switched off...

Page 24: ...le This zooms up the wide picture 16 9 aspect ratio with subtitles to the full screen Note You can shift to screen up or down by pressing buttons while picture zoom is selected as panaromic 14 9 Zoom...

Page 25: ...red colour tone Setting Cool option gives white colours a slight blue stress For normal colours select Normal option Setting Warm option gives white colours a slight red stress Picture Zoom Sets the p...

Page 26: ...Adjusts volume level Equalizer Press OK button to view equalizer sub menu In the equalizer menu the preset can be changed to Music Movie Speech Flat Classic and User Press the MENU button to return t...

Page 27: ...ars on the screen Refer to the module instruction manual for details of the settings Viewing Conditional Access Menu These menu settings may change depending on the service provider Press MENU button...

Page 28: ...00 After coding the correct PIN number parental settings menu will be displayed Parental Settings Menu Operation Select an item by using or button Use or button to set an item Press OK button to view...

Page 29: ...utton to save You can press MENU button to cancel Deleting a Timer Select the timer you want to delete by pressing or button Press RED button Select YES by using or buttons to delete the timer Select...

Page 30: ...e Zone Use or buttons to change the Time Zone between GMT 12 or GMT 12 Date Time on the top of the menu list will then change according to the selected Time Zone Changes are automatically stored Press...

Page 31: ...you select Standby Search as On Other Features Displaying TV Information Programme Number Programme Name Sound Indicator time teletext channel type and resolution information is displayed on the scre...

Page 32: ...ngs can cause double pictures or ghost images Sometimes you can improve the picture quality by changing the direction of the aerial Is the picture or teletext unrecognisable Check if you have entered...

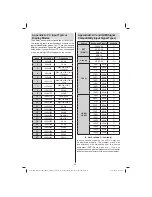
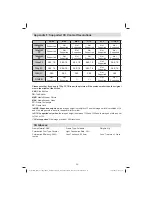
Page 33: ...A 21 1920x1080 60 HzB 22 1920x1200 60HzA 23 1920x1200 60Hz Appendix B AV and HDMI Signal Compatibility Input Signal Types Source Supported Signals Available EXT SCART PAL 50 60 O NTSC 60 O RGB 50 O RG...

Page 34: ...upgrade and press OK button If a new upgrade is found it starts to download the upgrade A progress bar indicates the remaining download progress When the download completes successfully a message is d...

Page 35: ...1024x768 6291456bytes bmp max WxH 9600x6400 3840000bytes Subtitle sub srt Products Battery Information for Users on Disposal of old Equipment and Batteries European Union only These symbols indicate t...

Page 36: ...in the middle of the screen SBS Side By Side TB Top Bottom MBP Media Browser Picture MBV Media Browser Video FC Frame Compatible FP Frame Pack in MBP Supported only when the image s height is multiple...

Page 37: ...ing distance m 2 50 2 75 2 80 3 25 Horizontal Viewing Angle 45 45 Vertical Viewing Angle It is always recommended to place a TV at the correct seated eye height of the viewer If the TV must be placed...

Page 38: ...Kg 12 30 DxLxH Without foot 94 x 776 x 524 Weight Kg 11 60 Digital Reception DVB T MHEG 5 ENGINE compliant with ISO IEC 13522 5 UK engine Profile 1 for UK Object carousel support compliant with ISO I...

Page 39: ...hich is marked with the letter N or coloured Black The wire which is coloured brown or red must be connected to the terminal which is marked with the letter L or coloured Red For continued protection...

Page 40: ...50210686 www finluxdirect com Customer helpline 0845 459 5282...

Reviews: