


- 21 -
To view 3D contents or programmes in 3D mode
•
(3-Dimensional) you must wear the supplied 3D
Glasses.
3D Mode
Press 3D button to view 3D Settings menu
directly.
3D feature enables you to view 3D content using
•
the supplied 3D glasses.
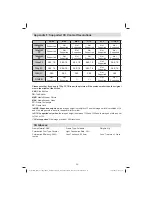
To enable and customize 3D mode on the TV,
•
perform the following:
Press
•
MENU
button on the remote control and select
Picture by using “ ” or “ ” button. Press
OK
button
to view
Picture Settings
.
Select
•
3D Settings
option by using “ ” / “ ” button
and press
OK
.
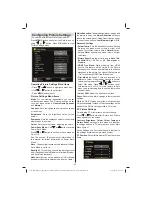
3D Settings
Mode
You can customize 3D mode settings to provide best
viewing experience.
Select one of these modes to
experience 3D image viewing:
Auto:
Automatically switches to 3D mode if 3D
information available in HDMI source.
Side by Side:
Displays 3D content which is originally
in a form of side by side.
Top bottom:
Displays 3D content which is originally
in a form of top and bottom.
Off
: 3D function mode is turned off.
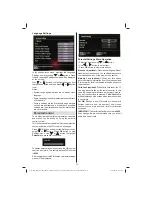
2D Only
If content is 3D but you want to watch it in 2D, you can
switch to 2D only mode. There are 2 options (LEFT
and RIGHT) to select which side of the content you
want to watch in 2D.
Note: This item is available when TV is in 3D mode.
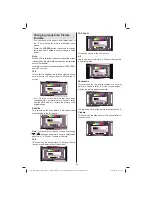
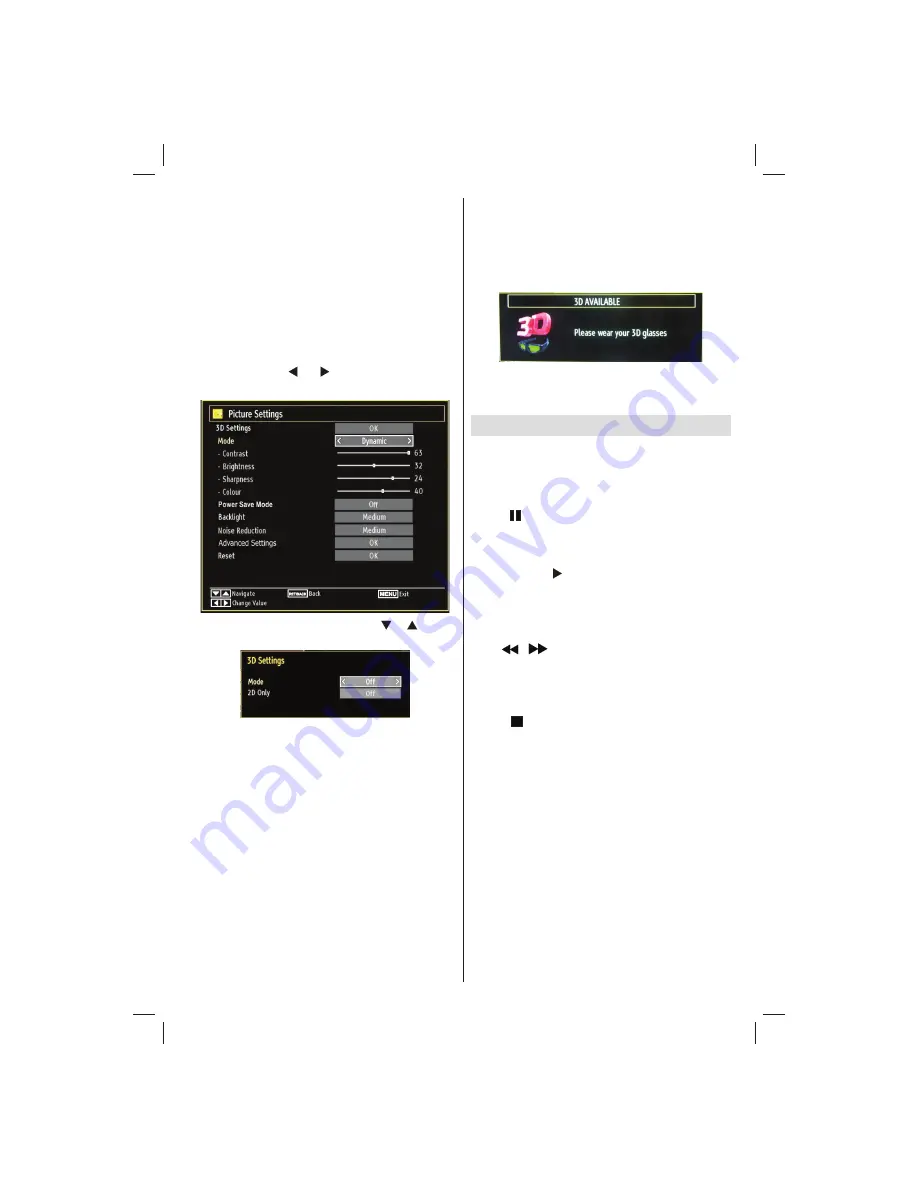
Note: If you select 3D modes, wear the supplied
3D glasses when this message is displayed on
the screen:
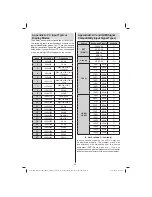
Supported 3D Content Resolutions
See Appendix F for supported 3D Content
resolutions.
Timeshift Recording
IMPORTANT: To record a programme, you should
fi
rst connect a USB disk to your TV while the TV is
switched off. You should then switch on the TV to
enable recording feature. Otherwise, recording feature
will not be available.
Press
•
(PAUSE) button while watching a broadcast
for switching to timeshifting mode.
In timeshifting mode, the programme is paused and
•
simultaneously recorded to the connected USB
disk (*). Press (PLAY) button again to watch the
paused programme from the stopped moment.
This playback is performed in x1 playback speed.
•
You will see the timeshift gap between the real and
the timeshifted programme in the info bar.
Use
•
/
(PREVIOUS/NEXT) buttons to move
forward or backward on timeshift playback. When
the timeshift is reached, timeshifting mode will be
quitted and you will switch back to watching normal
broadcast.
Press
•
(STOP) button to quit timeshifting mode.
(*) Similtaneous timeshifting recording’s duration
depends on your connected USB disk’s file size
and defined Max. Timeshift in the Recordings
Con
fi
guration menu. See the section, “Recordings”
for more information on setting Max. Timeshift.
Note: Switching to a different broadcast or source;
and viewing main menu are not available during the
timeshifting.
Lip Sync delay may occur during the timeshifting.
•
01_MB62_[GB]_woypbpr_IDTV_PVR_NICKEL17_5103UK_32850W_10077373_50210686.indd 21
01_MB62_[GB]_woypbpr_IDTV_PVR_NICKEL17_5103UK_32850W_10077373_50210686.indd 21
10.01.2012 13:52:01
10.01.2012 13:52:01


