TECHNICAL NEWS
Data:
25.09.2015
Doc:
10057343
Pag:
3
•
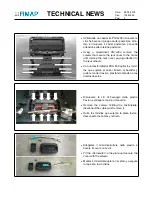
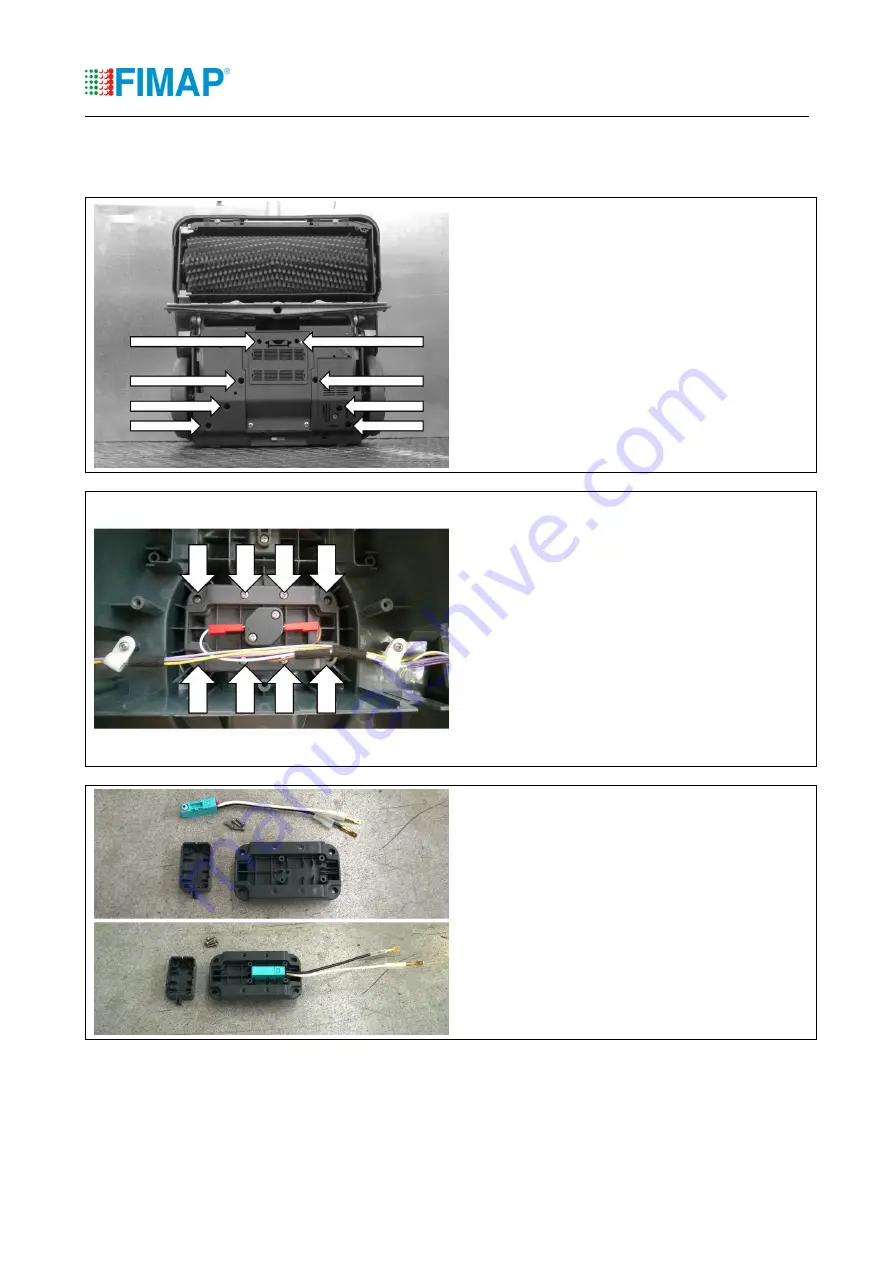
Utilizzando un cacciavite PH1x200 rimuovere le
viti che fissano il gruppo carter posteriore al te-
laio e rimuovere il carter posteriore, ponendo
attenzione alle rotelline posteriori.
•
Using a screwdriver PH1x200 remove the
screws that secure the rear cover to the frame
and remove the rear cover, paying attention to
the rear wheels.
•
Con un destornillador PH1x200 quitar los tornil-
los que sujetan el carter trasero al bastidor y
quitar el carter trasero, prestando atención a las
ruedas traseras.
•
Rimuovere le viti di fissaggio della piastra
Faston, scollegare i cavi e rimuoverla.
•
Remove the screws holding the Fastonplate,
disconnect the cables and remove it.
•
Quite los tornillos que sujetan la placa faston,
desconecte los cables y retírela.
•
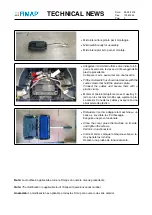
Alloggiare il microinterruttore nella piastra e
fissare il cover con le viti.
•
Fit the microswitch in the plate and secure the
cover with the screws.
•
Montar el microinterruptor en el plato y asegure
la tapa con los tornillos.


