background image


QUICK START GUIDE


Fidelis Network® High Capacity Collector


www.fidelissecurity.com


©Fidelis Cybersecurity


7. Appliance Network Configuration 

1.  Power on the appliance(s). 

2.  Connect to the component CLI using one of the following methods: 

-


Via KVM Console:

 Connect a keyboard 

and monitor to the appliance. 

-


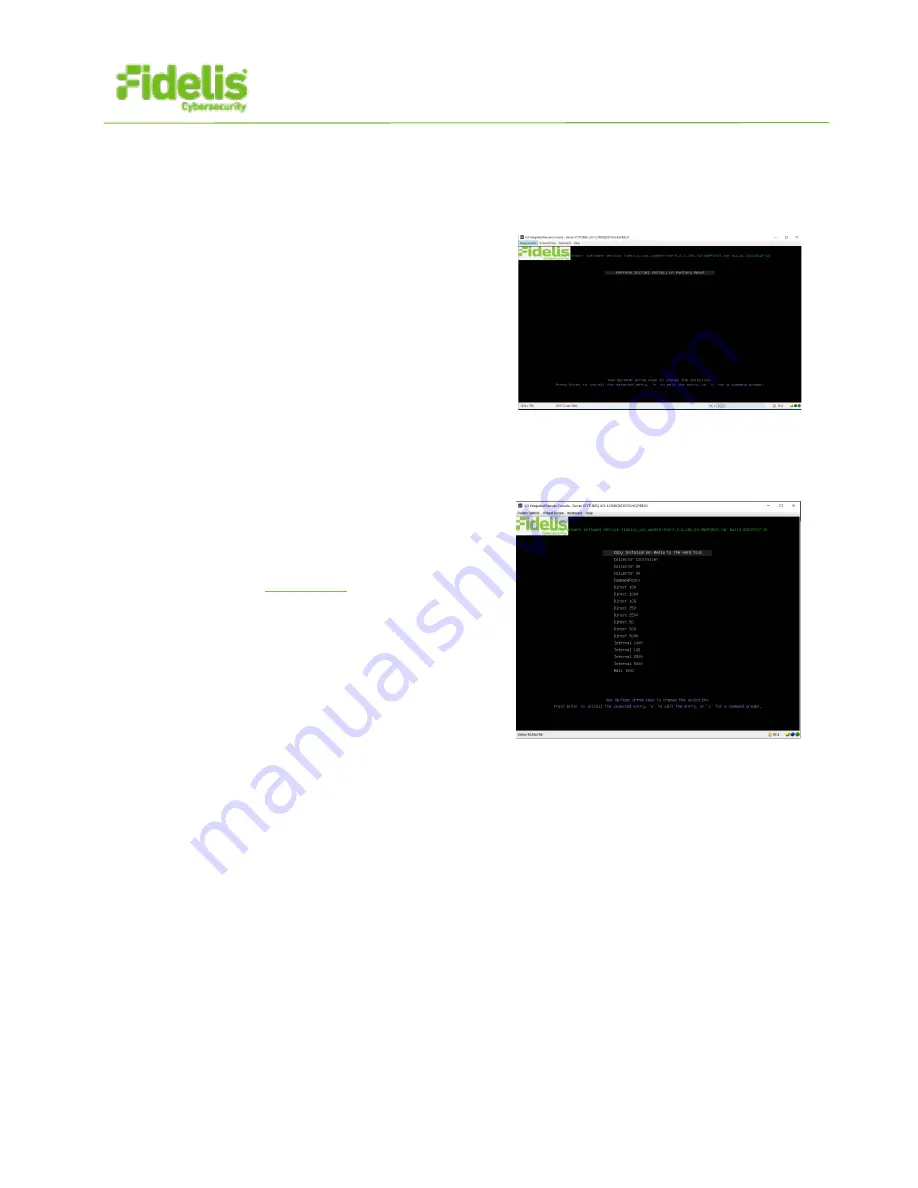
For Fidelis Network appliances version 
9.3.3 or later, the screen on the right is 
displayed: 


3.  If you see the screen above, perform the following steps to apply the software. Otherwise 

skip to step 4. 

a.  With 

Perform Initial Install or Factory Reset

 selected, press Enter. 

b.  Use the Up and Down arrow keys to select 

the system type 

Collector Controller

 (or 

Collector XA

 for cluster), and press Enter.  

If you need help determining the system 
type, see 

Appendix C

.  

The system displays a screen with the 
message “Congratulations, your CentOS 
installation is complete.” 


4.  Login to the appliance using console  

5.  Use these credentials at the login prompt. 

You will be required to change the password 

immediately

:


-


user: 

fidelis


-


default password: 

fidelispass


6.  Change to root using the default password 

7.  From the command line, run 

/bin/bpctl_start 

/bin/bypass_util all set_force_bypass off  

8.  Run the following to start the Fidelis Setup program:  

/FSS/bin/setup 

9.  Within Setup, select 

Network Settings

Summary of Contents for Collector Controller 10G

Page 1: ...www fidelissecurity com QUICK START GUIDE Fidelis Network High Capacity Collector Rev J Collector Controller 10G HP DL360 G10 and Collector XA4 DL380 G10 Platforms...

Page 2: ...s Network product documentation appliance specifications and instructions can be found at https support fidelissecurity com or through the icon in the CommandPost K2 user interface Appliance Default P...

Page 3: ...witches Logical network information IP addresses hostnames Section 5 Appendix A For Fidelis Network Software version 9 3 3 and later the appliance system type Appendix C 3 Collector Network Port and C...

Page 4: ...or service and inter node communication You can deploy networks as Three independent physical switches or Multiple independent VLANs on the same switch fabric The ADMIN DB and SYNC switches or VLANs m...

Page 5: ...This network must be independent from other networks Only IPv4 addresses are supported Appliance Switch Port Type Qty Collector Controller 10G n a Collector XA4 10GbE Fiber SR LC connector may require...

Page 6: ...n net Static IP Address 10 1 2 3 192 168 1 3 172 16 1 3 10 2 3 3 Subnet Mask 255 255 255 0 255 255 255 0 255 255 255 0 255 255 255 0 Gateway 10 1 2 1 10 2 3 1 Proxy Server 10 5 6 7 DNS Servers 8 8 4 4...

Page 7: ...ct the Admin eth0 port to the ADMIN switch port 2 Connect the DB eth1 port to the DB switch port 3 Optionally connect the iLO port to the ADMIN or iLO switch port 4 Repeat for each Collector Controlle...

Page 8: ...ory Reset selected press Enter b Use the Up and Down arrow keys to select the system type Collector Controller or Collector XA for cluster and press Enter If you need help determining the system type...

Page 9: ...NC eth2 interfaces 8 Cluster Setup On the Final Collector XA4 Appliance If you have not completed setup for the XA4 appliances in section 7 above or you are adding an XA4 appliance to the Collector fo...

Page 10: ...ription optional Specify a description for example location business unit etc 5 Click Save 6 Register the Collector to the CommandPost K2 Click Register and accept the End User License Agreement EULA...

Page 11: ...G Primary Network Setting Assignments Interface Admin eth0 DB eth1 iLO IPMI Hostname FQDN Static IP Address Subnet Mask Gateway Proxy Server DNS Servers NTP Servers Time Zone Collector Controller 10G...

Page 12: ...nments Interface Admin eth0 DB eth1 SYNC eth2 iLO IPMI Hostname FQDN Static IP Address Subnet Mask Gateway Proxy Server DNS Servers NTP Servers Time Zone Collector XA4 B Network Setting Assignments In...

Page 13: ...core 3 3 Ghz Memory 128 GB ECC DDR4 2933Mhz 192 GB ECC DDR4 2933Mhz Storage Capacity Configuration 300 GB 2x HD RAID 1 300 GB 2x HDD RAID 1 1 2 TB 22x HDD RAID 10 13 2TB Network Adapters 4x 1GbE 2x 10...

Page 14: ...ows the software to apply based on the appliance SKU You can find the SKU in the following locations Note that the SKU starts with FSS and FNH Appliance lid UID decal see sample on right Shipping cart...

Reviews: