6 . c
ompressor
maIntenance
In order to use the compressor in complete safety read the safety standards given in section 1.3. before reading this
section.
6.1 I
nstructIons
relatIve
to
InspectIons
and
maIntenance
jobs
.
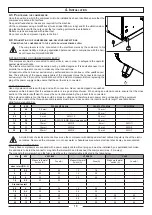
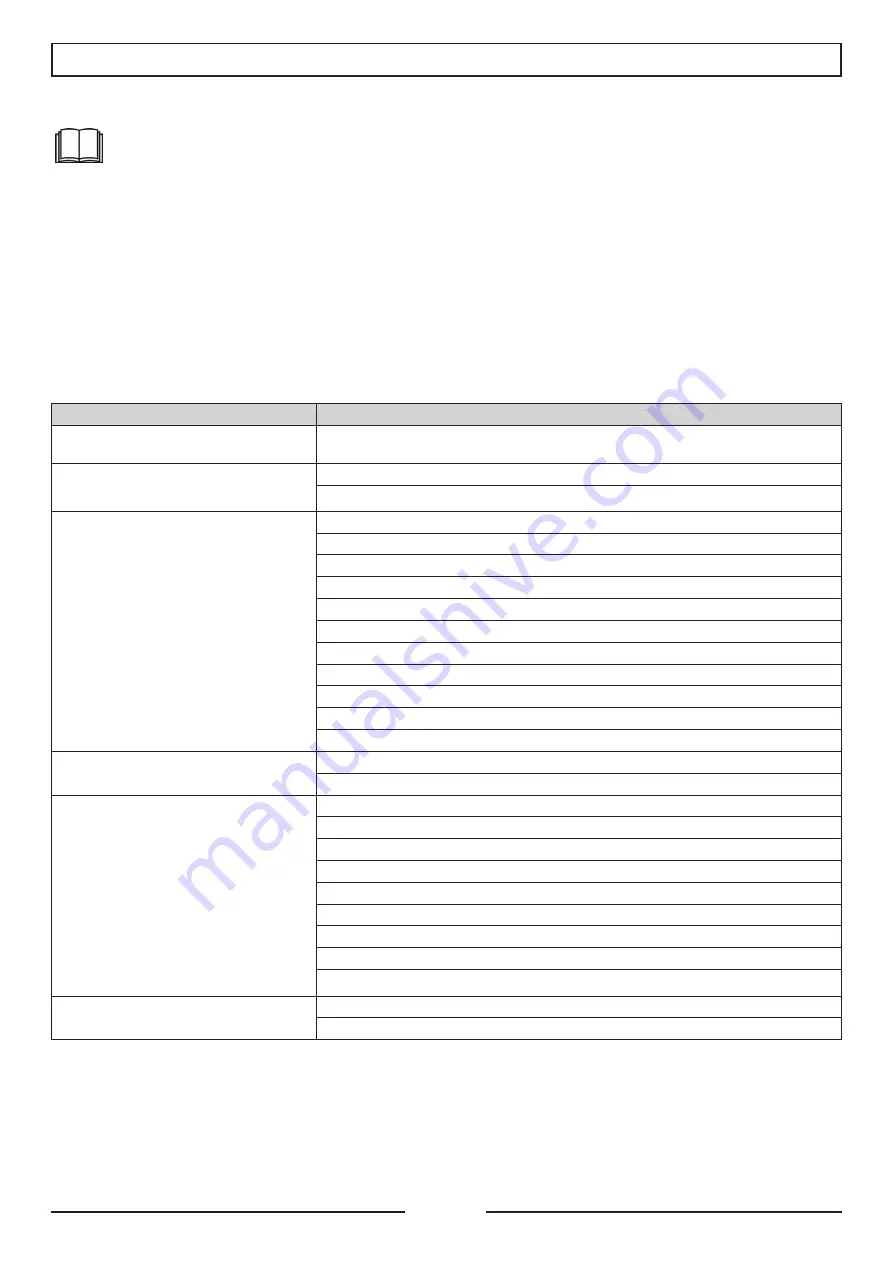
The table that follows summarises the periodic and preventative maintenance jobs required to keep the compressor in an efficient
operational state in time.
A brief description of the running hours after which the type of maintenance job is required.
Before performing any jobs within the sound-proof cabinet, ensure that:
The main line switch is turned off (position “0”)
The compressor is disconnected from the compressed air system
All the pressure has been released from the compressor and internal pneumatic circuit.
Weekly: it is advisable to inspect the compressor, paying special attention to oil leaks and scale due to settled dust and oil.
Note! If the compressor is used for more than 3000 hours/year the jobs indicated herewith are to be performed more often.
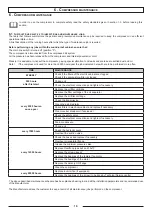
TIME
MAINTENANCE
WEEKLY
Check if the filters of the electric cabinet are clogged
Check if the anti-dust pre-filter is clogged
500 hours
after first start
Change oil
Check the electrical connections and tighten if necessary
every 2500 hourso
once a year
Replace the oil filter cartridge
Replace the filter cartridge of the oil separator
Replace the air filter cartridge
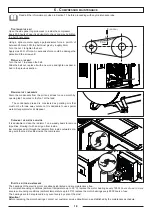
Check the transmission
Clean the air/oil radiator
Check filters in electrical cabinet and replace if necessary
Clean inverter dissipator (if equipped )
Check the safety valve
Check the electrical connections and tighten if necessary.
Drain condensate
Change oil
every 7500 hours
Check the hydraulic seals
Overhaul the suction valve
every 12500 hours
Check the hoses and replace if necessary
Overhaul oil separator flange
Grease the minimum pressure valve
Replace Fluorflon pipes 6x4 and 10x10
Replace the screw oil seal
Replace the bearings of the radiator fan motor
Replace the bearings of the motor
Replace the delivery OR flange
Clean the compressor
every 20000 hours
Replace inverter fan (if equipped).
Replace the bearings of the screw (to be done by Technical Service centre)
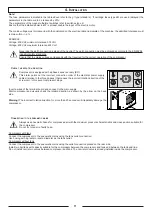
The above described maintenance schedule has been planned bearing in mind all the installation parameters and recommended use
of the Manufacturer.
The Manufacturer advises the customer to keep a record of all maintenance jobs performed on the compressor.
16
6 . c
ompressor
maIntenance
Summary of Contents for New Silver Series
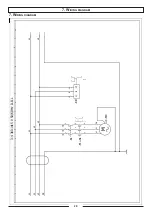
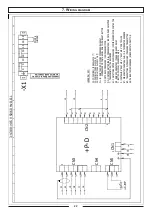
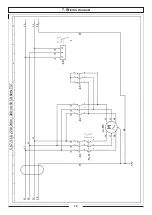
Page 20: ...7 Wiring diagram 20 7 Wiring diagram ...
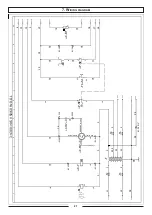
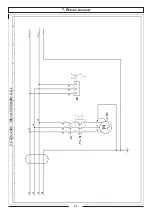
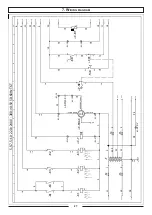
Page 21: ... 21 7 Wiring diagram ...
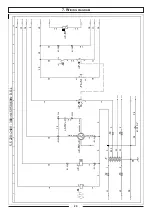
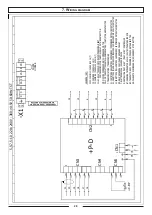
Page 22: ... 22 7 Wiring diagram ...
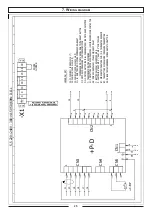
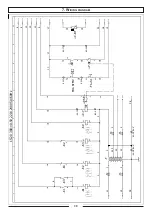
Page 23: ... 23 7 Wiring diagram ...
Page 24: ... 24 7 Wiring diagram ...
Page 25: ... 25 7 Wiring diagram ...
Page 26: ... 26 7 Wiring diagram ...
Page 27: ... 27 7 Wiring diagram ...
Page 28: ... 28 7 Wiring diagram ...
Page 29: ... 29 7 Wiring diagram ...
Page 30: ... 30 7 Wiring diagram ...
Page 31: ... 31 7 Wiring diagram ...
Page 32: ... 32 7 Wiring diagram ...
Page 33: ... 33 7 Wiring diagram ...
Page 34: ... 34 7 Wiring diagram ...
Page 35: ... 35 7 Wiring diagram ...
Page 36: ... 36 7 Wiring diagram ...
Page 37: ...37 7 Wiring diagram 7 Wiring diagram ...
Page 38: ...38 7 Wiring diagram ...
Page 39: ...39 7 Wiring diagram ...
Page 40: ...40 7 Wiring diagram ...
Page 41: ...41 7 Wiring diagram ...
Page 42: ...42 7 Wiring diagram ...
Page 43: ...43 7 Wiring diagram ...
Page 44: ...44 7 Wiring diagram ...
Page 45: ...45 7 Wiring diagram ...
Page 46: ...46 7 Wiring diagram ...
Page 47: ...47 7 Wiring diagram ...
Page 48: ...48 7 Wiring diagram ...
Page 49: ...49 7 Wiring diagram ...
Page 50: ...50 7 Wiring diagram ...
Page 51: ...51 7 Wiring diagram ...
Page 52: ...52 7 Wiring diagram ...
Page 53: ...53 7 Wiring diagram ...
Page 54: ...54 7 Wiring diagram ...
Page 55: ...55 7 Wiring diagram ...
Page 56: ...56 7 Wiring diagram ...
Page 59: ...59 9 Maintence Schedule ...
Page 60: ...Cod 1127340124_02 2017 ...

