PowerWizard 1.0 & 2.0 Control Systems User Manual
3
User Interface Overview
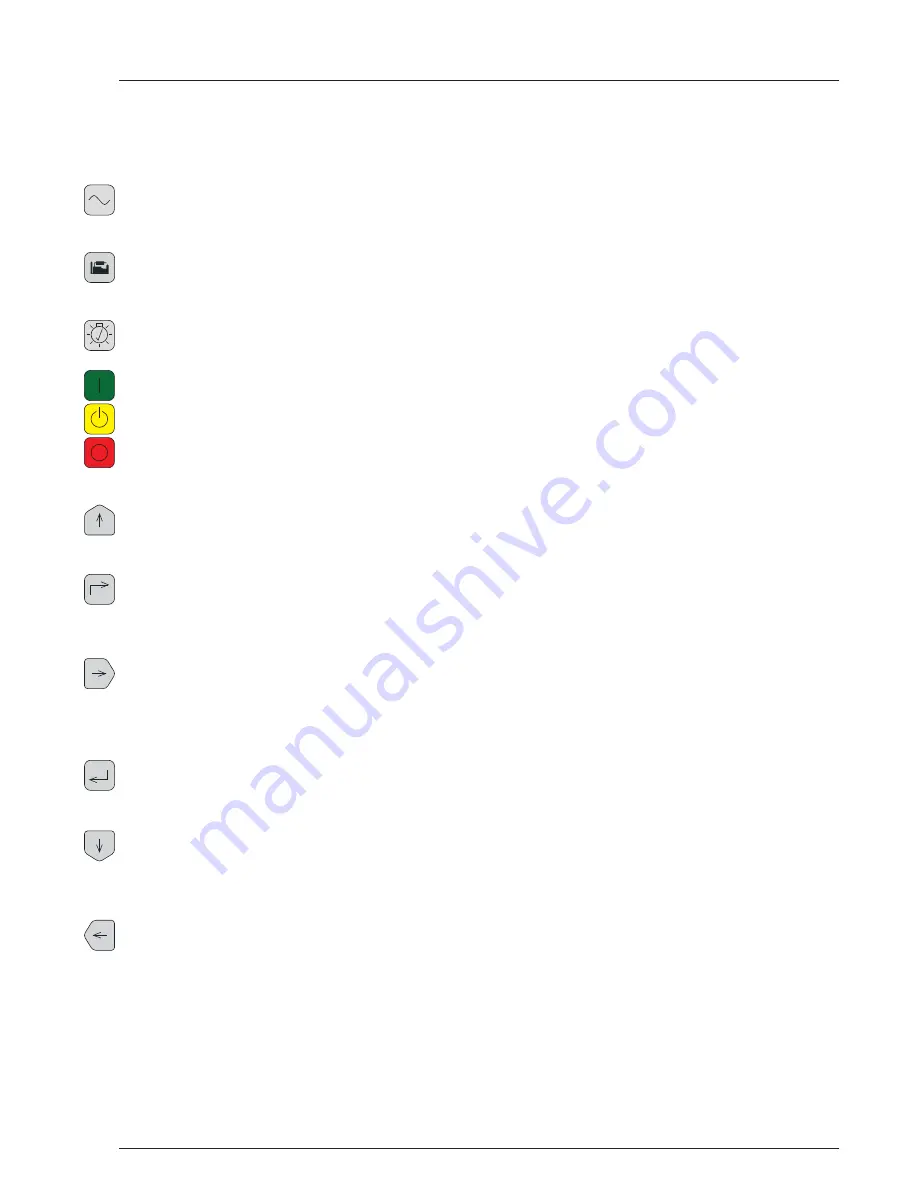
3.1 Function Keys
AC Overview hot-key –
The AC Overview key will navigate the display to the first screen of AC information. The AC
Overview information contains various AC parameters that summarise the electrical operation of the generating set.
(Use the up/down keys to navigate within the AC parameters).
Engine Overview hot-key –
The Engine Overview key will navigate the display to the first screen of engine information.
The Engine Overview information contains various engine parameters that summarise the operation of the generating
set. (Use the up/down keys to navigate within the Engine parameters).
Lamp Test –
Pressing and holding the Lamp Test key will cause all of the LED’s and the display screen pixels to
turn on.
RUN –
Pressing the Run key will cause the engine to enter the run mode.
AUTO –
Pressing the Auto key will cause the engine to enter the auto mode.
STOP –
Pressing the Stop key will cause the engine to enter stop mode.
3.2 Menu Navigators
Scroll Up –
The Scroll Up key is used to navigate up through the various menus or monitoring screens. The Scroll Up
key is also used during setpoint entry. During numeric data entry the Scroll Up key is used to increment the digits (0-9).
If the setpoint requires selection from a list, the Scroll Up key is used to navigate through the list.
Escape –
The Escape key is used during menu navigation in order to navigate up through the menu/sub-menu
structure. Each key press causes the user to move backwards/upwards through the navigation menus. The Escape key
is also used to exit/cancel out of data entry screens during setpoint programming. If the Escape key is pressed during
setpoint programming, none of the changes made on screen will be saved to memory.
Scroll Right –
The Scroll Right key is used during setpoint adjustment. During numeric data entry, the Scroll Right key
is used to choose which digit is being edited. The Scroll Right key is also used during certain setpoint adjustments to
select or deselect a check box. If a box has a check mark inside, pressing the Scroll Right key will cause the check mark
to disappear, disabling the function. If the box does not have a check mark inside, pressing the Scroll Right key will
cause a check mark to appear, enabling the function.
Enter –
The Enter key is used during menu navigation to select menu items in order to navigate forward/downward
in the menu/sub-menu structure. The Enter key is also used during setpoint programming in order to save setpoint
changes. Pressing the Enter key during setpoint programming causes setpoint changes to be saved to memory.
Scroll Down –
The Scroll Down key is used to navigate down through the various menus or monitoring screens. The
Scroll Down key is also used during setpoint entry. During numeric data entry the Scroll Down key is used in order to
decrement the digits (0-9). If the setpoint requires selection from a list, the Scroll Down key is used to navigate down
through the list.
Scroll Left –
The Scroll Left key is used during setpoint adjustment. During numeric data entry, the Scroll Left key is
used to choose which digit is being edited. The Scroll Left key is also used during certain setpoint adjustments to select
or deselect a check box. If a box has a check mark inside, pressing the Scroll Left key will cause the check mark to
disappear, disabling the function. If the box does not have a check mark inside, pressing the Scroll Left key will cause a
check mark to appear, enabling the function.
9


