


MACHINES AND
ACCESSORIES
Page 21 of 29
Crushing
Always keep at least two pins, one for each side, always inserted in the body of the machine
below the pallet to prevent the latter from falling.
4. Raise or lower the pallet carrier using the winch handle to the desired height, making
sure that the holes of the levelled pallet carrier are aligned with the holes on the
vertical columns of the press.
5. Re-insert the locking pins, one for each part until all four have been introduced. Two
pins, one for each part, must be inserted in the holes of the pallet carrier through the
body of the machine, the other two in the holes as close as possible to the pallet
carrier, below it as a safety measure against falling. Re-insert the locking cotter pins on
all the pins.
6. Loosen the strain of the cable by operating the winch handle, completely resting the
pallet carrier on the pins as soon as they are assembled
9.2 Manual pressing work
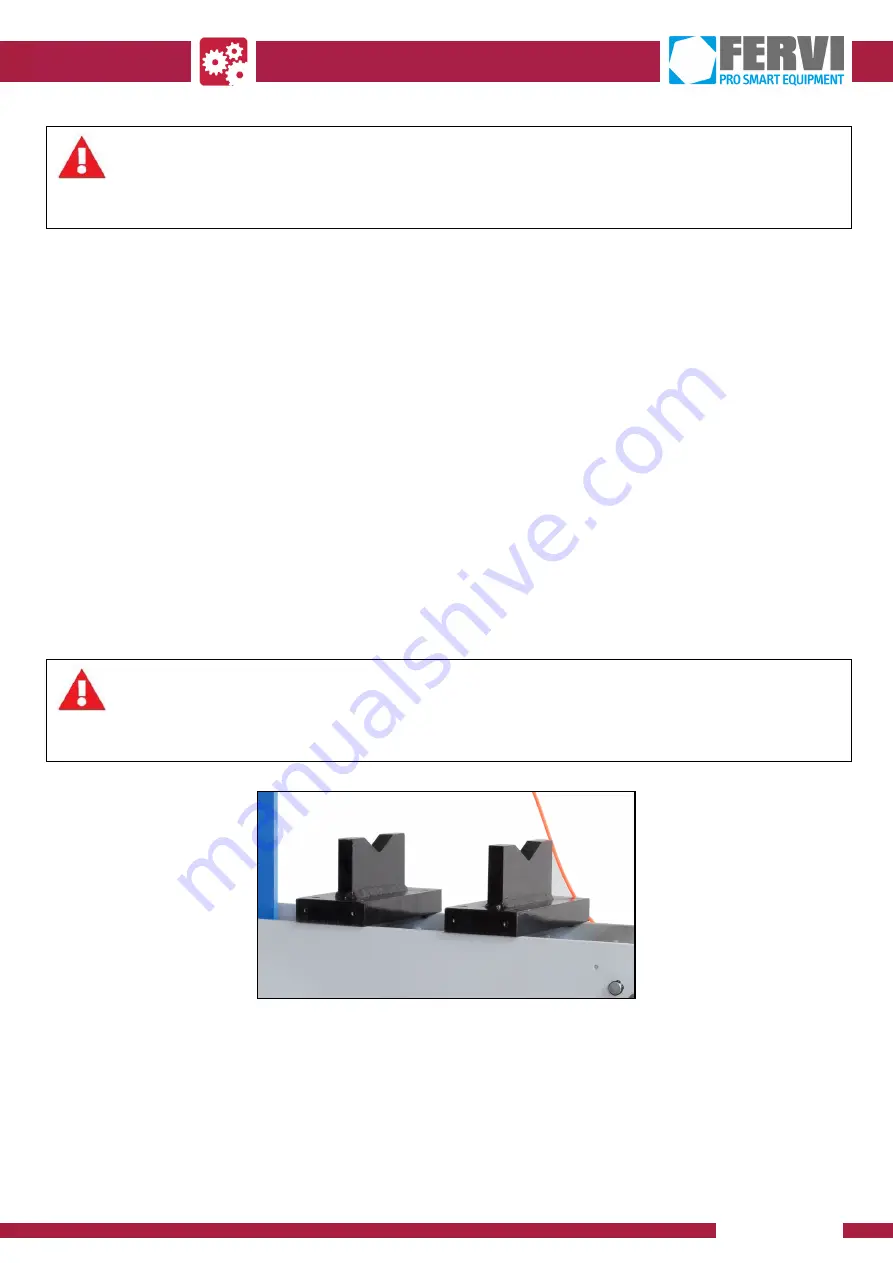
1. Place the workpiece to be pressed on the press plate, centred with respect to the
piston.
The pieces to be pressed should have a compact and solid structure and should not be
subject to crumbling, to avoid the splinters or fragments of material from flying out.
Equally, they must be regular in shape in order to prevent them from slipping under
the thrust of the piston and fall from the press plate.
Ejection of workpiece or parts thereof
If there is a possibility of pieces or fragments being ejected during pressing, the use safety
goggles is mandatory.
Figure 14 - Pressing plate supports.
2. Close the release valve by turning it clockwise.
fervi.com


