background image


µ E Z  

G U I   U s e r ’ s   M a n u a l


P a g e

 | 

5


9/13/2023 

Copyright ©2023, Future Designs, Inc.


Revision 1.2 


At this point the unit is ready for software demonstrations and user operation.  


7.


Demonstration Software 


Note: The Demonstration Software is subject to change at any time.  

 
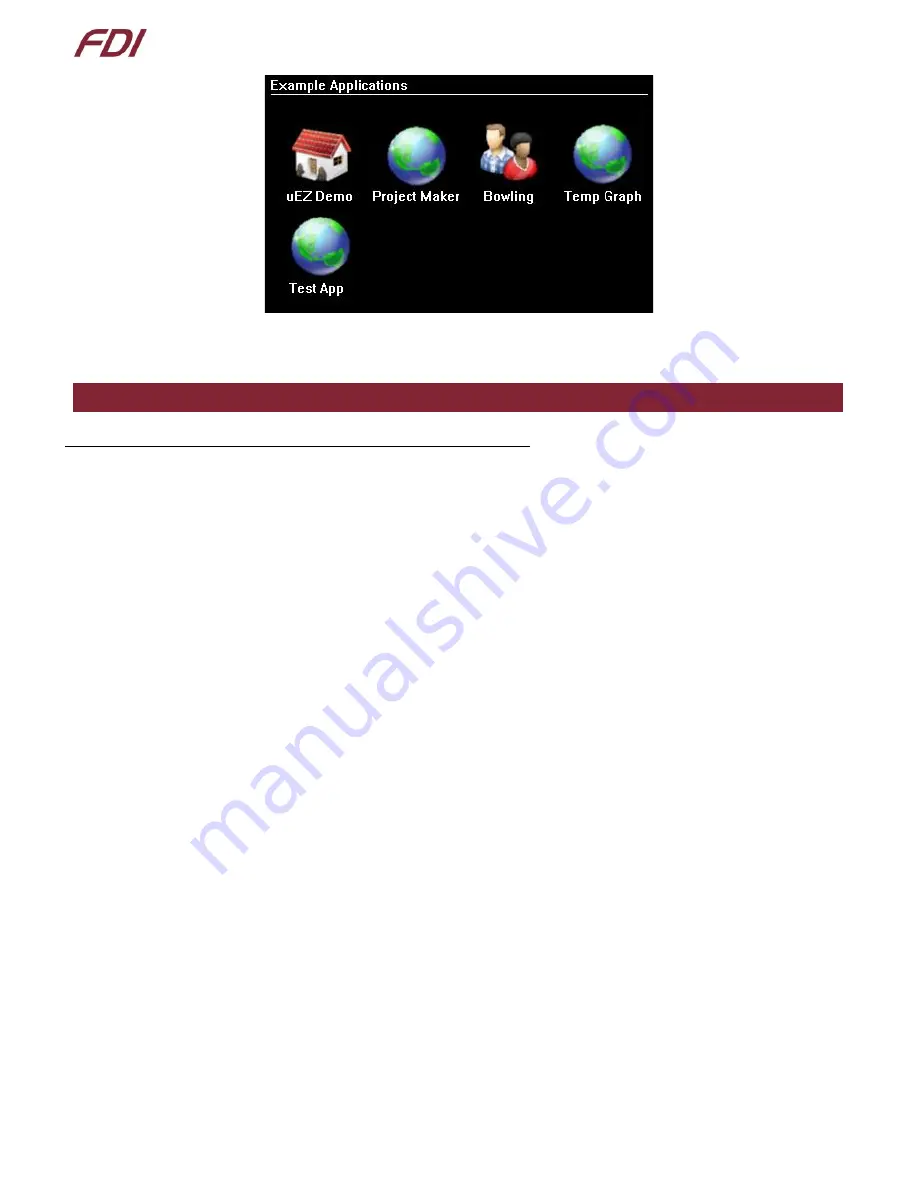
The following software demonstrations are available from the Main Menu: 
 

a)


Example Applications


uEZ Demo


 this will install the main 

EZ GUI demo application, which demonstrates the capabilities of uEZ 

GUI to display slideshows, play videos, and store data. This will be covered in more detail below 


Bowling


 This demonstration is an example of a bowling alley user interface. 


Project Maker


 This is a demonstration example application developed using the Project Maker utility from 

Future Designs, Inc. Currently, this demonstration is a Temperature and Time/Date application. 


Sensors


Select the Sensor button to display on-board accelerometer readings and the temperature from the on-

board temperature sensor. To return to the main menu, select ‘Back’.


Time and Date 

Select this feature to display the current time and date from the internal real time clock (RTC). 

o


To change the time or date: 

1.


Select the field you want to change. 

2.


Enter the numeric value. 

3.


Select ‘Enter’

4.


Select ‘Cancel’ if you do not want to 

change the field. Or, wait until the entry screen 

times out and returns to the Time Date Settings screen. 

o


If invalid values are entered, the software will default to the maximum valid value for the field. 

o


Once set, an on-board super capacitor will back-up the time and date for several days (typically) 
while the unit is powered off. 

o


Select ‘Back’ to return to the Settings Menu.


Summary of Contents for UEZGUI-4357-70WVN

Page 1: ...VN BA Board Assembly NOTICE At FDI we are constantly improving our documentation Please get the latest version of this document in the documentation tab of the product page at www TeamFDI com Copyrigh...

Page 2: ...for High Clock Frequency_______________________________________ 9 15 Configuring Rowley CrossWorks for ARM for J Link Flashing_______________________________ 12 16 Configuring IAR EWARM v9 30 1 for J...

Page 3: ...anical for any purpose without the express written permission of Future Designs Inc 996 A Cleaner Way Huntsville AL 35805 For more information on FDI or our products please visit www teamfdi com NOTE...

Page 4: ...GUI based design by providing the basic functions necessary for most customer products 2 Block Diagram Figure 1 UEZGUI 4357 70WVN BA Block Diagram 3 Kit Contents for FDI PN UEZGUI 4357 70WVN UEZGUI 43...

Page 5: ...MB Internal on chip 4KB EEPROM RTC Real Time Clock with Optional Super Capacitor backup Temperature Sensor 3 axis Accelerometer Speaker Micro SD Card Socket for up to 64GB SDHC storage microSD card in...

Page 6: ...Maker utility from Future Designs Inc Currently this demonstration is a Temperature and Time Date application Sensors Select the Sensor button to display on board accelerometer readings and the temper...

Page 7: ...turn to the Settings Menu Time Date Located under Apps use this application to set the time and date from the internal real time clock RTC This is the time and date displayed in the Settings menu uppe...

Page 8: ...ode comments and annotations in a certain manner so that it is compiled along with source code into HTML documentation FDI provides pre compiled HTML documentation at this link http www teamfdi com ue...

Page 9: ...r to help create new projects for EZ GUI hardware It is available for download at http sourceforge net projects uez To create a new project download the application run the executable file and follow...

Page 10: ...tilize the OSAL functions to provide protected access to the processor peripherals The sub system driver API functions are typically protocol layer interfaces TCP IP USB etc designed as high level acc...

Page 11: ...ecially important when playing videos from the unit Follow the steps below on a Windows based PC to format the SD Card 1 Insert the card into the PC 2 Open My Computer 3 Right click on the Removable D...

Page 12: ...3 Future Designs Inc Revision 1 2 9 Before Clicking OK in the warning dialog box be sure the card does not have importuning information on it 10 Click OK on the format complete dialog box The SD Card...

Page 13: ...uez manual MA00015 20uEZ 20Software 20Quickstart 20Guide pdf software quick start guide 2 Plug in the J Link device into the PC and install any drivers as directed The SEGGER J Link drivers can be fou...

Page 14: ...EZ GUI User s Manual P a g e 13 9 13 2023 Copyright 2023 Future Designs Inc Revision 1 2 6 Open the Targets view by clicking Target Targets 7 Right click on SEGGER J Link and select Properties...

Page 15: ...programmed select a Speed of 1000 kHz 9 Press OK 16 Configuring IAR EWARM v9 30 1 for J Link Flashing The IAR tools do not require any special configuration for configuring the J Link tools To update...

Page 16: ...15 9 13 2023 Copyright 2023 Future Designs Inc Revision 1 2 17 Board Layout The following figure illustrates the layout of the various components of the UEZGUI 4357 70WVN kit They are for reference o...

Page 17: ...number is PN SAMTEC FTSH 105 01 Kits come with the SEGGER J Link Lite Cortex M shown below and no adapter will be needed Figure 3 SEGGER J Link Lite Cortex M 9 Pin JTAG with pinout Rev 2 X SEGGER and...

Page 18: ...cable version http www tag connect com TC2050 CLIP Figure 4 Tag Connect JTAG adapter cables and pinout for 10 pin TC2050 J3 MicroSD Socket When connected to the USB Host port on a PC the UEZGUI 4357 7...

Page 19: ...oSD card in this position relative to the microSD slot with the text and lip facing up Next gently insert the card partially into the socket Use your figure to gently push the card into the socket unt...

Page 20: ...r This header provides access to UART 3 I2C Channel 1 SPI Channel 0 GPIO Counter Timer Input Output as well as a 5V power input This connector is a 1 25mm Hirose male shrouded connector The Hirose Par...

Page 21: ...2A SPI connection to an expansion board Refer to the schematic for specific connectivity Pin Number Description Pin Number Description 1 SPI Chip Select 7 Interrupt Request 2 SPI MOSI 8 Reset 3 SPI M...

Page 22: ...ll short the ID pin 4 to ground This can be used for host mode detection in the application The UEZGUI 4357 70WVN BA is normally powered via P1 with the included 5V USB Wall Supply or via a standard 5...

Page 23: ...Signal Details Pin Pin Name Pin Description 1 Ground GND Power 2 GPIO5 4 I2C1_SCL RXD3 CTIN0 T3_MAT1 GPIO5 4 General Purpose I O I O I2C1_SCL I2C Channel 1 Serial Clock I O RXD3 UART Channel 3 Receiv...

Page 24: ...ontrol PWM Channel 0 output A O I2STX_WS I2S Audio Transmit Word Select I O MISO0 SPI Channel 0 Master Input Slave Output Serial Data I O 18 I2STX_SCK SSP0SCK Connected to pin F13 of LPC4357 BGA P3_0...

Page 25: ...imer 0 O 36 GPIO0 1 ENET_TXEN SSP1_MOSI GPIO0 1 General Purpose I O I O ENET_TXEN Ethernet RMII Transmit Enable O SSP1_MOSI SPI Channel 1 Master Output Slave Input I O 37 GPIO0 15 ENET_TXD1 SSP1_SEL T...

Page 26: ...t Data O 11 GPIO4 9 QEI_PHB RXD2 GPIO4 9 General Purpose I O I O Quadrature Encoder Interface Phase B Input I RXD2 UART Channel 2 Receive Data I 12 GPIO4 8 QEI_IDX TXD2 GPIO4 8 General Purpose I O I O...

Page 27: ...y PN 3 20 pin 0 5mm Molex 21020 0209 WM10226 ND 6 20 pin 0 5mm Molex 21020 0215 WM10218 ND 3 50 pin 0 5mm Molex 21020 7650 WM10231 ND 6 50 pin 0 5mm Molex 21020 0548 WM10223 ND Note These lengths are...

Page 28: ...3 Power Requirements Power is supplied into the mini USB connector P1 via the USB cable and power supply provided in the kit The power supply provides 5VDC output at 1 2A min and has input voltage ran...

Page 29: ...e 3 3V voltage regulator o Ensure the 3 3V voltage rails of the EZ GUI Expansion Board are not connected o The EZ GUI should be powered using 5V from the expansion board over the 70 pin breakout inste...

Page 30: ...EZ GUI User s Manual P a g e 29 9 13 2023 Copyright 2023 Future Designs Inc Revision 1 2 Figure 5 Mechanical Dimensions Component View Figure 6 Mechanical Dimensions LCD Module View and Side View...

Reviews: