


faytech Ltd. 2009
C
34
If you use another power source, please make sure to connect the inside pole
to a positive 12V source and connect the outside pole to a ground on the same
power source. Make sure you connect to a power supply that de12 V DC
and 1.5 A.
Connect the USB cable (on one end of the All-In-One cable) to the USB port
on your PC (only for the display with touch function) but only after you are
requested to do so while you are installing the touch software.
3.
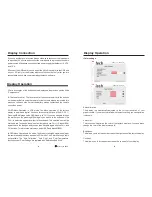
Display Connection
Display Operation
1.
2.
3.
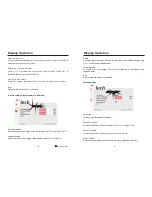
For a description of the buttons on the display see the previous section titled
“
Components
”
.
The remote control: The remote control functions are similar to the buttons
on the display. Before using the remote for the first time, please remove the thin
plastic on the back side so that the battery makes contact and the remote
control has power.
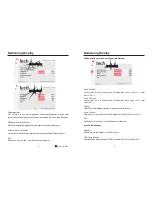
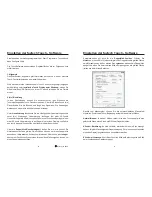
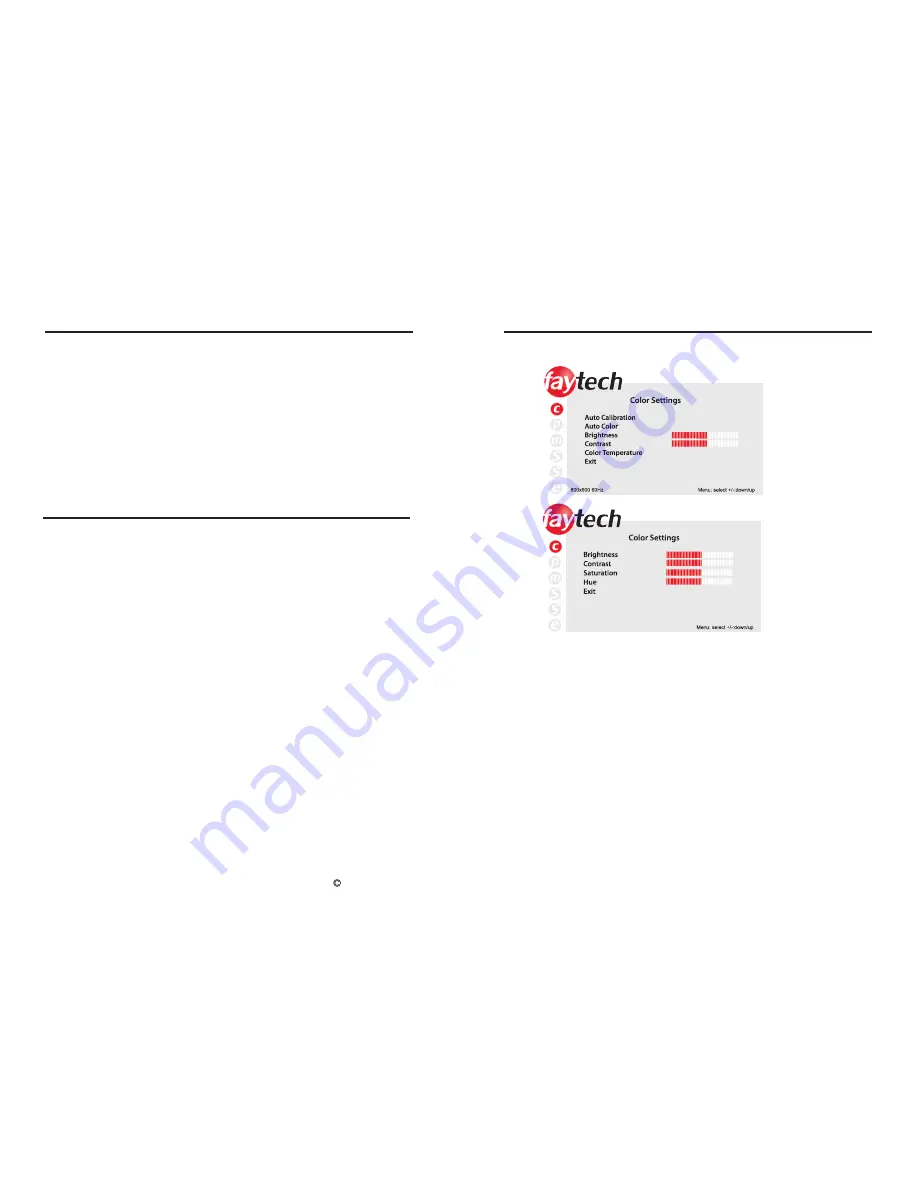
OSD-Menu-Operation in VGA mode: The Menu operation of the faytech
display is simple and logical. You have three control buttons. MENU, CH +/ -.
Pressing MENU brings up the OSD menu; with CH +/- you can navigate through
the main menu. By pressing MENU again you switch to the submenu. Use
CH+/- to select the appropriate item in the submenu. The selected item will be
marked in red. To change the value of an item please use CH +/
–
. Press MENU
again to save the changes and you can then navigate again with the CH + and
CH - buttons. To return to the main menu, select EXIT and press MENU.
OSD-Menu-Operation in AV mode: The Menu for either AV signal has almost
the same tabs and functions as when in VGA mode. The
“
Picture Settings
”
tab is
not available. The
“
Auto Calibration
”
,
“
Auto Color
”
and
“
Color Temperature
”
functions under
“
Color Settings
”
are replaced with
“
Saturation
”
and
“
Hue
”
.
4.
35
Display Operation
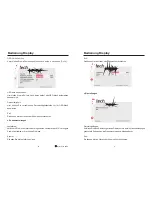
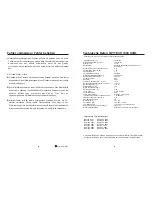
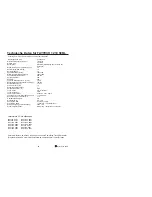
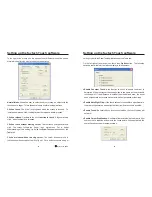
Auto calibration:
The display is automatically adjusted to the current resolution of your
graphics card. If you are not satisfied with the auto setting, you can optimize
it manually.
Auto color:
This function will optimize the color of the faytech displays. You can always
change the color of the display manually.
Brightness:
This allows you to increase or decrease the brightness of the faytech display.
Contrast:
This allows you to increase or decrease the contrast of your display.
50%
50%
50%
50%
50%
50%
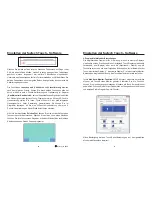
(OSD menu in VGA mode)
(OSD menu in AV mode)
NTSC
l
Color settings:


