


4
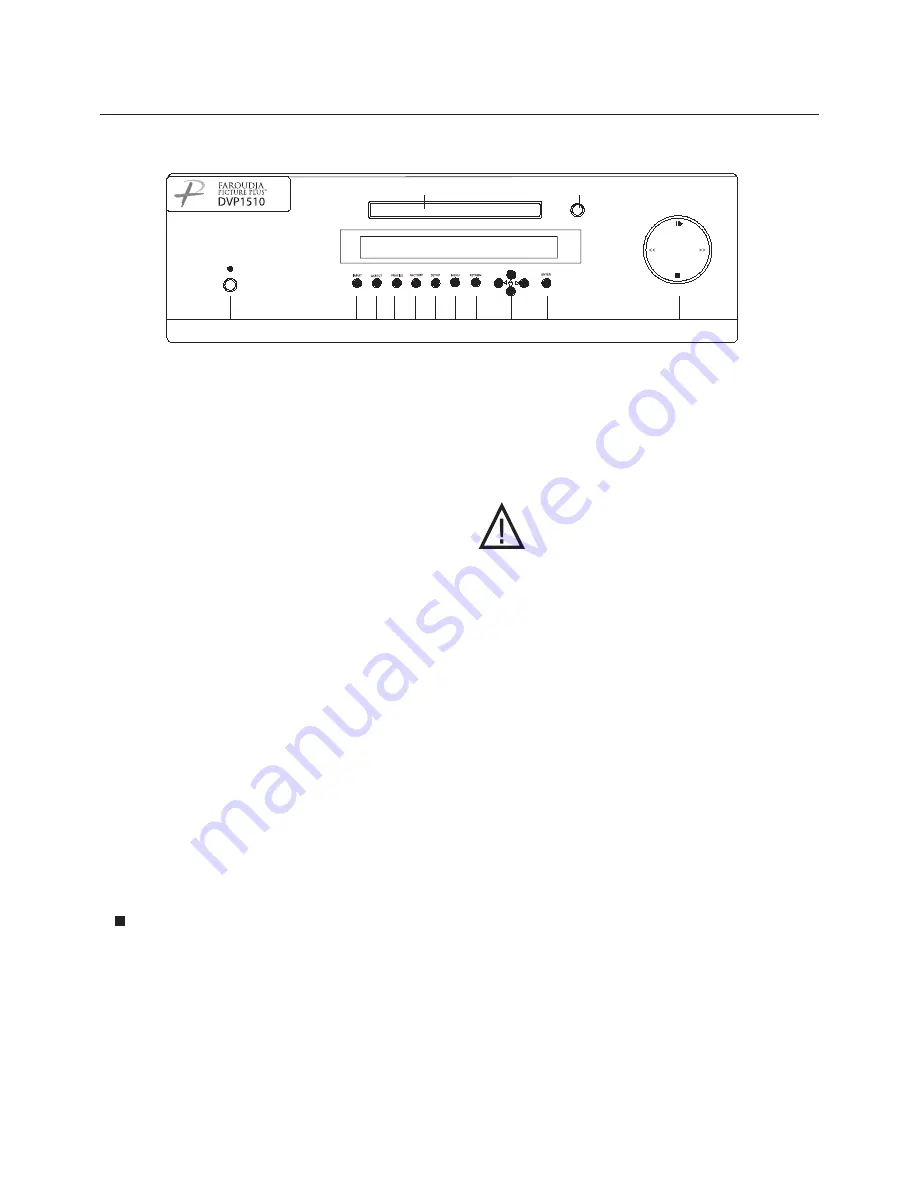
FRONT PANEL CONTROL
1. Power/ Standby:
Press to turn on (Green LED) or
for Standby (Red).
The following list of buttons are used in case the remote
control is not available. In some cases, the selection can
be made by either repeatedly pressing the button to
cycle through the available functions or by pressing the
button and then using the left/right directional buttons.
2. Input:
Push to cycle through available inputs. DVD -
Video - S-Video - RGB - YCrCb - DVI - Pass -
Through - Pass-Through transcode
3. Aspect Ratio:
Press to cycle through options.4:3 -
Letterbox - Anamorphic
4. Profile:
Store up to eight image profiles for NTSC
and eight for PAL. All image parameters are stored
including output scan rate.
5. Factory:
Press to recall Factory preset levels for
Brightness, Contrast, Color, Tint and Detail
6. Setup:
Press to enter the processor setup menu.
Use the Up/Down buttons to cycle through the
available functions. Press the Left/Right buttons to
make changes to the selected function.
7. Menu:
Press to access the DVD disc menu.
8. Return:
Press to return the front panel control to the
main picture settings menu.
9. Directional Buttons:
Press to make changes to the
processor settings. When in the DVD menu, press
to navigate the DVD menu.
10.Enter:
Press to enter selections when prompted by
a menu item either with the processor setup
functions or when in the DVD menu.
11. DVD transport controls.
.
Press to stop
II>.
Press to toggle between Play and Pause
>>.
Press to skip forward. Hold to Fastforward.
<<.
Press to skip backwards. Hold to Rewind.
SYSTEM FIRMWARE SETUP
Now that all the sources and cables are connected,
the processor’s firmware needs to be setup for the
installation.
Be sure to go through the Setup menu
before doing the final setup of the display.
When the unit is first plugged in it will go through an
initializing procedure and display the output resolution.
Do not send any commands to the unit during this
initialization period. Once this initialization is
completed the unit is instant-on.
Note:
All display devices have specific setup
steps that must be completed to insure
proper operation with the DVP1510 and
other sources. Be sure to carefully
follow those instructions as well as
the instructions for this processor.
To enter the Setup menu, press the Setup button on
the front panel. Setup Functions can only be viewed
on the front panel LCD, not from the OSD.
Press the Function Up or Down to select the available
Functions. Press the Value Up or Down keys to
change values or to select options.
SETUP MENU FUNCTIONS
Set: NTSC SCAN RATE
Select the required scanrate by using the right and
left arrows. When the desired rate is displayed on the
LCD display, press the Enter key. The scanrate is
now selected.
Set: PAL SCAN RATE
(This new command is in addition to the NTSC scan
rate selection. When the processor detects a PAL
signal, the output rate will switch to the rate
selected here.)
Set: Active Output
Analog/Digital (Default)
This must be selected to determine if the Analog
(BNC) or Digital (DVI) output is used.
Both outputs
cannot be used at the same time.
Set: Screen Shape
Wide Screen / 4:3 / Wide 4:3
Note: This sets the processor for the screen shape of
the
display
to be used. If this is not set properly, the
aspect ratio selection for the different sources
located in the user menu will be incorrect.
•
Wide Screen
-Choose this when the screen is
Widescreen and the projector will provide the
anamorphic vertical squeeze.
SETUP
1
2 3 4 5 6 7 8
9
10
DVD Tray
Open/Close
11


