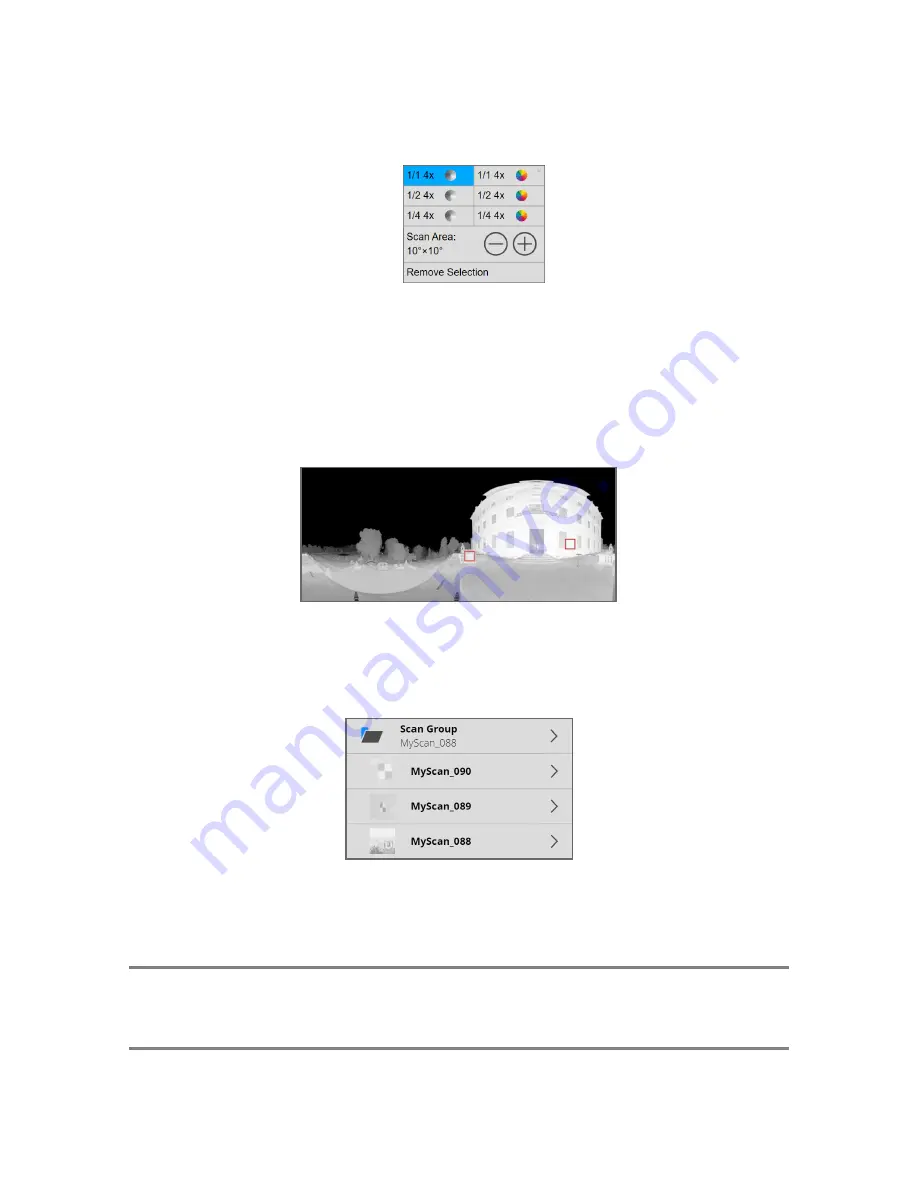
4. Click the selection rectangle to open the detail scan pop-up window.
Figure 7-10 Detail scan pop-up
5. Select the resolution, quality, and color type for the detail scan. Change the size of the scan area, or
remove the selection, if necessary. Click X in the upper-right corner of the window to dismiss it.
6. Repeat through for each target to be scanned.
7. When you have selected all the targets to be scanned, click
Add Scans to Group
. The scanner
begins to make detail scans. The scanner screen shows you the progress.
Figure 7-11 Detail scans completed
When all the detail scans are complete, the preview image of the primary scan is displayed. The positions
of the completed detail scans appear as red squares. To make more detail scans, repeat the procedure
above. Remember to make all the detail scans needed before moving the scanner or making a new
primary scan.
Figure 7-12 Scan group
To see the scan groups on the SD card, return to the scanner’s start page and click
Scans
. All scans of a
scan group are shown indented below the caption
Scan Group
and the scan group’s name (which is
always the name of the primary scan).
NOTE:
Scan groups are supported by SCENE 2022 and later. If you import scan groups into an older
version of SCENE, the detail scans are treated as normal scans, and are thus likely to have
limited use for registration.
FARO
®
Focus Premium Laser Scanner User Manual
Chapter 7: Special Scanning Modes
FARO Focus Premium (March 2022)
Page 118 of 157


